34
CONVENIENT FUNCTIONS (cont.)
PICTURE PROCESSOR FUNCTION (Auto Adjustment)
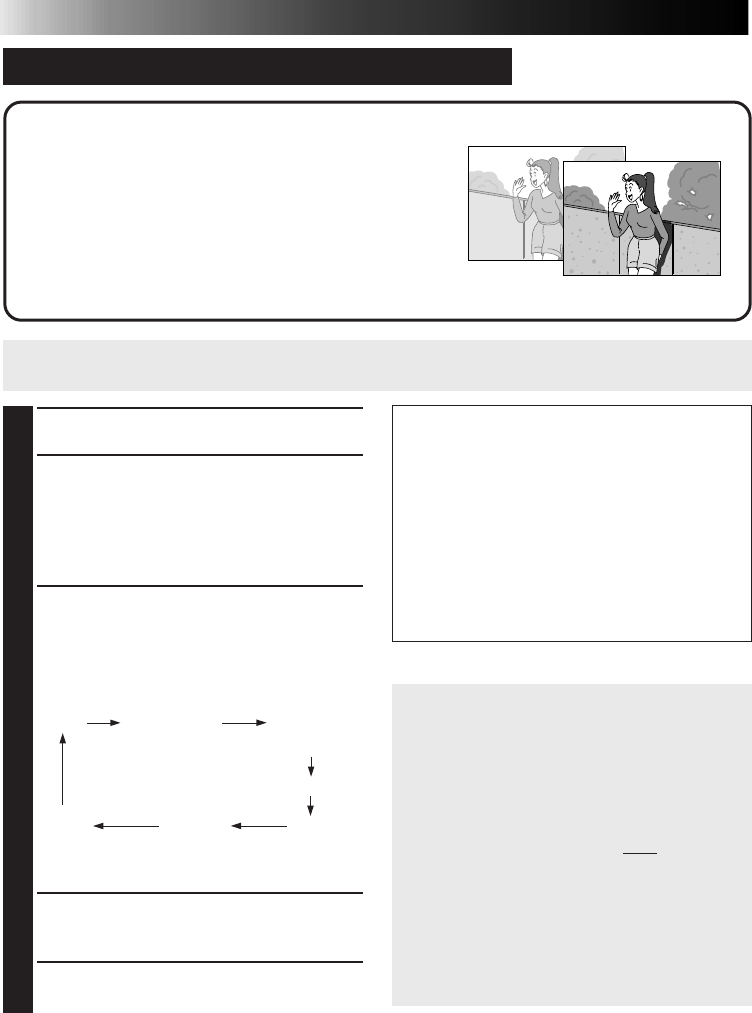
You can add one of the following special effects to an
image: Auto Picture Adjustment, Clear Black, Back-Lit
Compensation, B/W, Sepia. The image will be
automatically processed by the printer.
Preparation
●See page 12.
●Press INPUT SELECT to select the appropriate input mode
depending on the connection to the source unit (੬ page 18).
1
BEGIN SOURCE PLAYBACK
2
1
PRESS MEMORY WHEN THE
DESIRED IMAGE APPEARS
•If the image is unstable, press
MEMORY again.
2
PRESS OK
3
PRESS PICTURE PROCESSOR
UNTIL THE DESIRED ITEM
SETTING SCREEN APPEARS
•Pressing the PICTURE PROCESSOR
button changes the mode as follows:
•If you want to restore the original image
during adjustment, simply press MENU.
4
PRESS OK
•The processed image appears on screen.
5
PRESS PRINT TO START
PRINTING
•If IrDA (INFRARED) or PC MODE is selected, you do not have to perform steps
1
and
2
. Refer to page
20 or 38 to send the image you want to print to the printer.
● If you press PICTURE PROCESSOR when
no image is stored in the printer, NO
STORED IMAGE appears on the screen.
Store an image in the printer first, then
press PICTURE PROCESSOR again.
● If you want to use title/frame impose
when the AUTO mode is selected, be
sure to add the title/frame
after
performing Picture Processor adjustment;
otherwise, it will cause picture quality
deterioration.
● When the AUTO mode is selected, some
images may not be adjusted as desired. If
this is the case, try MANUAL adjustment.
(
੬ p. 35)
AUTO
PURE BLACK
(clear black)
TWILIGHT
(back-lit
compensation)
MONOTONE (black & white)
SEPIA
MANUAL
original
image
What Each Mode Does
AUTO The printer automatically adjusts
the tint/brightness/contrast to the
optimum level.
PURE BLACK Gives images better contrast by
enhancing the black color.
TWILIGHT Lights up dark objects or faces
with brighter and clearer colors.
MONOTONE Black & white.
SEPIA Brownish tint like old photos.
MANUAL You can manually adjust the tint/
brightness/contrast.
