Using Easy Print
May 2000 4-3
Adjusting Your Images Before Printing
Many of the options on the Easy Print dialog box may already be set for
you on the Easy Config dialog box. You can change the settings for any of
the following defaults for the current file you loaded. However, the default
settings return when you load the next image.
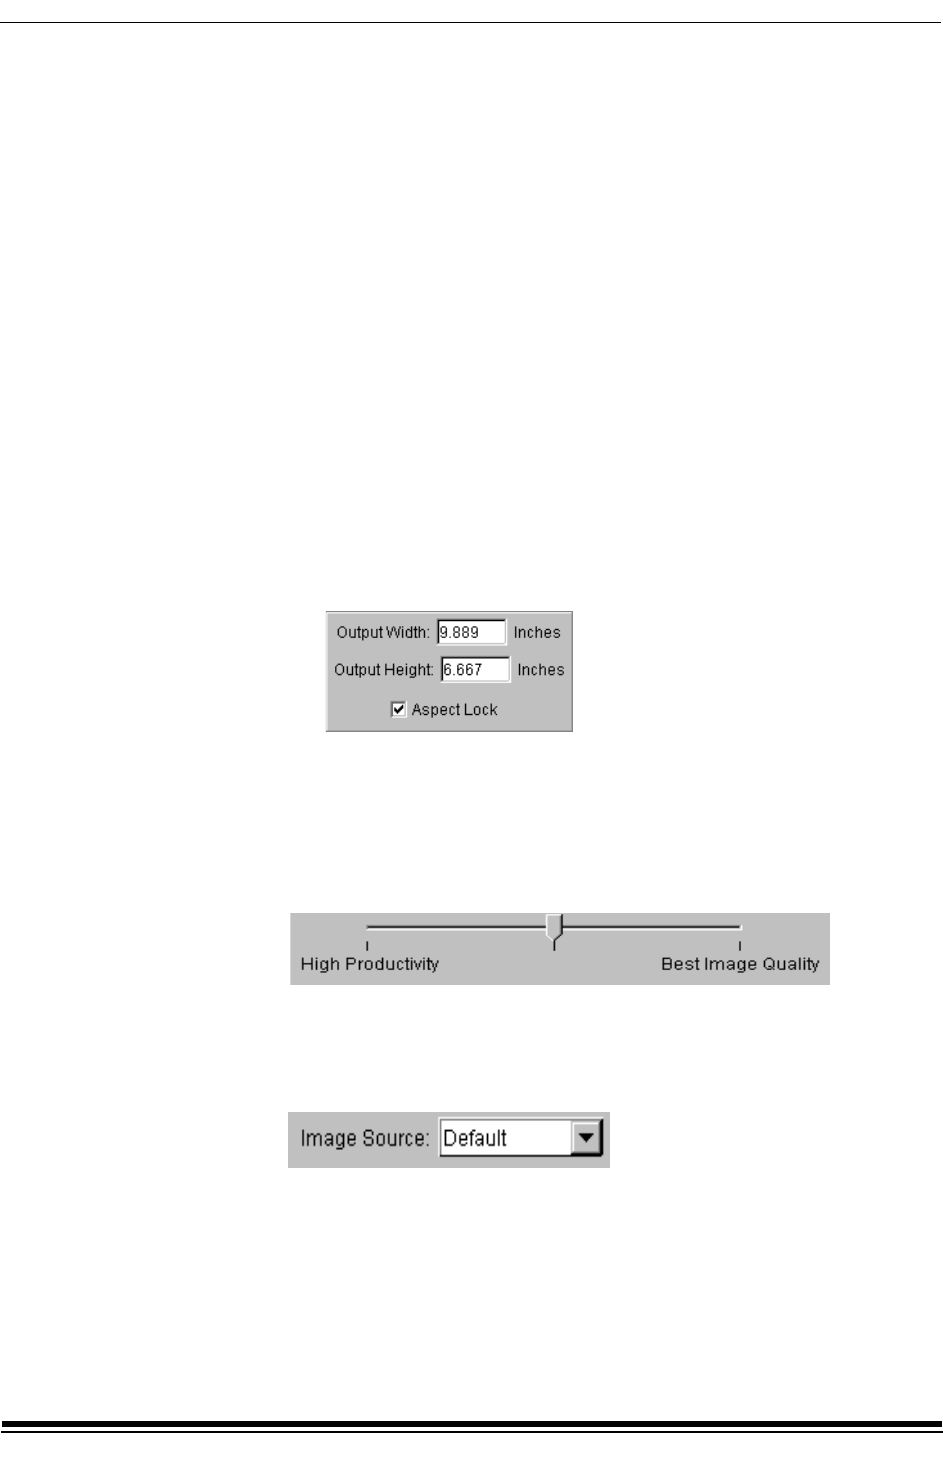
Adjusting the Output Size
Note:
• If you select the Aspect Lock check box, the correct proportions of
the image will be maintained.
• If the Aspect Lock check box is selected, you need to set only
either the height or the width.
1. Enter a value for the width of the image you wish to print in the
Output Width box.
2. Tab to the Output Height box, and enter a value for the height of the
image you wish to print. The maximum height is 100 ft.
Note: If you select the Aspect Lock check box, the output height is automatically
calculated to maintain the correct image proportions.
Setting the Print Quality
You can change the output quality of your prints by moving the slider
between High Productivity and Best Image Quality. However, when you
move the slider to the right for Best Image Quality, the print time increases.
The center position provides the best balance of speed and quality.
Selecting the Image Source
From the Image Source list, select the input device that created the input
for the image.
IMPORTANT: Select the correct input device because it is
configured for the best possible color
correction.
