


A-61133 March 2003 2-17
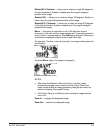
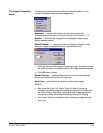
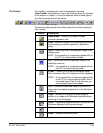
Batch Scan… — scans a specified group of images, which do not have
to be contiguous or continuous. The images must be automatically
saved to a directory and/or printed. See the section entitled, “Batch
scan” in Chapter 3 for more information.
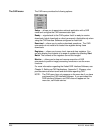
Clear used to clear information from the Image Retrieval keypad text
box, and stop any film movement (i.e., searching, refiling, etc.).
Set A when used with the number keys, allows you to preset the
starting image address for Channel A or change the current Channel A
image address.
Set B when used with the number keys, Set B allows you to preset
the starting image address for Channel B, preset the last image address
for Channel B (duo film), or change the current Channel B image
address.
Refile Film — when selected, rewinds the film currently in the scanner.
When completed, the film magazine can be safely removed.
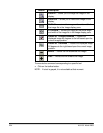
Search Again when the image found by a search is not readable
(e.g., there was a jam or other error during filming) and you know that
the image was filmed again with the same image address elsewhere on
the film, Search Again allows you to search for the next occurrence of
the image address on the film. Search Again is also useful when related
images on the roll have the same image address. Search Again is used
in conjunction with Random Batch Code.
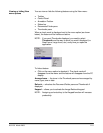
Image Server allows you to connect to the Image Server
Dispatchers and Image Server Software. In addition you can send
scanned images to the Image Server Software, so that individual images
or a folder of images can be printed, faxed, or emailed. For more
information, see Chapter 7, Network Operations.
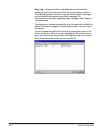
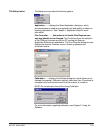
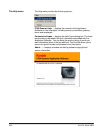
Scroll provides a drop-down list of speed and directions to scroll the
film from the current position (i.e., Fast Forward, Fast Backward, Slow
Forward, etc.). Once the direction is selected, the images will be
viewed in the Scrolling window while the film is moving. The Scrolling in
Progress dialog box is displayed during scrolling. When the desired
image is displayed, click Stop or Process in the dialog box. Select
Process to prepare the image for printing, faxing, emailing or saving.
NOTES:
• Selecting Stop will exit the Scrolling function.
• The image address displayed on the Status bar may not match the
image displayed on the screen.
• During scrolling you can use the Zoom functionality to enlarge (by
rubber-banding and right-mouse clicking the area you want to zoom
in on) or reduce (right-mouse click) the image for easier viewing.