


-12-
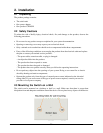
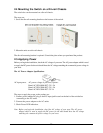
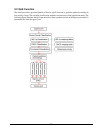
2.4 Mounting the Switch on a Din-rail Chassis
The switch also can be mounted on a din-rail chassis.
The steps are:
1. Screw the din-rail mounting bracket on the bottom of the switch.
2. Mount the units on a din-rail chassis
The din-rail mounting bracket is optional. Consult the place where you purchased the product.
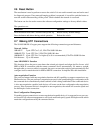
2.5 Applying Power
Before you begin the installation, check the AC voltage of your area. The AC power adapter which is used
to supply the DC power for the unit should have the AC voltage matching the commercial power voltage in
your area.
The AC Power Adapter Specifications
AC input power: AC power voltage of your area, options -
Rated AC120V/60Hz DC7.5V 1.2A
Rated AC230V/50Hz DC7.5V 1.2A
Rated AC240V/50Hz DC7.5V 2A
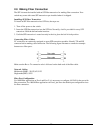
The steps to apply the power to the product are:
1. Connect power adapter DC plug to the DC input jack located on the back of the unit before
connecting to the AC outlet.
2. Connect the power adapter to the AC outlet.
3. Check Power LED indication.
Note: Before you begin the installation, check the AC voltage of your area. The AC power
adapter which is used to supply the DC power for the unit should have the AC voltage
matching the commercial power voltage in your area.