


LaCie Brick Hi-Speed USB 2.0
Desktop Hard Drive User’s Manual
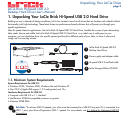
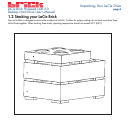
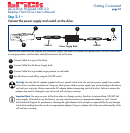
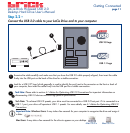
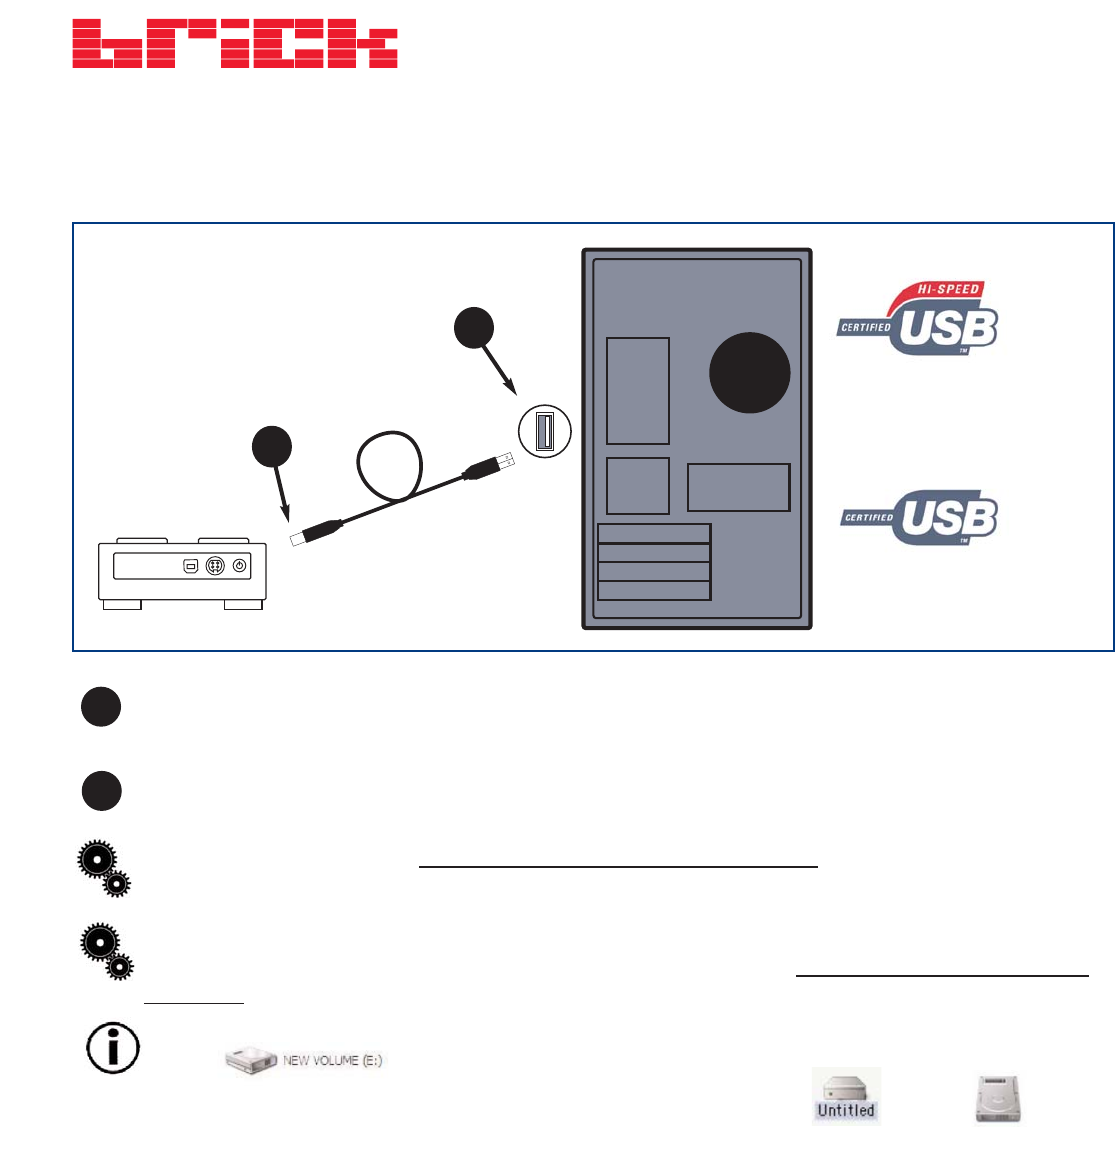
Step 2.2 –
Connect the USB 2.0 cable to your LaCie Drive and to your computer.
Examine the cable carefully and make sure that you have the USB 2.0 cable properly aligned, then insert the cable
firmly into the USB port on the back of the drive for a stable connection.
Look for a USB 2.0* logo (which generally is used to identify the port) next to the connector on the front or back of
your computer, then insert the cable firmly into the USB port for a stable connnection.
Tech Note:
Please refer to section 4.1 Advice for Optimizing USB 2.0 Connections for important information on
disconnecting USB 2.0 devices and ensuring optimum performance.
Tech Note: *
To achieve USB 2.0 speeds, your drive must be connected to a USB 2.0 host port. If it is connected to a
USB 1.1 port, your drive will operate at USB 1.1 speeds. For more details, see 4.1 Advice for Optimizing USB 2.0
Connections.
Getting Connected
page 11
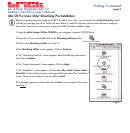
Important Note:
Windows Users: It may take a few seconds for your computer to recognize the drive and assign it
a letter.
Mac Users: It may take a few seconds for the drive to appear on your desktop.
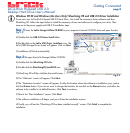
Mac OS 9.x
Mac OS 10.x
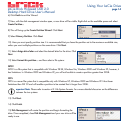
USB 1.1 Logo
USB 2.0 Logo
1
2
1
2