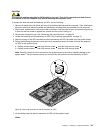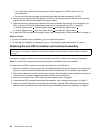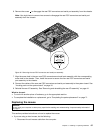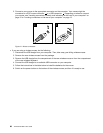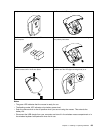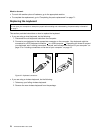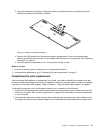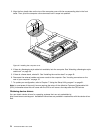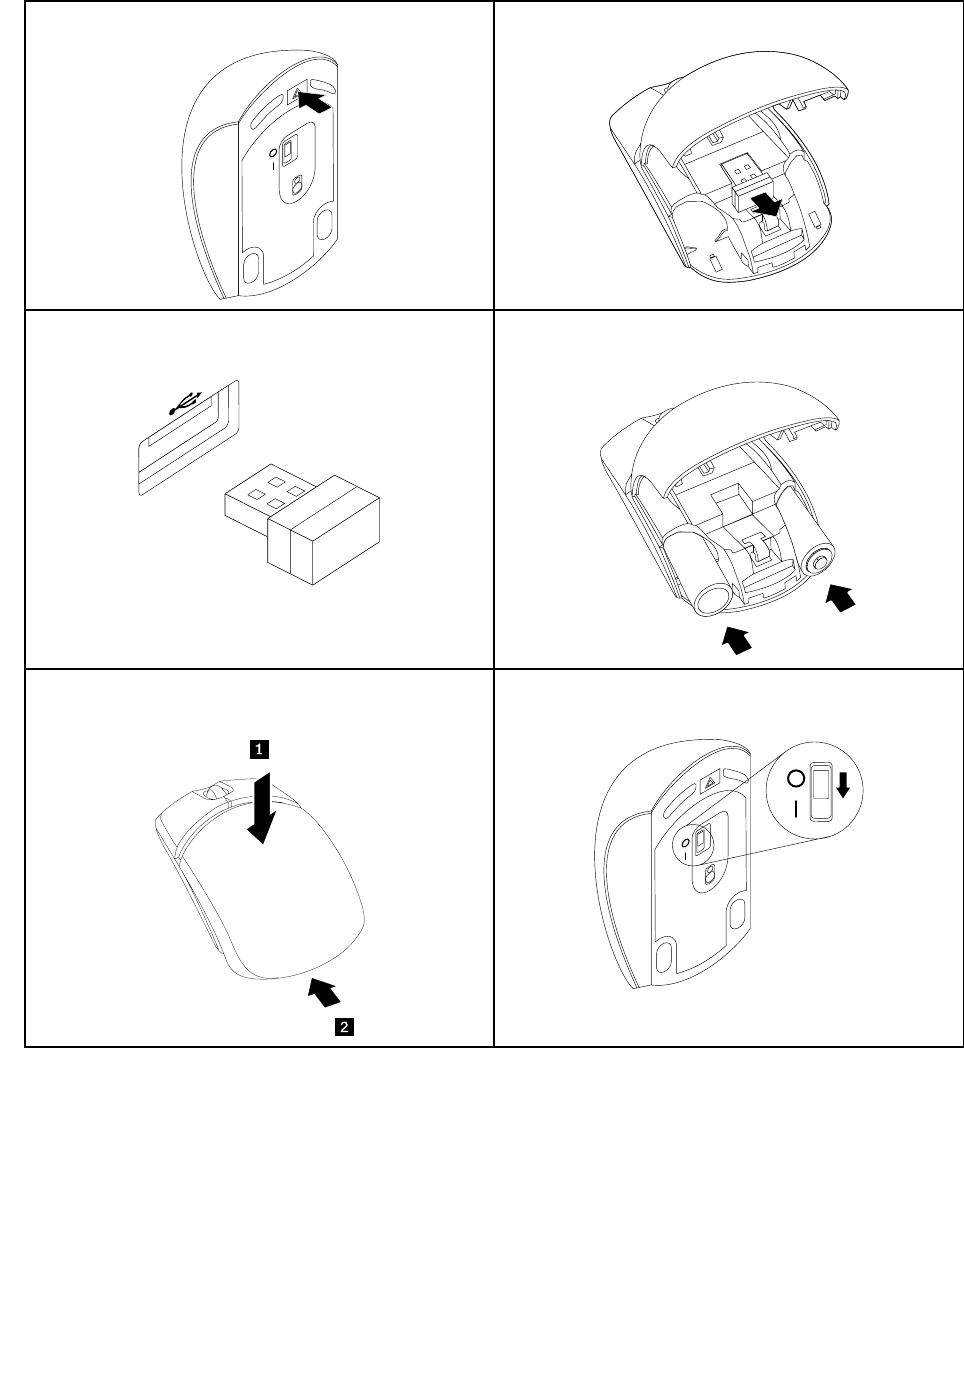
1. Open the mouse battery-compartment cover. 2. Remove the USB dongle from the mouse.
3. Connect the USB dongle to any USB connector on
the computer.
4. Insert two AA batteries into the mouse according to
the polarity indicators.
5. Close the mouse battery-compartment cover and
slide it forward until it clicks into place.
6. Slide the power switch on the mouse to the On
position and the LED (light-emitting diode) is on.
Notes:
– The green LED indicates that the mouse is ready for use.
– The flashing amber LED indicates a low battery power level.
– Push the power switch to the off position when you are not using the mouse. This extends the
battery life.
– Disconnect the USB dongle from your computer and store it in the wireless mouse compartment or in
the wireless keyboard compartment when not in use.
Chapter 5. Installing or replacing hardware 69


