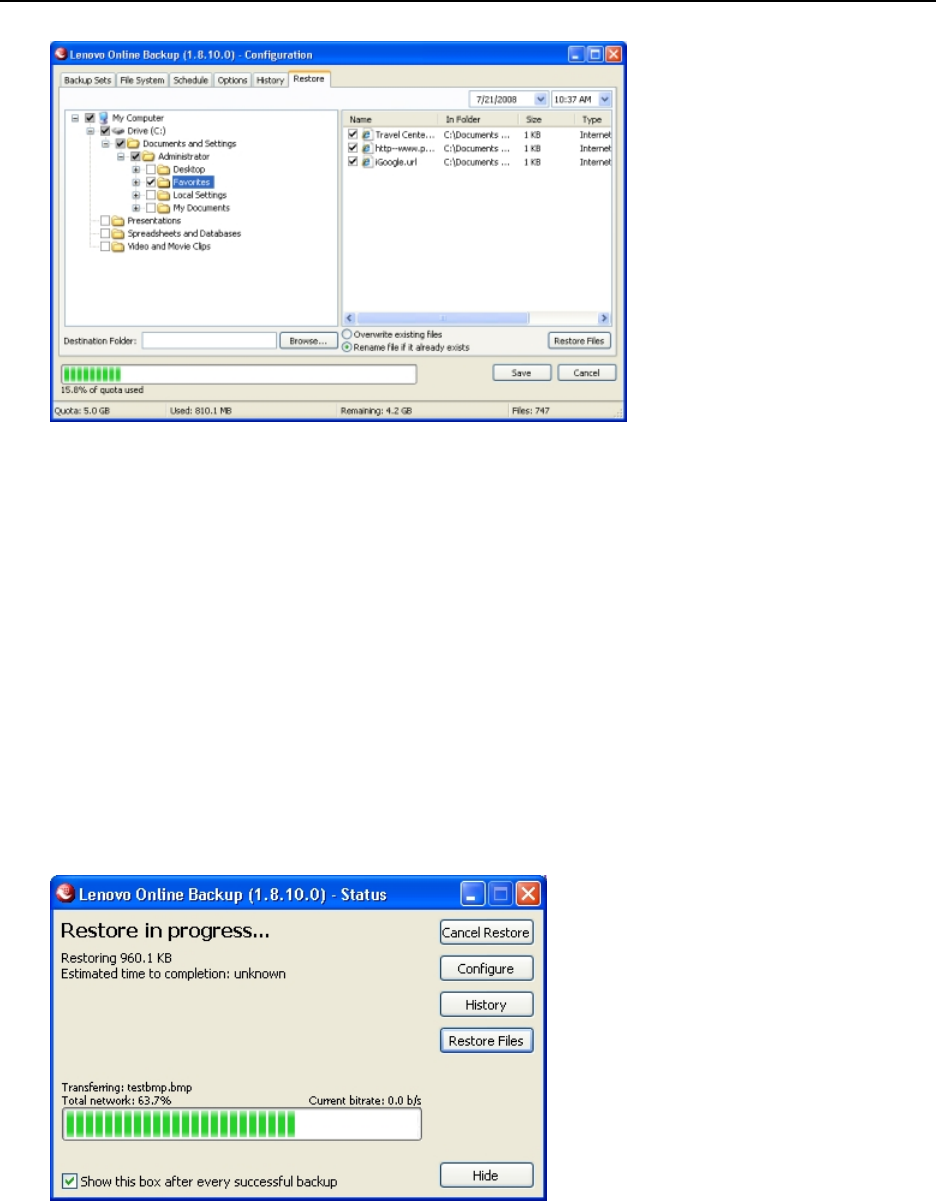
Figure 27: Restore Tab
1. Double-click the Lenovo Online Data Backup icon in the Windows system tray, then click Restore to open
the Restore tab. (You can also right-click the Lenovo Online Data Backup icon, then click Restore in the
context menu.)
2. In the left panel, select the backup set from which you want to restore files.
3. In the right panel, select the file or files you want to restore.
4. Click Browse to select the destination folder for your restored files.
a) When the Browse window appears, navigate to the desired folder.
b) Alternately, create a new folder by clicking Make New Folder, then specify the name of the new folder
in the appropriate field.
c) Click OK to return to the Configuration window.
5. Select whether you want to overwrite existing files or rename files if they already exist.
6. Click Restore Files.
The Status window appears with the restoration progress.
Figure 28: Status Window
Lenovo Online Data Backup User Guide34
Restoring Files
