


11
English
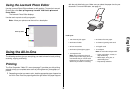
Scanning
The following steps show you how to scan and save images.
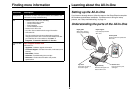
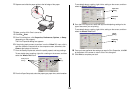
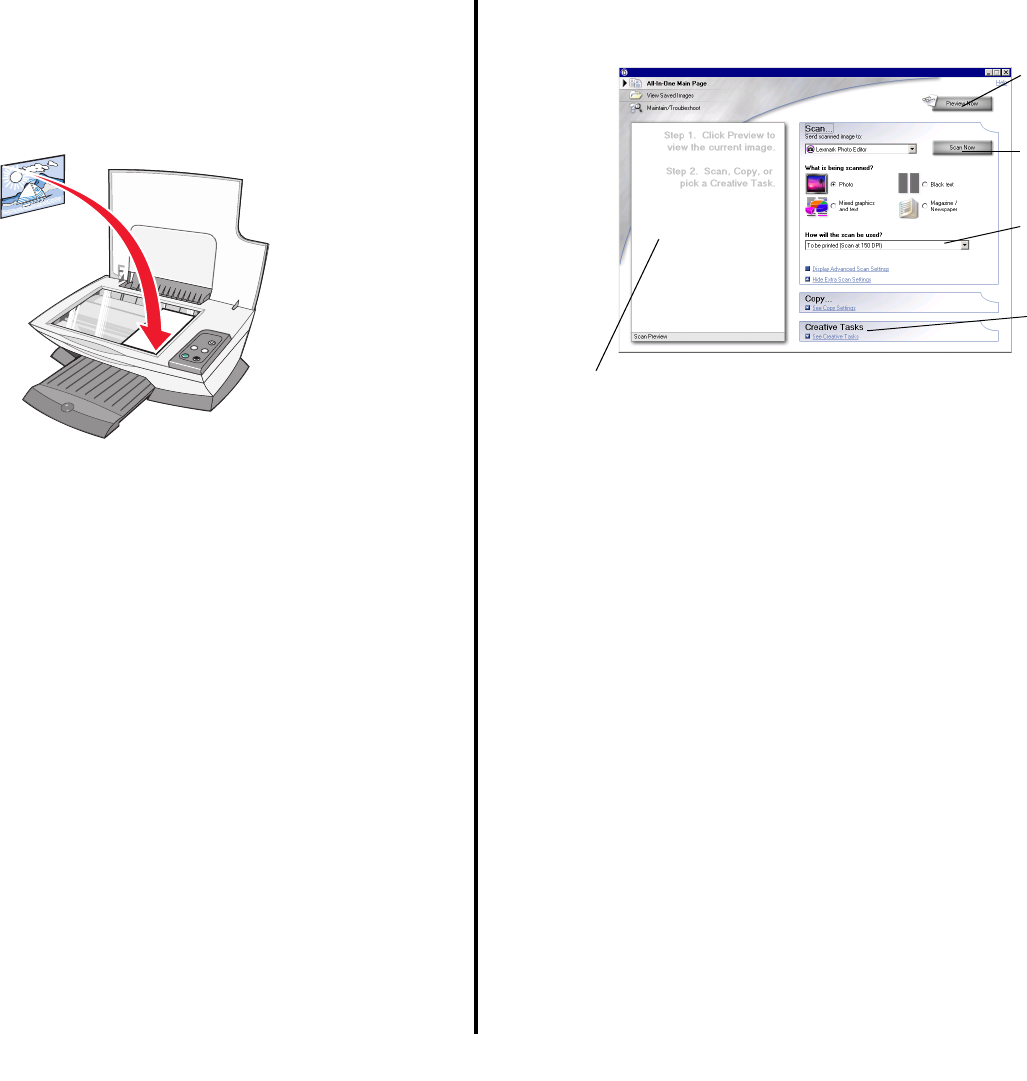
1 Open the top cover of the All-In-One.
2 Place the item you want to scan facedown on the glass. Make sure the
upper left corner of the front of the item aligns with the arrow
3 Close the top cover.
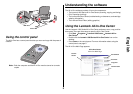
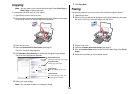
4 Open the Lexmark All-In-One Center (see page 5).
The All-In-One Main Page appears.
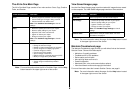
5 Click Preview Now located in the upper right corner of the All-In-One Main
Page.
An image of the scanned item appears in the preview section.
6 Click and drag to select a specific area of the preview image to scan.
7 Click See More Scan Settings to review and change the scan settings.
8 Select your scan settings.
From the “Send scanned image to” drop-down menu, select a program to
send the scanned image to, or click the Creative Tasks section to display a
list of projects.
9 If you are sending the scanned image to a software program, click Scan
Now to complete the scan. If you are using the Creative Tasks section,
follow the instructions on the computer screen.
For a list of the Creative Tasks available from the All-In-One Main Page, see
page 6.
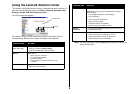
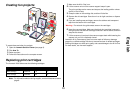
Copy now settings
Adjust the settings for
the scanned item.
Preview section
See a preview of the image, and select an area to be scanned.
Preview Now button
Click to see a preview
of the image.
Scan Now button
Click to scan the item
on the scanner bed.
Creative Tasks
Choose what you
want to do with the
scanned item.