


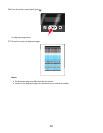
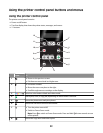
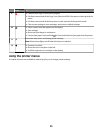


Using the Scan menu
To access the Scan menu, press on the printer control panel.
From here You can
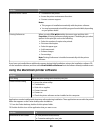
Scan to Choose the destination of the scanned image.
Select:
• Computer
• Network (appears only in printers connected to a network)
• USB Flash Drive
• Memory Card
Notes:
• If you choose a computer as the destination, then a list of applications will be
downloaded to the printer. Choose the application that you will use to open the
scanned image on the computer.
• If you choose a network computer, you may be prompted to enter a PIN if the
computer requires it.
• Use the arrow buttons to increase or decrease the value for each digit (the default
value is 0000) in the PIN, and then press
each time you select a digit.
Quality Choose a scan quality.
Original Size Set the size of the original document.
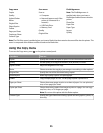
Using the Photo menu
The Photo menu automatically launches when you insert a memory card or a flash drive that contains only image
files into the printer.
If the flash drive you inserted into the printer contains document files and image files, press the arrow buttons until
Photo appears, and then press
.
You can also access the Photo menu when you press
on the printer control panel and then insert a memory
device.
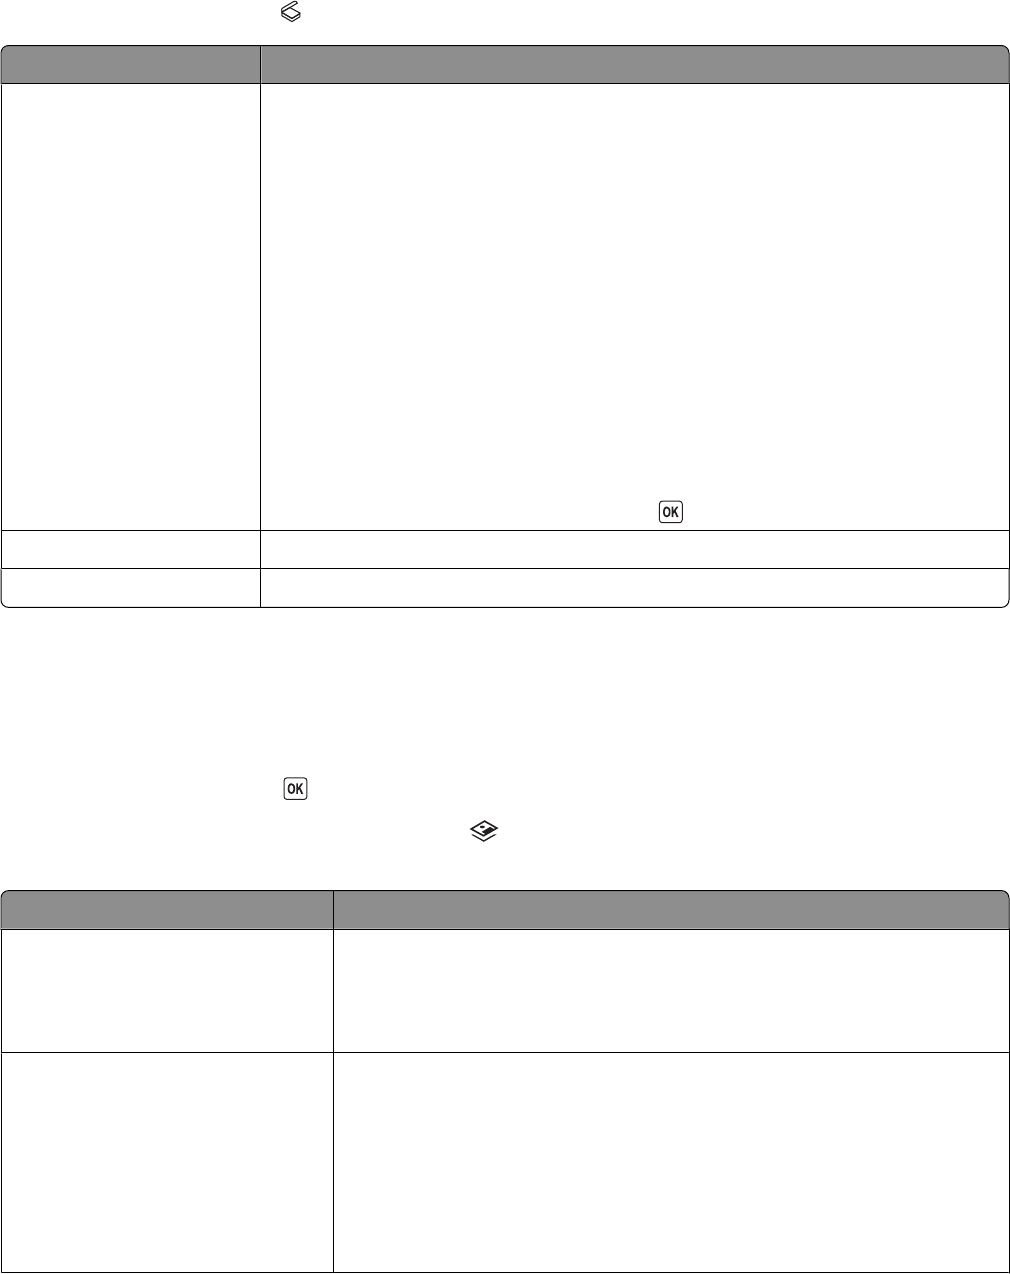
From here You can
Easy Photo Print photos. You can print the last photo, print all photos, print photos that
fall within a date range, or print photos by selecting photo numbers. You can
also set the photo size and paper size.
Note: Use this menu if you want to print photos quickly.
Print Photos Print photos using the selections in the Easy Photo menu plus:
• Apply color effects to the photos.
• Adjust the quality, layout, and brightness of a photo.
• Print photos using Digital Print Order Format (DPOF). This option appears
only when there is a valid DPOF file in the memory device.
Note: Use this menu if you want to customize the photos before printing
them.
26