


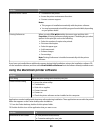
From here You can
Proof Sheet Print and then scan a proof sheet:
• For all photos
• For the most recent 20 photos, if there are 20 or more photos on the
memory device
• By date
Save Photos Save photos to a computer or memory device.
Select Computer (appears only in
printers connected to a network)
Choose a network computer.
Notes:
• You may be prompted to enter a PIN if the computer requires it. To assign
a computer name and a PIN to the network computer, see the Help for
the printer software associated with your operating system.
• Use the arrow buttons to increase or decrease the value for each digit
(the default value is 0000) in the PIN, and then press each time you
select a digit.
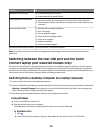
Using the PictBridge menu
The PictBridge menu automatically launches when you connect a PictBridge-enabled digital camera to the printer.
The menu lets you select printer settings if no settings are selected from your digital camera.
For more information on making camera selections, see the documentation that came with your camera.
From here You can
Photo Size Specify the size of the photo to be printed.
Paper Size Specify a paper size.
Paper Type Specify a paper type.
Layout Choose the layout of the photo or photos to be printed.
Quality Choose the quality of the photo or photos to be printed.
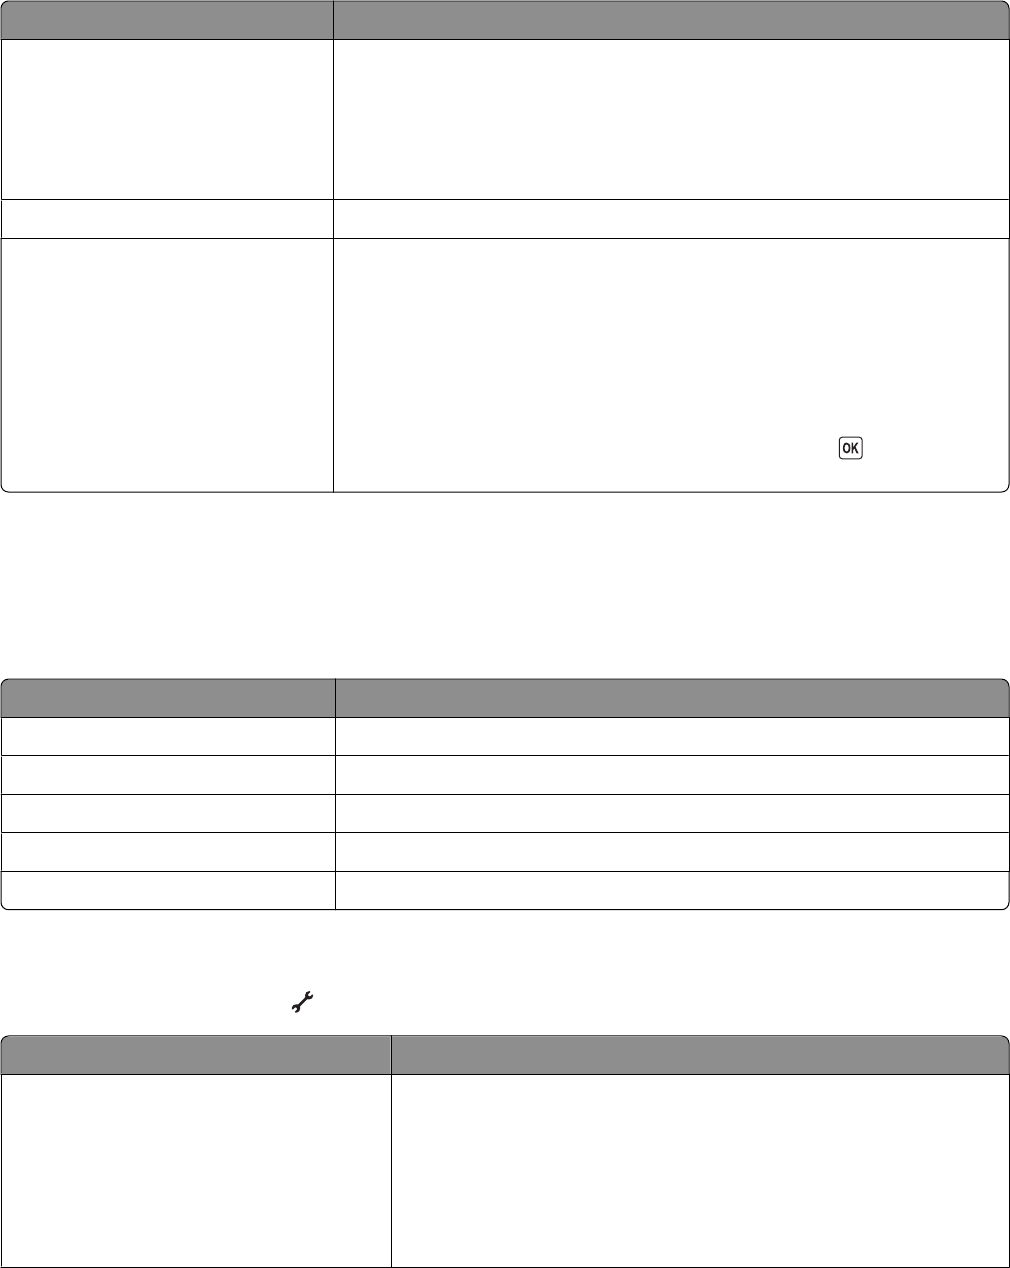
Using the Setup menu
To access the Setup menu, press on the printer control panel.
From here You can
Maintenance Select:
• Ink Level to view the ink level of the black cartridge, color
cartridge, or photo cartridge.
• Clean Cartridges to clean the print cartridge nozzles.
• Align Cartridges to align the cartridges.
• Print Test Page to print a test page.
27