


7 Press the arrow buttons until appears next to the job type or job name, and then press .
If you selected a job name, proceed to step 10 on page 78.
8 After selecting your job type, use the keypad to enter your PIN.
If you enter an invalid PIN, the Invalid PIN screen appears.
• To re-enter the PIN, make sure Try again appears, and then press .
• To cancel the PIN, press the arrow buttons until Cancel appears, and then press .
9 Press the arrow buttons until appears next to the job you want to print, and then press .
10 Press the arrow buttons until appears next to the number of copies you want to print, and then press .
Note: Use the keypad to enter a number if necessary.
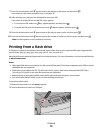
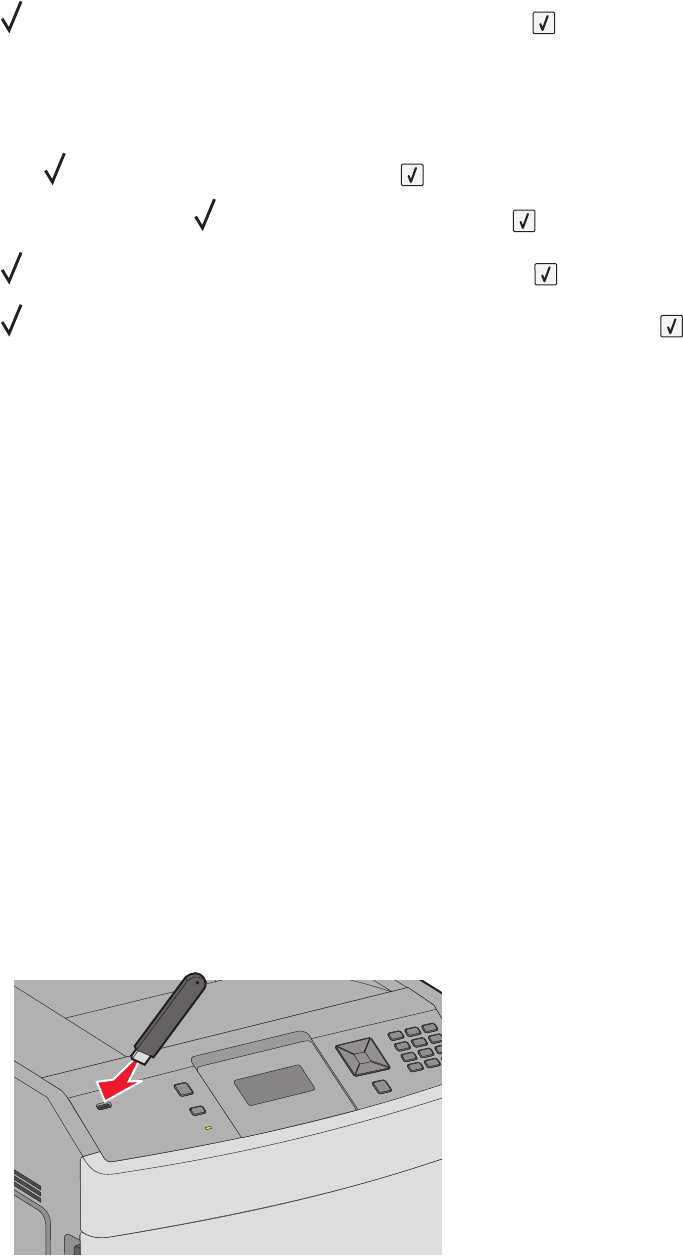
Printing from a flash drive
A USB port is located on the printer control panel. Insert a flash drive to print supported file types. Supported file
types include: .pdf, .gif, .jpeg, .jpg, .bmp, .png, .tiff, .tif, .pcx, .xps, and .dcx.
Many flash drives are tested and approved for use with the printer. For more information, visit the Lexmark Web site
at www.lexmark.com.
Notes:
• High-speed flash drives must support the full-speed USB standard. Flash drives supporting only USB low-speed
capabilities are not supported.
• Flash drives must support the FAT (File Allocation Tables) system. Flash drives formatted with NTFS (New
Technology File System) or any other file system are not supported.
• Before printing an encrypted .pdf file, enter the file password from the printer control panel.
• You cannot print files for which you do not have printing permissions.
To print from a flash drive:
1 Make sure the printer is on and Ready appears.
2 Insert a flash drive into the front USB port.
Printing
78