


EtherFast Cable/DSL Routers
36
Instant Broadband Series
35
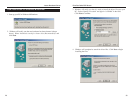
10. Reset the power on the cable or DSL modem, then restart the PC so
the new Router settings will take effect.
Your Cable/DSL Router is now configured on your network.
Continue on to the next section to complete your network setup.
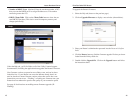
Configuring PCs to Connect to the Cable/DSL Router
Now that your Router is configured, you will have to configure your other
PCs to accept the IP addresses that your Router will provide.
These instructions apply only to Windows 95 and Windows 98
machines. For TCP/IP setup under Windows NT, see your
Windows NT manual.
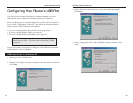
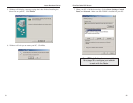
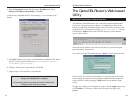
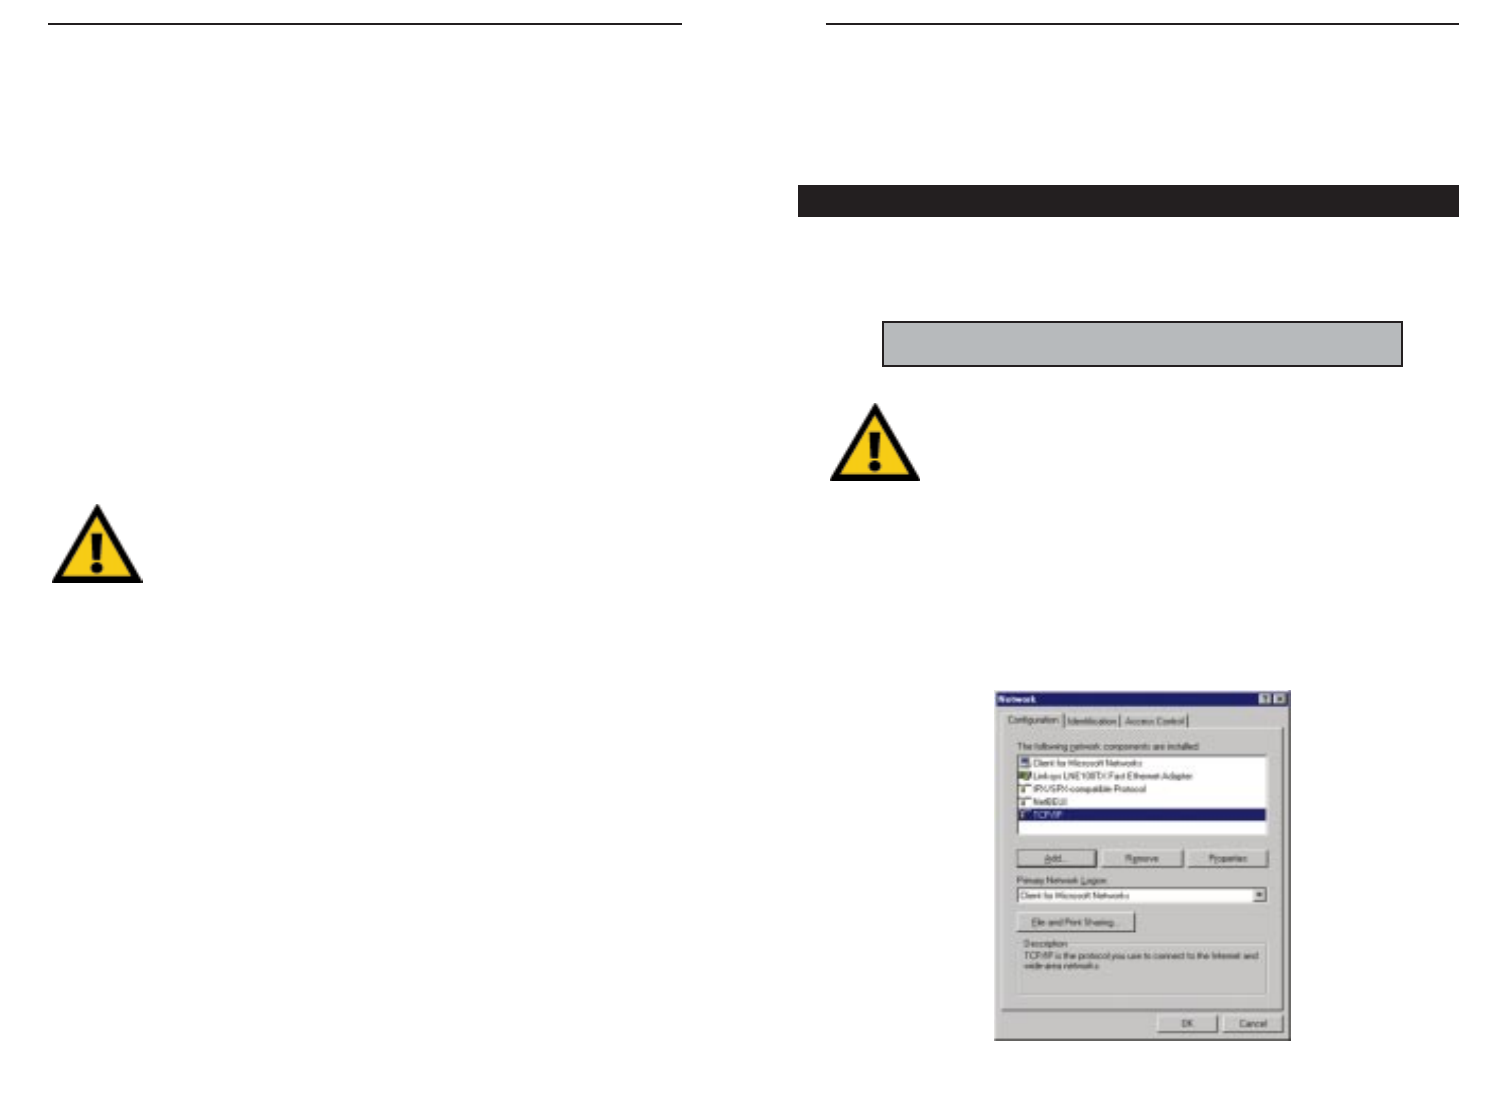
1. Click the Start button, select Settings, then Control Panel.
2. Double-click on the Network icon.
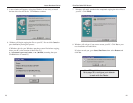
3. In the Configuration window, select the TCP/IP protocol line associated
with your network card/adapter. If there is no TCP/IP protocol line listed
for your card/adapter, go to page 64 to install the TCP/IP protocol now.
NNoottee::
Make sure that a network card or adapter has been successfully
installed in each PC you plan on configuring before continuing.
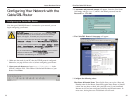
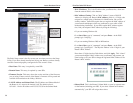
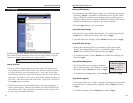
LAN IP Address These values refer to your internal network settings.
Unless you have specific internal needs, there should be no reason to
change these values. For the internal LAN side, the Router’s default val-
ues are as follows:
• Private IP Address: 192.168.1.1
• Subnet Mask: 255.255.255.0
WAN IP Address These values refer to the external network (the Internet)
you connect to every time you access your Internet connection.
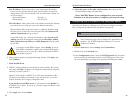
Most broadband ISPs assign their clients to a different IP address each
time they log on. If this is the case with your ISP, select Obtain an IP
Address Automatically and go to step 5.
If your ISP assigns you a fixed, static IP address, select Specify an IP
Address and enter the appropriate values into the IP Address, Subnet
Mask, Default Gateway Address and DNS (Required) fields provided
by your ISP.
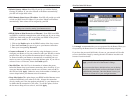
If you need to enable PPPoE support, choose Enable. If you do
enable PPPoE, remember to remove any existing PPPoE applica-
tions already on any of your PCs. More information on PPPoE
can be found on page 41.
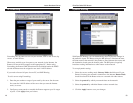
6. When you have properly configured the Setup window, click Apply, then
click Continue.
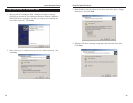
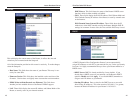
7. Select the DHCP tab.
8. DHCP is already enabled on your Router by factory default. By leaving
the setting on Enable, the Router is configured to automatically assign IP
addresses to each of your PCs.
Optional: In the Number of DHCP Users field, enter the number of PCs
you plan on networking to the Router. If you add more PCs to your net-
work in the future, don’t forget to change this value.
If you already have a DHCP server on your network, select Disable for
the DHCP Server option. If you do so, you must assign your Router a new
static IP address.
9. Click Apply, then click Continue.