


21
Assigning a Mailbox to an Extension
Before you begin, locate
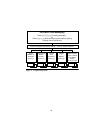
Form 1: Mailbox Assignments
for PARTNER Voice
Messaging. Check to see whether mailboxes have been changed from the
factory defaults. If mailboxes are not numbered differently, skip to “Recording
the General Mailbox Greeting.”
Assign mailboxes to extensions as specified on Form 1:
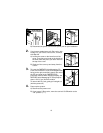
1. If necessary, access the Programming Main Menu. If you are already at
the Programming Main Menu, skip to Step 2.
A) Call PARTNER Voice Messaging:
■ If calling internally, press i777 or the programmed
VMMsgs button.
■ If calling from outside the system, press *Q (*7) during the
general mailbox greeting.
B) Enter
0 followed by the password for mailbox 0.
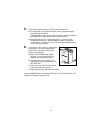
2. Press
1 to assign mailboxes to extensions.
3. Enter the number of a mailbox to be changed as indicated on Form 1.
NOTE:
If the mailbox has messages or a personal greeting recorded, you hear
“Invalid Entry” indicating that the mailbox must be reinitialized before
you can change the extension. Refer to “Reinitializing a Mailbox” on
page 24 for instructions then repeat this procedure.
4. Enter the extension number for the mailbox as indicated on Form 1.
5. Repeat Steps 2 through 4 for each mailbox to be changed.
6. Go to “Recording the General Mailbox Greeting” or press
**9 to exit
programming.