EN-26
How to use the administration screen
Downloading the connection software
The procedure for downloading the software is the same as Step 1 to
5 in "F. Installing the connection software". See page 22.
Selecting the image to be projected
When connecting the projector to multiple computers wirelessly, one
administrator can select the image to be projected from the
computers.
• Approximately 30 computers can be connected to the projector
wirelessly at the same time. However, the number of connectable
computers depends on the radio wave environment.
1. Run the Web browser.
• The administration screen is displayed.
• If the screen is not displayed, access "http://(the IP address
of the projector)". The IP address of the projector is a
numeric value displayed in "Server IP:" in the projected
image.
• You can also display the administration screen by selecting
"Web Admin" in the menu of the connection software. See
page 24.
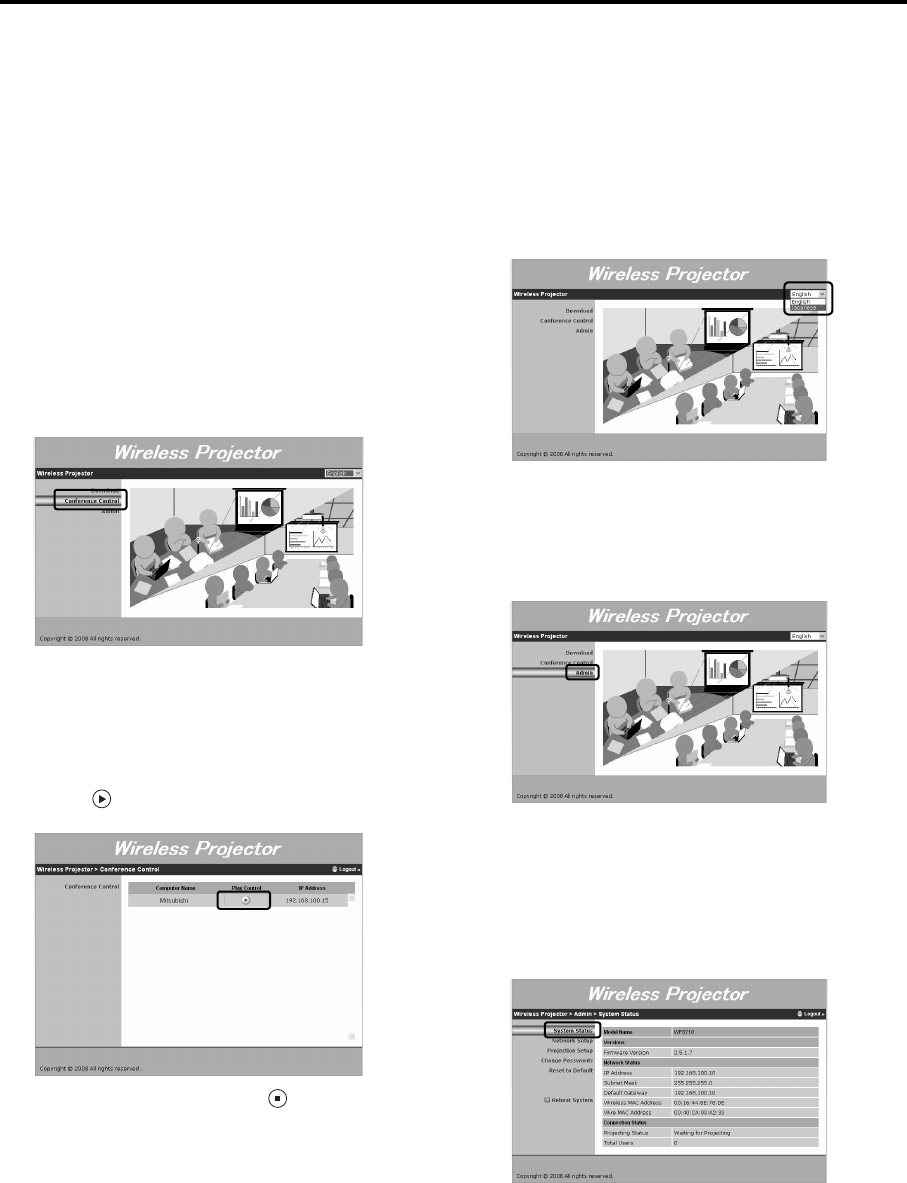
2. Click "Conference Control".
3. Enter a password, then click [Login].
• The list of the computers which are wirelessly connected to
this projector is displayed.
• If "chairman" is specified for the user ID, the default
password is "chairman".
• You can change the password. See page 28.
4. Click "OK".
5. Click the icon for the computer of which you want to display
the image.
• The icon in Play Control turns into , and then the image is
switched to that of the selected computer.
• While selecting the image to be projected in this screen,
users other than the administrator cannot stop or start the
projection using the connection software.
• When multiple users have logged on this screen, the only
user who logged on first can operate. Users who logged on
later cannot switch the image to be projected.
6. Click [Logout] after completing the operation.
Selecting a language
You can select the language to be displayed in the administration
screen between "English" and "Japanese".
1. Run the Web browser.
• If the screen is not displayed, access "http://(the IP address
of the projector)". The IP address of the projector is a
numeric value displayed in "Server IP:" in the projected
image.
• Once the browser is closed, the setting is reset to the default
as it is not to be saved.
2. Click the pull-down menu on the upper right of the screen, and
then select the language to be displayed.
Configuring the projector
As well as changing the password, you can specify the settings for the
network and the projection by logging on the system administrator
screen.
1. Run the Web browser.
2. Click "Admin".
3. Enter a password, then click [Login].
• If "admin" is specified for the user ID, the default password is
"admin".
• You can change the password. See page 28.
Checking the status of the projector
You can check the model name, version, network status, and connec-
tion status of the projector.
1. Click "System Status".


