EN-25
ENGLISH
To adjust the tone of white (COLOR TEMP.):
You can select a preset color temperature (white tone) using the menu.
(See Page 21 for menu setting.)
1. Display the IMAGE menu.
2. Select COLOR TEMP. by pressing the
or
button.
3. Select your desired color temperature by pressing the
or
button.
To cancel the menu:
4. Press the MENU button.
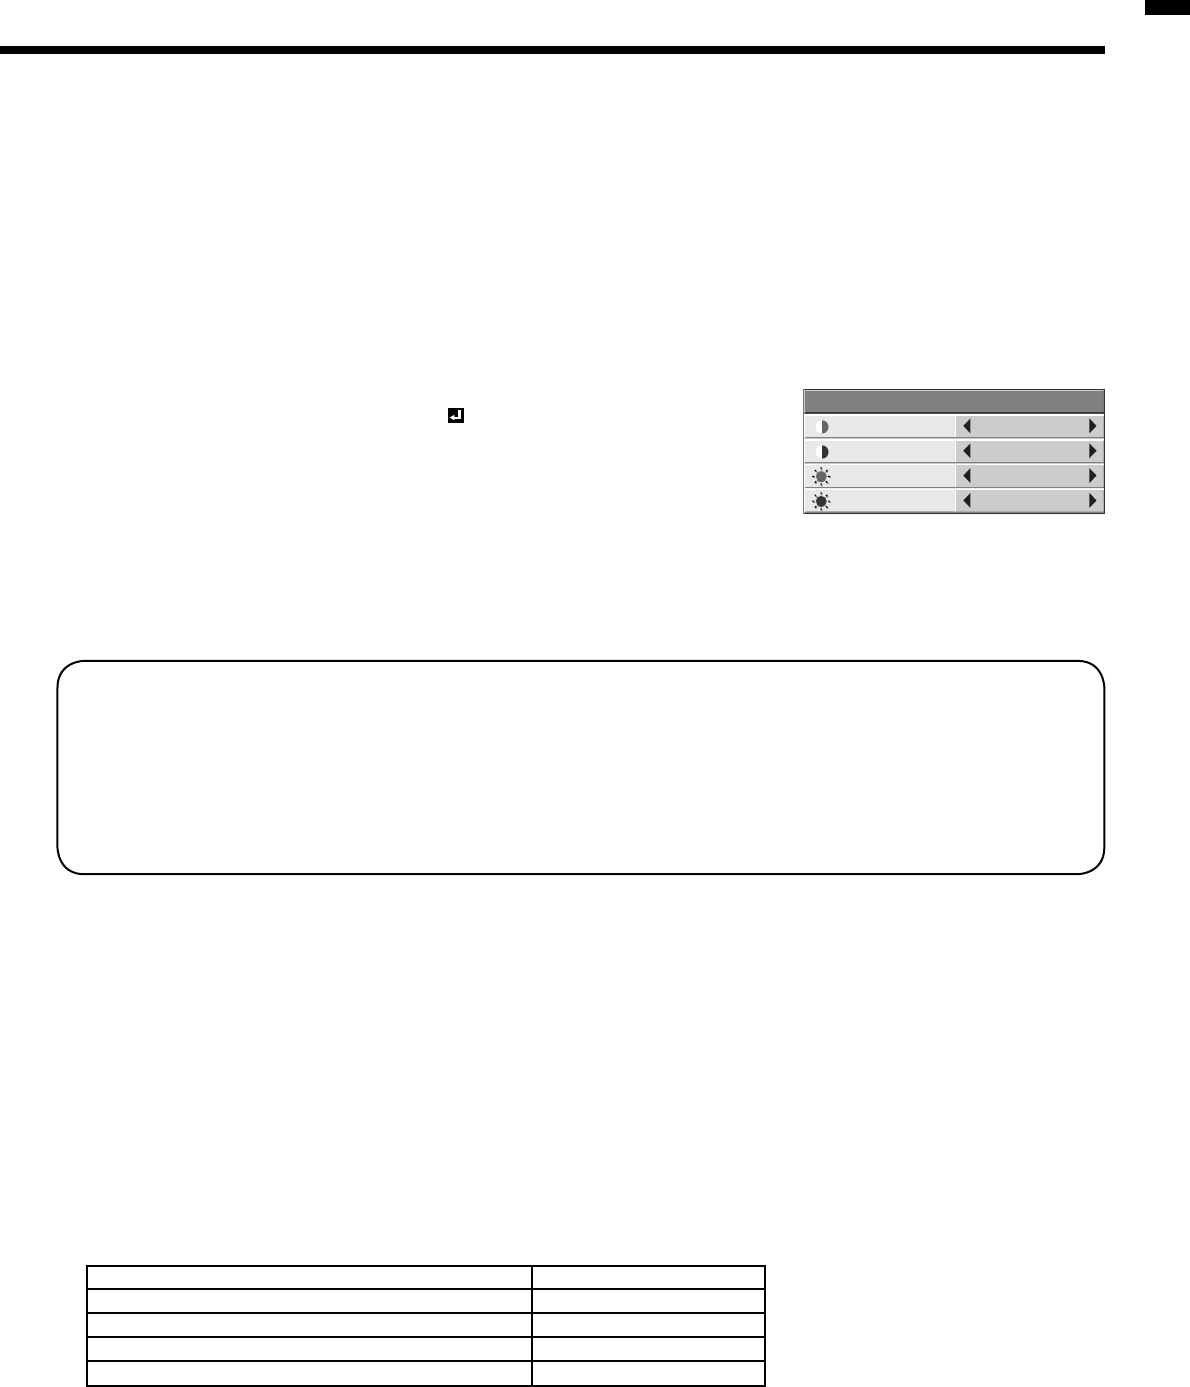
To adjust the tone of white (To customize the color temperature):
To customize (and store) the color temperature to your preference, carry out the following procedure.
(See Page 21 for menu setting.)
1. Select COLOR TEMP. in the IMAGE menu.
2. Press the
or
button to select USER .
3. Press the ENTER button.
4. Press the
or
button to select the desired item.
5. Press the
or
button to adjust the selected item.
6. Repeat steps 4 and 5 for optimum adjustment results.
To cancel the menu:
7. Press the MENU button.
To enable the stored color temperature:
1. Select USER by pressing the COLOR TEMP button on the remote control.
About color temperature
There are different kinds of white color. Color temperature is a way to show the differences in white. White of which
temperature is low appears reddish. When the color temperature rises, white appears bluish. This projector adjusts
this color temperature by changing the values of contrast blue and red.
To rise the color temperature:
Increase the CONTRAST B (blue) and decrease the CONTRAST R (red).
To reduce the color temperature:
Decrease the CONTRAST B (blue) and increase the CONTRAST R (red).
AV MEMORY
You can store up to 3 patterns of the image quality setting regardless the input source.
To store the settings
1. Press an AV MEMORY button (M1, M2 or M3 ) on the remote control to store the settings.
2. Set the items of the IMAGE menu.
• The settings are automatically stored.
• Setting the items by using the picture quality adjusting buttons on the remote control is also available.
To enable the stored image quality settings
1. Press the AV MEMORY button to enable the stored setting.
• The image quality settings stored in the selected memory is enabled.
• When the input source is changed, the AV memory setting selected just before is automatically selected.
• When RESET ALL in the FEATURE menu is selected, all the settings of the AV memory are cleared.
• As the default setting, the AV memories are allocated to each input terminal as shown below.
• When image quality setting is changed, the setting of the input source allocated to the same AV memory also
changes.
CONTRAST R
USER
0
CONTRAST B 0
BRIGHTNESS R 0
BRIGHTNESS B 0
AV MEMORY 1
COMPONENT VIDEO IN terminals AV MEMORY 1
VIDEO IN terminal AV MEMORY 2
S-VIDEO IN terminal AV MEMORY 2
COMPUTER IN/COMPONENT VIDEO IN terminal
AV MEMORY 3
DVI-D (HDCP) IN terminal AV MEMORY 3


