


EN-16
Viewing computer images (continued)
To stop projecting:
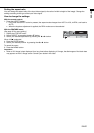
8. Press the POWER button.
• A confi rmation message is displayed.
• To cancel the procedure, leave the projector for a while or press the MENU button.
9. Press the POWER button.
• The lamp goes out and the projector goes into a standby mode. In this standby mode, the POWER indicator
blinks red.
10. Wait about 1 minute for the POWER indicator to be lit in red steadily.
• During this period of 1 minute in the standby mode, the intake fan and exhaust fan rotate to cool the lamp.
• The lamp can't be lit again for 1 minute after turned off for safety purpose. It will take another 1 minute for the
STATUS indicator to go out. If you want to turn on the projector again, wait until the indicator goes out, and
then press the POWER button.
• The air outlet fans rotate faster as the temperature around the projector rises.
• Do not unplug the power cord while the POWER indicator is blinking. Unplugging the power cord immediately
after use may cause a breakdown.
• Though the fans make loud sounds during cooling, such symptom is not a malfunction.
11. Unplug the power cord from the outlet.
• The POWER indicator will go out.
• If the power cord should be unplugged accidentally while either the air inlet fan or the air outlet fans are oper-
ating or the lamp is on, allow the projector to cool down for 10 minutes with the power off. To light the lamp
again, press the POWER button. If the lamp doesn't light up immediately, repeat pressing the POWER button 2
or 3 times. If it should still fail to light up, replace the lamp.
• Cover the lens with the lens cap to protect it from dust.
AV mute
The video and audio signals are temporarily muted when the MUTE button is pressed. To cancel muting, press the
MUTE button again.
• It takes several seconds before muting is completely canceled.
AUTO POSITION button
When the image supplied from the computer is displaced, carry out the following procedure.
1. Display a bright image (such as a full-screen display of the Recycle Bin window).
2. When the screen saver has been enabled, disable it.
3. Press the AUTO POSITION button.
The projector automatically makes optimum positional settings for the input signal.
• If the image is not projected in the correct position even after you press the AUTO POSITION button several
times, change the settings in the SIGNAL menu to put the image in the correct position. (See page 27.)
• When you carry out this procedure with a dark image, the image may be displaced.
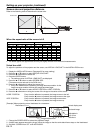
When connecting to a notebook computer:
When the projector is connected to a notebook computer, images may not be projected in some cases. In such
cases, set the computer so that it can output signals externally. The setting procedure varies depending on the type
of the computer. See the instruction manual of your computer.
Example of the setting procedure for external output
Press the [Fn] key and any of the keys [F1] to [F12] at the same time. (The key to be pressed depends on the type of
the computer you use.)
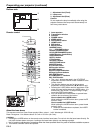
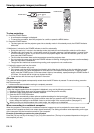
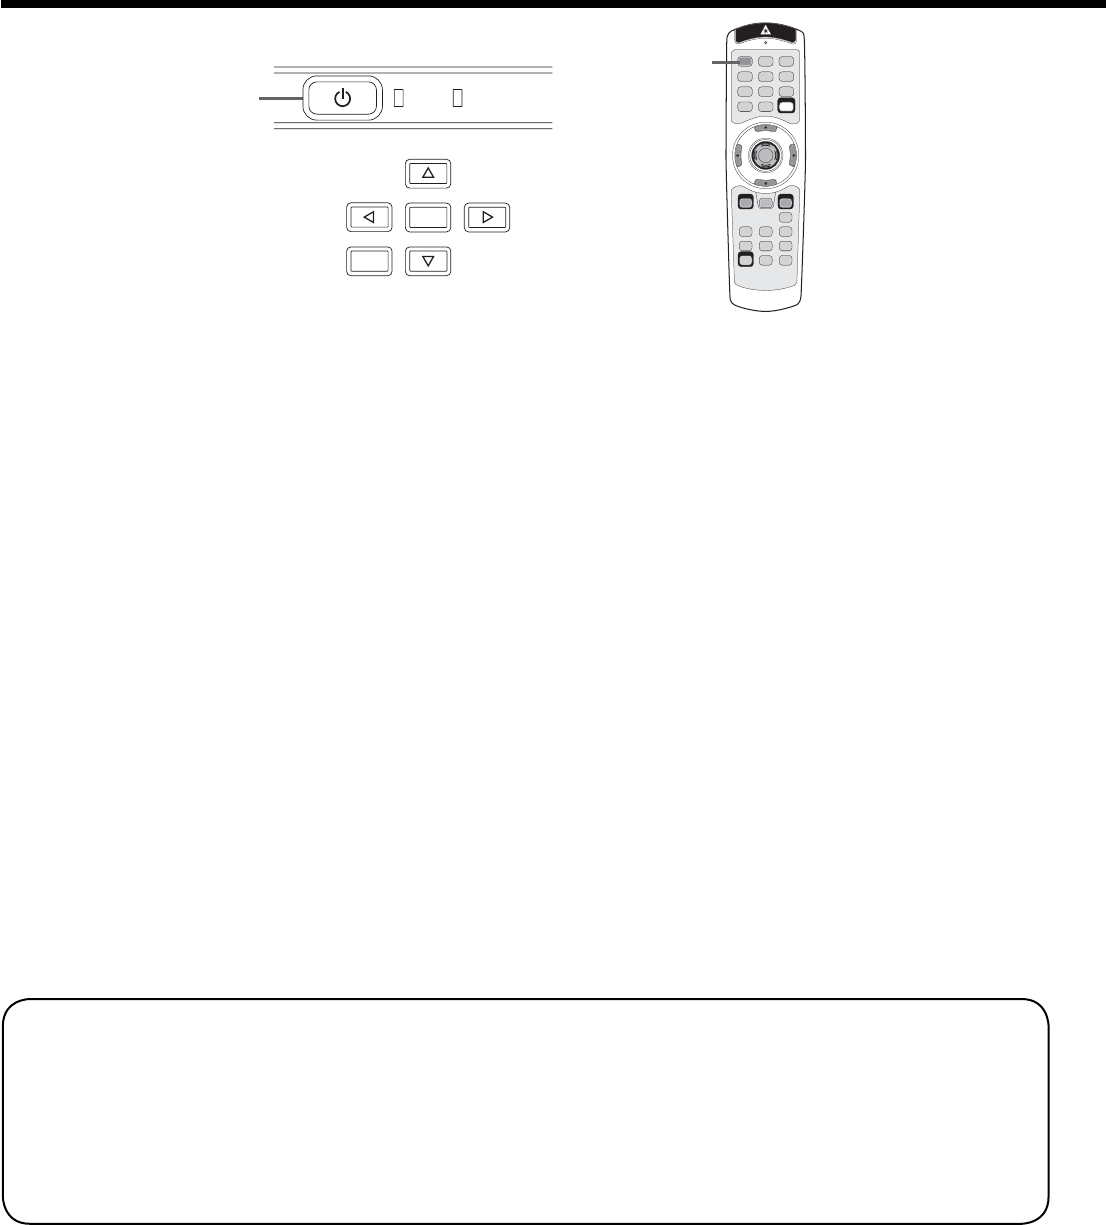
POWER STATUS
KEYSTONE
AUTO POSITION
VIDEO
COMPUTER
ENTER
MENU
VOLUME
POWER button
POWER button