PCL5100 features and upgrades
8 PCL5100 USER GUIDE
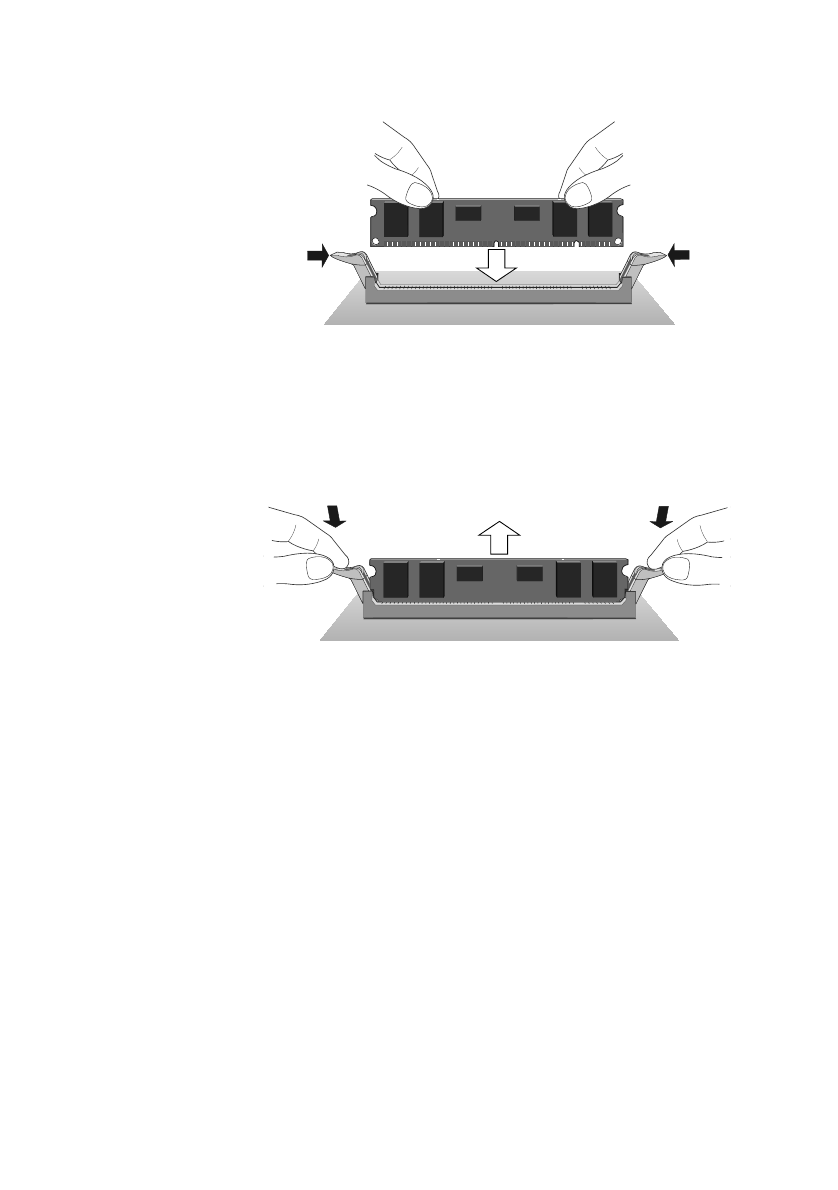
3. Pushing gently on its top corners, press the DIMM into the
socket and make sure the two end clips snap into place. Do not
use excessive force. If the module will not fit easily, remove it
and start again.
To remove a DIMM
1. Press the tabs on both of the socket’s end clips at the same
time. This will release the DIMM and lift it partly out of the
socket.
2. Pull the DIMM clear of the socket. Hold the DIMM by its
ends and avoid touching the metal contacts.
3. Place the DIMM in suitable anti-static packaging.
When you have finished, replace any expansion cards you needed to
remove, then refit the system unit panels.
If the computer does not automatically detect the new memory the
first time you turn it on, start the BIOS Setup utility, go to the
Advanced menu and change the Reset Configuration Data item to
“Yes”, then restart the computer. If an error message appears, check
that the DIMMs are of the correct type and are seated correctly in
their sockets.
