Advanced features (continued)
Password lock
This projector provides the password lock function
that is intended to prevent wrong operations by
children and set controlled access for specified users.
If the password lock is enabled, when the projector is
turned on, the startup screen (or splash screen) will
appear and stay on the screen until the password is
entered. When the password is entered, the startup
screen will switch to the regular operation screen.
To set a password:
(See page 21 for menu setting.)
1. Display the Option menu.
2. Press the or button to select Password.
3. Press the ENTER button.
• The Password menu appears.
Password
Adjust Confirm
Select
Password
Change Password
Off
[ ���� ]
4. Press the or button to select Change
Password.
5. Press the ENTER button.
• Thescreenforenteringanewpassword
appears.
Password
Adjust Confirm
Select
Password
New Password
Off
[ ]
• When the password has already been set, the
screen for entering the old password appears
instead. In such a case, enter the old password
using the same operation as in next step and
press the ENTER button. Then the screen for
entering a new password appears.
6. Enter a 4 digit password using the , , and
buttons.
(=1, =2, =3, =4)
• To cancel the procedure, press the MENU
button.
7. Press the ENTER button.
8. Press the MENU button to exit the menu.
To enable or disable password lock:
(See page 21 for menu setting.)
1. Display the Option menu.
2. Press the or button to select Password.
3. Press the ENTER button.
• The Password menu appears.
4. Press the or button to select Password.
5. Press the or button to select On or Off.
6. Press the MENU button to exit the menu.
Important:
• Todisablethepasswordlockwhenthescreen
for entering the password is displayed, press the
MENU and ENTER buttons on the projector at the
same time.
Using the interactive pen
You can operate the computer connected to this
projector using the supplied (or separately sold,
commercially available) interactive pen. Before
operating the computer, make the following
preparation.
• Fortheoperatingprocedureoftheinteractivepen,
see the User Manual supplied with the interactive
pen.
Preparation for using the interactive pen:
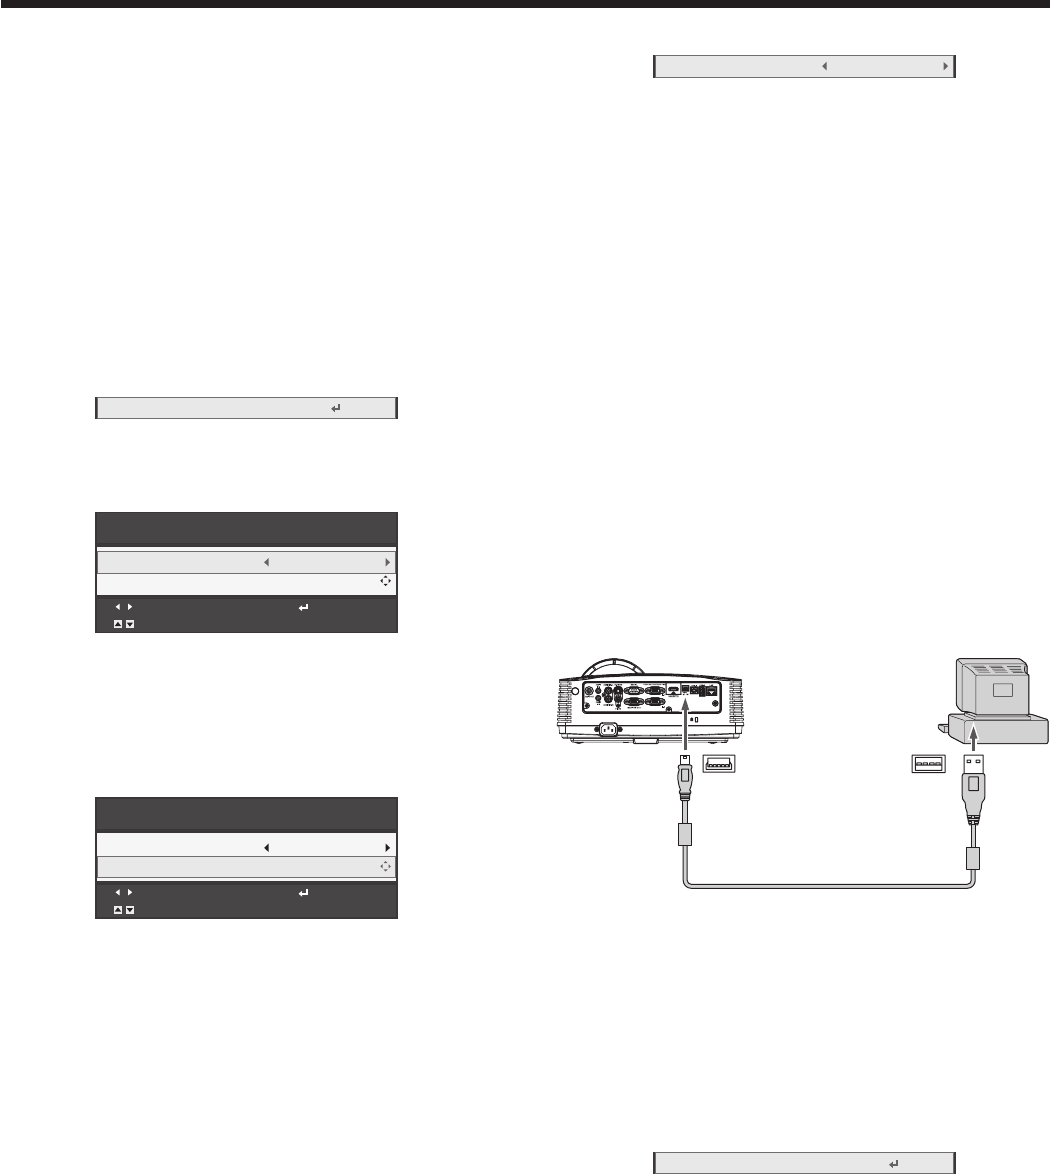
1. Connect the projector to the computer using the
supplied USB cable as shown below.
To USB
mini-B
terminal
To USB
port
USB cable
Computer
USB 5-pin
(type
mini-B)
USB
4-pin
(type A)
2. Configure the necessary settings in the Interactive
Pen menu. (See page 29.)
• Tomakethepairingsetting,followthe
procedure described below.
Settings for making the pair:
(See page 21 for menu setting.)
1. Display the Interactive Pen menu.
2. Press the or button to select Pair New Device.
3. Press the ENTER button.
• Thedialogappearstosuggestswitchingtothe
pairing preparation mode.
4. Switch the mode of the interactive pen to the
pairing preparation mode using the P button on the
pen.
• Fordetailsoftheoperatingprocedure,seethe
User Manual supplied with the interactive pen.
5. Press the ENTER button.
• The communication for making the pair is
carried out, and then the indicator of the pen
notifies whether the pairing succeeds or not.


