


EN-19
ENGLISH
Menu operation (continued)
Basic operation
Several settings can be adjusted using the menu.
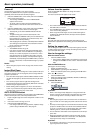
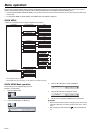
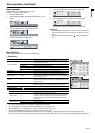
Example : Auto power off time setting
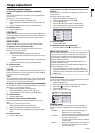
1. Press the MENU button.
2. Select the DETAIL MENU and press the ENTER button (or T
button).
3. Press the W or X button to select INSTALLATION.
4. Press the ENTER button (or T button).
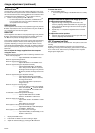
5. Press the S or T button to select AUTO POWER OFF.
6. Press the W or X button to adjust the auto power off time.
7. Exit the menu by pressing the MENU button several times.
Important:
• When the button doesn’t function, unplug the power cord from the
wall outlet. Wait about 10 minutes, plug the power cord in, and try
again.
• After selecting the items marked with , press the ENTER but-
ton.
Menu Options
Set the following options provided in the respective menus.
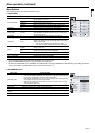
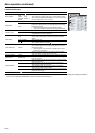
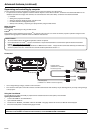
1. IMAGE menu
• You cannot adjust TINT when the TV50 (PAL, SECAM) signal is inputted.
• You cannot adjust COLOR TEMP. when WALL SCREEN is set to other than OFF.
• When COMPUTER 1 or COMPUTER 2 is selected, COLOR and TINT do not work.
• When COLOR ENHANCER is switched, projected images may be distorted.
• Captions are not displayed while information about the menu, volume setting, or input signal selection is being displayed on the screen.
• The closed caption function displays text information included in the NTSC signal, which is mainly used for TV broadcasting in the United States.
IMAGE
opt.
INSTALLATION
opt.
INSTALLATION
opt.
WALL SCREEN
BEIGE
OFF
AUTO POWER
ON
OFF
AUTO POWER
OFF
30min
AUTO POWER
ON
OFF
AUTO POWER
OFF
Menu option Setting Feature description
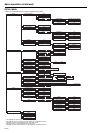
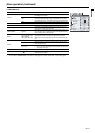
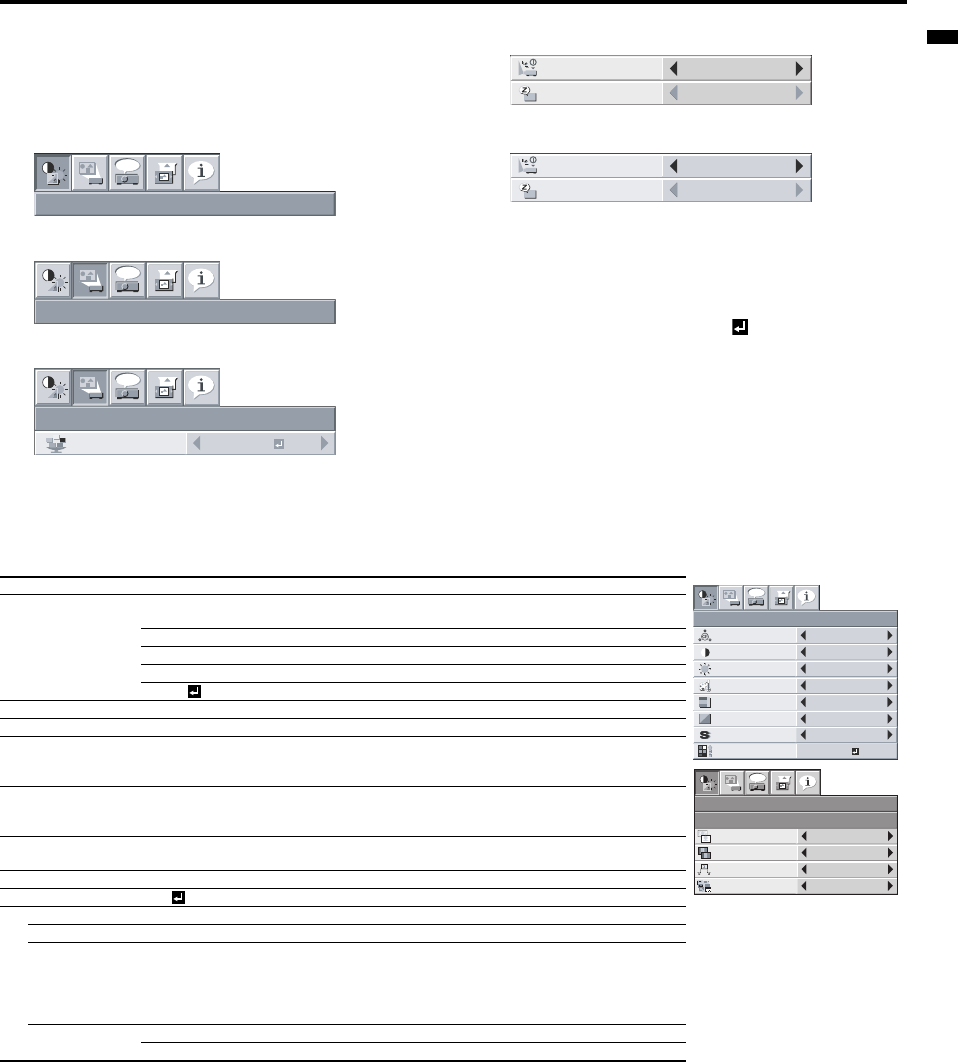
IMAGE ADVANCED menu
COLOR ENHANCER
AUTO
Automatically sets an optimal color balance based on the input signal.
Use this setting for most cases.
PRESENTATION Makes projected images bright and crisp.
STANDARD Makes projected images look natural.
THEATER Makes projected images soft and smooth. Best suited for movies.
USER Adjusts the gamma curve, color intensity, or balance. (See page 23.)
CONTRAST ±30 Adjusts the contrast of projected images. (See page 23.)
BRIGHTNESS ±30 Adjusts the brightness of projected images. (See page 23.)
COLOR TEMP. 4 options
Adjusts the color temperature. You cannot select this setting when
WALL SCREEN in the INSTALLATION menu is set to a setting other
than OFF. (See page 23.)
COLOR ±10
Adjusts the color tone of projected images. (See page 23.) You cannot
select this setting when the COMPUTER1 or COMPUTER2 is selected
as the input source.
TINT ±10
Adjusts the color tint of projected images. (See page 23.) You can
select this setting only when NTSC is selected as the input signal.
SHARPNESS ±5 Adjusts the sharpness of projected images. (See page 23.)
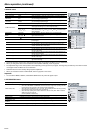
ADVANCED MENU OK
NOISE REDUCTION
ON/OFF Reduces noise of projected images when the input signal is noisy.
CTI ON/OFF Corrects smeared color borders.
INPUT LEVEL ±5
Adjusts the input level of analog video signals.
The input level of the video signal varies across devices to which the
projector is connected. A high input level causes projected images to
appear solid white, and a low input level causes projected images to
appear dark.
CLOSED CAPTION
OFF Does not display captions.
CC1/CC2 Displays captions.
IMAGE
opt.
CONTRAST
BRIGHTNESS
0
0
STANDARD
0
0
OK
COLOR
TINT
ADVANCED MENU
COLOR TEMP.
0
SHARPNESS
AUTO
COLOR
ENHANCER
IMAGE
ADVANCED MENU
CTI
INPUT LEVEL
0
ON
ON
NOISE REDUCTION
CLOSED CAPTION
OFF
opt.