


22
Chapter2AdjustingScreens
2.
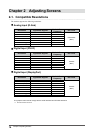
Prepare to use analog screen adjustment patterns.
Load the “EIZO LCD Utility Disk” to your PC, and then open the “Screen adjustment pattern les”.
Note
• For details and instructions on opening the “Screen adjustment pattern les”, refer to the Readme.txt le.
3.
Perform the auto adjustment again with the analog screen adjustment pattern
displayed.
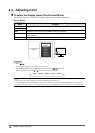
●
To adjust ickering, screen position, and screen size automatically
Procedure
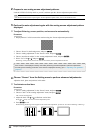
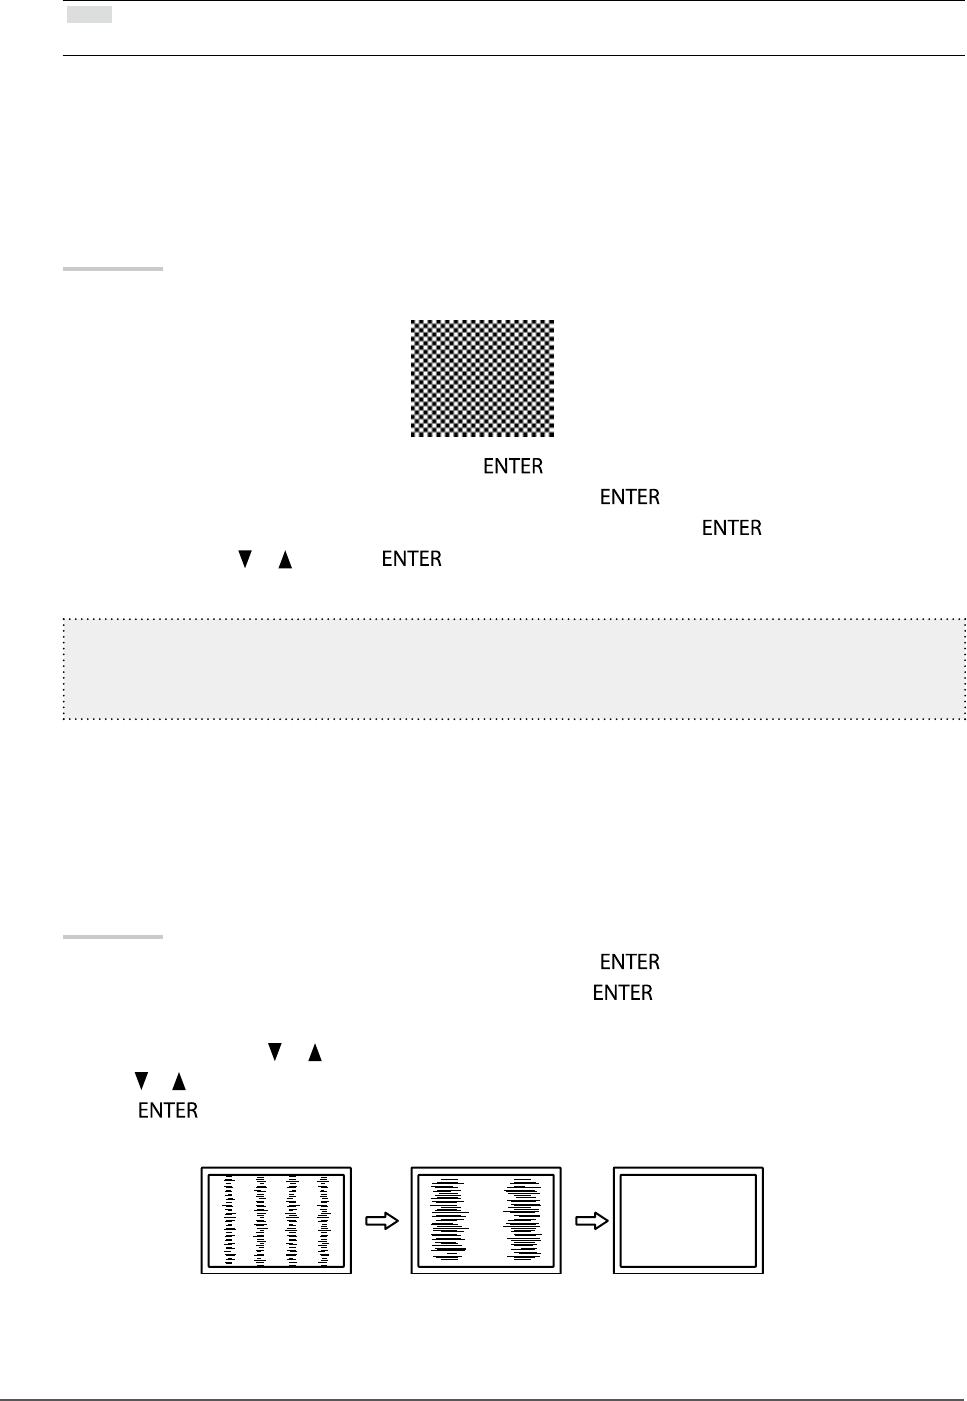
1. Display Pattern 1 in full screen on the monitor using the “Screen adjustment pattern les”.
2. Choose “Screen” in the Setting menu, and press .
3. Choose “Analog Adjustment” in the “Screen” menu, and press
.
4. Choose “Auto Screen Adjust” in the “Analog Adjustment” menu, and press
.
5. Select “Yes” with
or , and press .
Flickering, screen position, and screen size are corrected by the auto-adjustment function.
Ifthescreenisnotdisplayedcorrectlyevenafterperformingtheautoadjustment,performadjustments
accordingtothefollowingprocedure.Ifthescreenisdisplayedcorrectly,goto“5.Adjustingcolorgradation.”
(page24).
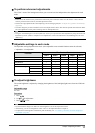
4.
Choose “Screen” from the Setting menu to perform advanced adjustments.
Adjust the clock, phase and position, in this order.
●
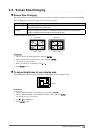
To eliminate vertical bars
Procedure
1. Choose “Analog Adjustment” in the “Screen” menu, and press
.
2. Choose “Clock” in the “Analog Adjustment” menu, and press
.
The “Clock” menu appears.
3. Adjust the clock with or to eliminate vertical bars.
Press or slowly so as not to miss the adjustment point.
4. Press to exit.
When blurring, ickering or bars appear on the screen after adjustment, proceed to “To remove ickering or blurring ”.