NI High-Speed Digitizers Getting Started Guide 12 ni.com
Note (USB devices) When you first install an NI USB-5132/5133, Windows will recognize a new
device. Click Next on any dialog boxes that appear to complete the installation.
After Windows recognizes newly installed device, a dialog box prompts you to select from the following
options, which may vary depending on the devices and software installed on your system:
• Begin a Measurement with This Device Using NI LabVIEW SignalExpress opens LabVIEW
SignalExpress.
• Use This Device Interactively launches the NI-SCOPE Soft Front Panel (SFP).
• Begin an Application with This Device launches LabVIEW.
• Configure and Test This Device opens MAX to your device so you can configure settings.
• Take No Action leaves your device in the system but does not launch an application.
6. Configuring and Testing in MAX
1. Launch MAX by double-clicking the Measurement & Automation icon on the desktop.
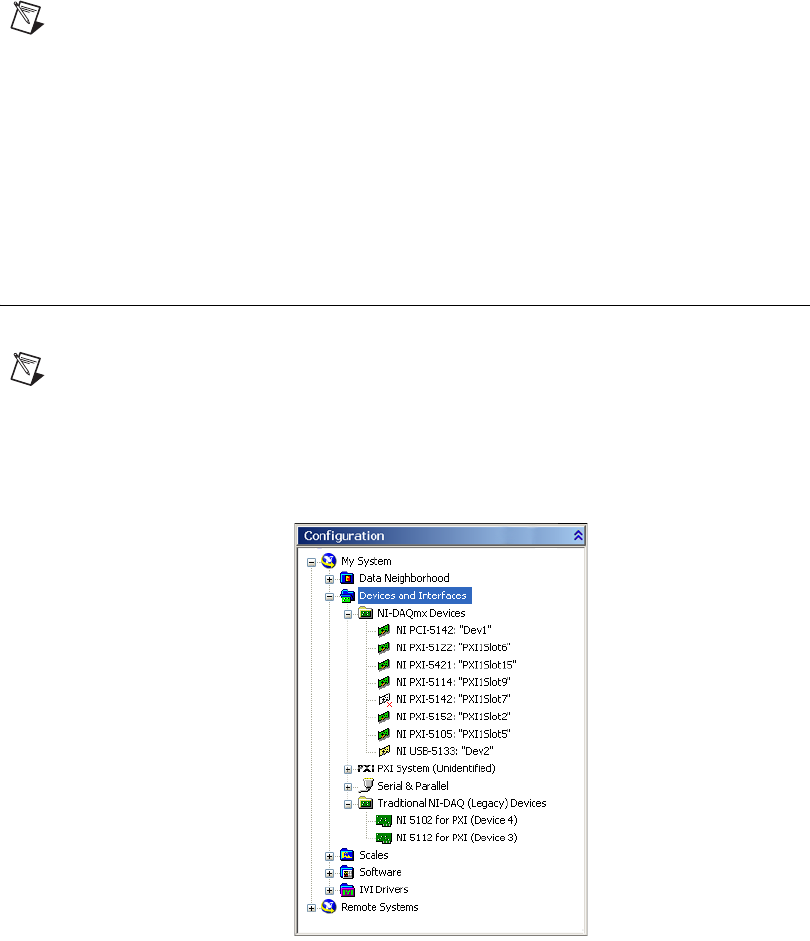
Note When you configure your device in MAX, remember that all SMC-based devices and USB
devices are configured under NI-DAQmx, and are referred to in MAX as NI-DAQmx Devices.
Legacy devices are configured in MAX under Traditional NI-DAQ (Legacy) Devices. However,
after you configure these devices in MAX, you use NI-SCOPE to program them.
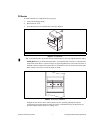
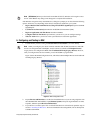
Figure 9 shows the MAX Configuration Tree, which lists both NI-DAQmx Devices and Traditional
NI-DAQ (Legacy) Devices.
Figure 9. MAX Configuration Tree
2. Expand Devices and Interfaces to see the list of installed devices. If you are using a digitizer with
the LabVIEW Real-Time Module, expand Remote Systems. Find your target IP address or name,
expand it, and then expand Devices and Interfaces.
3. If your device is not listed, press <F5> to refresh. If the device is still not listed, repeat the steps in
section 5. Installing the Hardware. For more information about using MAX, refer to the help files
available within MAX.


