


42
3. Convenient Features
Projecting Your Computer’s Screen Image from the Projector
via the USB Cable (USB Display)
UsingacommerciallyavailableUSBcable(compatiblewithUSB2.0specications)toconnectthecomputerwiththe
projectorallowsyoutosendyourcomputerscreenimagetotheprojectorfordisplaying.PowerOn/Offandsource
selectionoftheprojectorcanbedonefromyourcomputerwithoutconnectingacomputercable(VGA).
NOTE:
• TomakeUSBDISPLAYavailableonWindowsXP,theWindowsuseraccountmusthave“Administrator”privilege.
• USBDisplayusesfunctionsofImageExpressUtilityLitecontainedonNECProjectorCD-ROM(→page53).
StartingUSBDisplay,however,willnotinstallImageExpressUtilityLiteonyourcomputer.ThisisbecauseUSBDisplayexecutes
theprojector'sprogramonly.
• USBDisplaywillnotworkin[POWER-SAVING]of[STANDBYMODE].(→page89)
1. Startthecomputer.
2. Connecttheprojector’spowercordtothewalloutletandputtheprojectorintostandbycondition.
• Opentheprojector’slenscover.
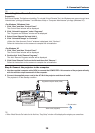
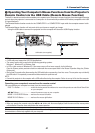
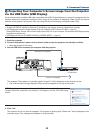
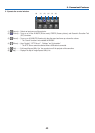
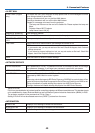
3. UsetheUSBcabletoconnectthecomputerwiththeprojector.
USB (PC)
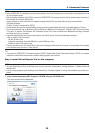
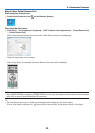
The message “The projector is in standby mode. Connect it?” will be displayed on the computer screen.
• ThecontrolwindowofImageExpressUtilityLitewillbedisplayedonthetopofthescreen.
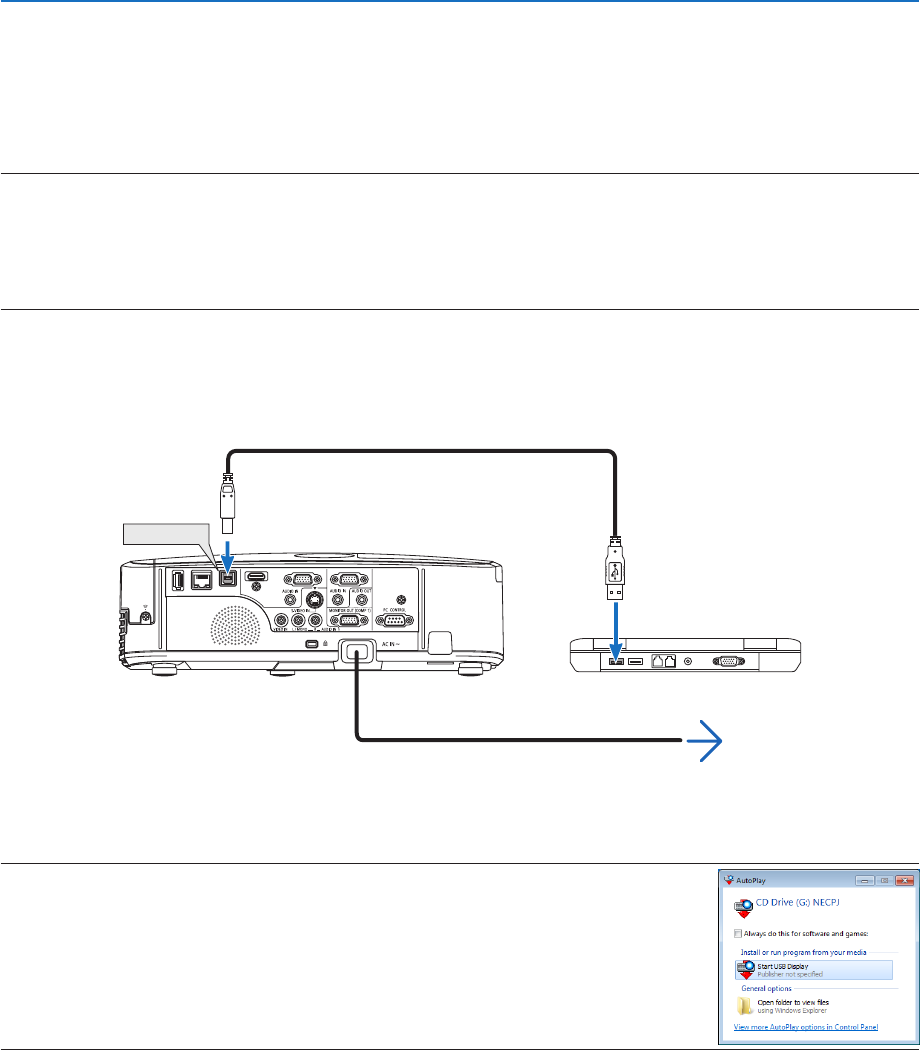
NOTE:Dependingon thecomputersetting,the “AutoPlay”windowmay bedisplayedwhenthe
computerdetectstheconnectiontotheprojector.Ifthishappens,clickthe“StartUSBDisplay”
window.
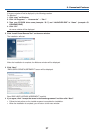
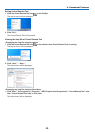
4. Click“Yes”.
The projector will turn on and the message “The projector is getting ready. Please wait.” will be displayed on the
computer screen. This message will disappear in a few seconds.
USB cable (not supplied)
→ To wall outlet
Power cord (supplied)