


E – 11
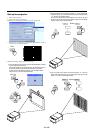
Connecting the Power Cable and Turning on the Projector
Before you turn on your projector, ensure that the computer or video source is turned on and that your lens cap is removed.
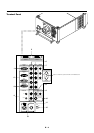
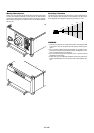
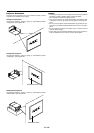
1. Connect the supplied power cable to the projector.
Plug the supplied power cable into the AC outlet.
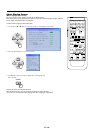
3. SETUP
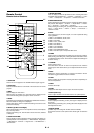
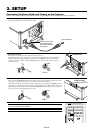
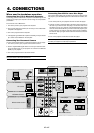
2. Turn On The Projector
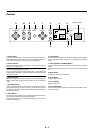
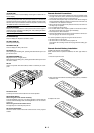
The main power switch is on the front panel of the projector.
By pushing up this switch, the projector will go into its standby mode and the POWER
indicator will glow orange. Only after you press the 'POWER ON' button on the remote
control or projector cabinet will the POWER indicator turn to green and the projector
will fully turn on.
ON
TEST
ABC
1
DEF
2
GHI
3
JKL
4
MNO
5
PQR
6
STU
7
VWX
8
0
YZ/
9
POWER INPUT
OFF
IMAGE/
PROJECTOR
ON
OFF
PICTURE
ADJUST
WHITE BAL.
To the wall outlet
Open the cover of the
power cable to plug
fully into the AC IN on
the projector.
POWER
ON
OFF
POWER
STATUS
ON/OFF
OFF
POWER
ON
POWER
STATUS
ON/OFF
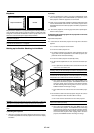
[POWER] switch
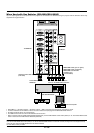
3. Turn Off The Projector
First press the POWER OFF button on the remote control or the projector cabinet for a mini-
mum of two seconds. Allow the fan to cool the projector for three minutes.
This will extend the life of the lamp. After the cooling fan stops working, the POWER indicator
will change to a steady orange glow and the projector will be in the stand-by mode. Then turn
off the main power switch on the front panel. The POWER indicator will go out. If you desire to
move the projector then unplug the power cable.
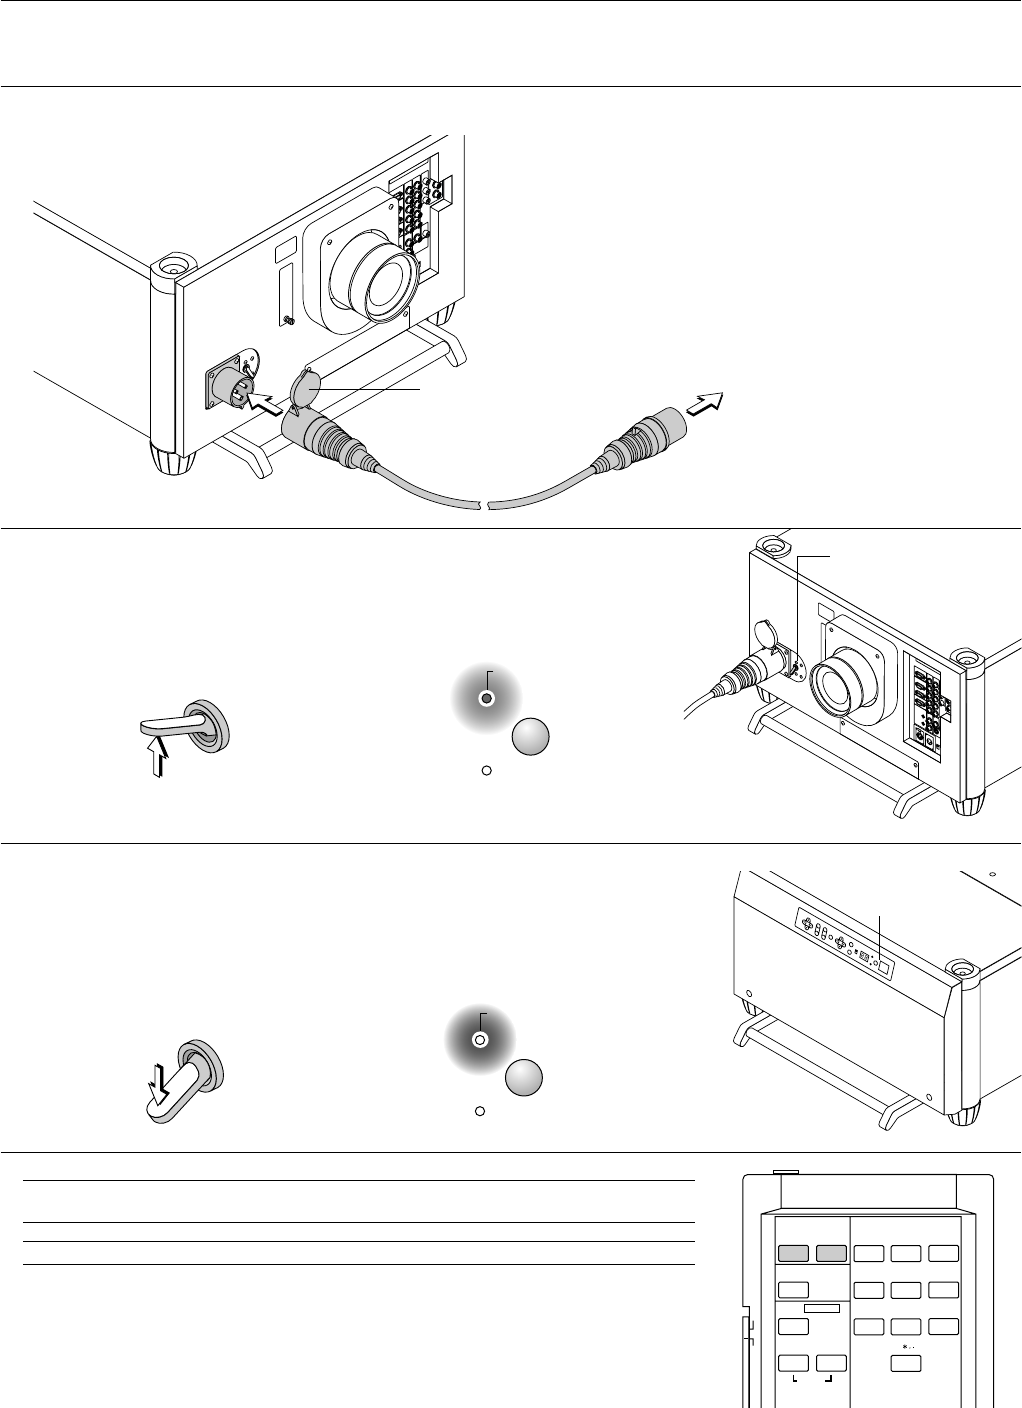
[POWER] button
[POWER] indicator
NOTE: Immediately after turning on the projector, screen flicker may occur. This is not a fault. Wait 3 to 5
minutes until the lamp lighting is stabilized.
CAUTION: Do not turn off the main power while the cooling fan is working.