


6-42 User’s Reference Guide
MM
MM
aa
aa
nn
nn
aa
aa
gg
gg
ee
ee
mm
mm
ee
ee
nn
nn
tt
tt
II
II
PP
PP
ss
ss
ee
ee
tt
tt
uu
uu
pp
pp
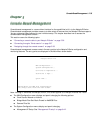
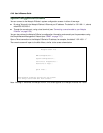
Consult your network administrator or Internet service provider to obtain the IP setup information such as the
Ethernet IP address, Ethernet subnet mask, default IP gateway. You will need this information before changing
any of the settings in this screen. Changes made in this screen will take effect only after the Netopia D-Series
is reset.
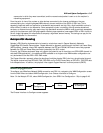
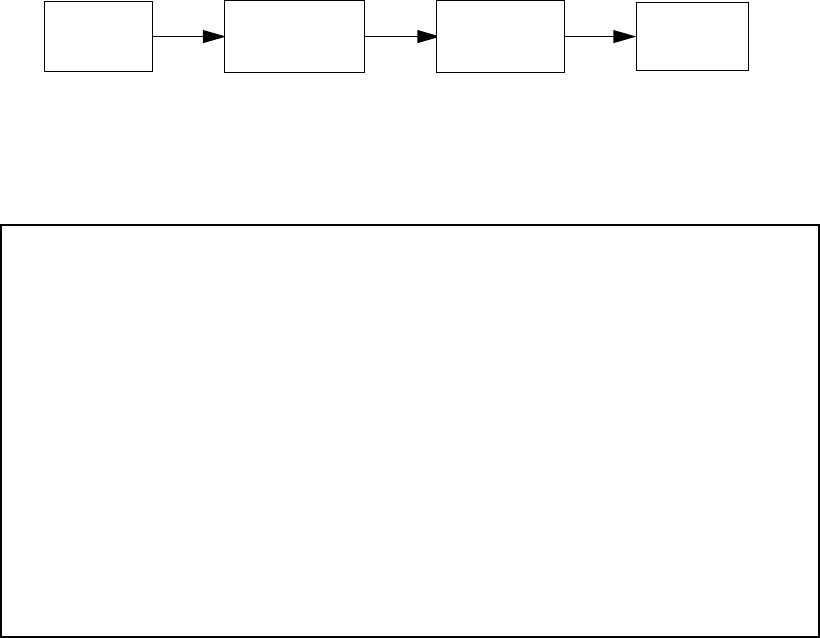
To go to the IP Setup options screen, from the Main Menu, select System Configuration then Network
Protocols Setup, and then IP Setup.
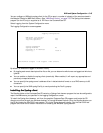
The IP Setup screen appears.
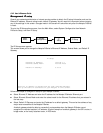
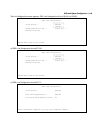
This screen allows you to change the Netopia D-Series’s Ethernet IP Address, Subnet Mask, and Default IP
Gateway.
Follow these steps to configure IP Setup for your Netopia D-Series:
■ Select Ethernet IP Address and enter the IP address for the Netopia D-Series’s Ethernet port.
■ Select Ethernet Subnet Mask and enter the subnet mask for the Ethernet IP address that you entered in
the last step.
■ Select Default IP Gateway and enter the IP address for a default gateway. This can be the address of any
major router accessible to the Netopia D-Series.
A default gateway should be able to successfully route packets when the Netopia D-Series cannot
recognize the intended recipient’s IP address. A typical example of a default gateway is the ISP’s router, in
bridge mode, or the locally attached router, in DSU mode.
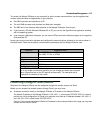
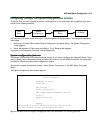
Main
Menu
Management
IP Setup
System
Configuration
IP
Setup
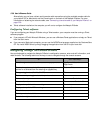
IP Setup
Ethernet IP Address: 192.168.1.1
Ethernet Subnet Mask: 255.255.255.0
Default IP Gateway: 0.0.0.0
Enter an IP address in decimal and dot form (xxx.xxx.xxx.xxx).
Set up the basic IP attributes of your Netopia in this screen.