


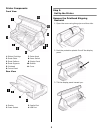
10
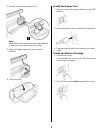
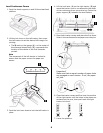
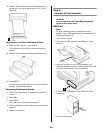
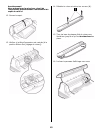
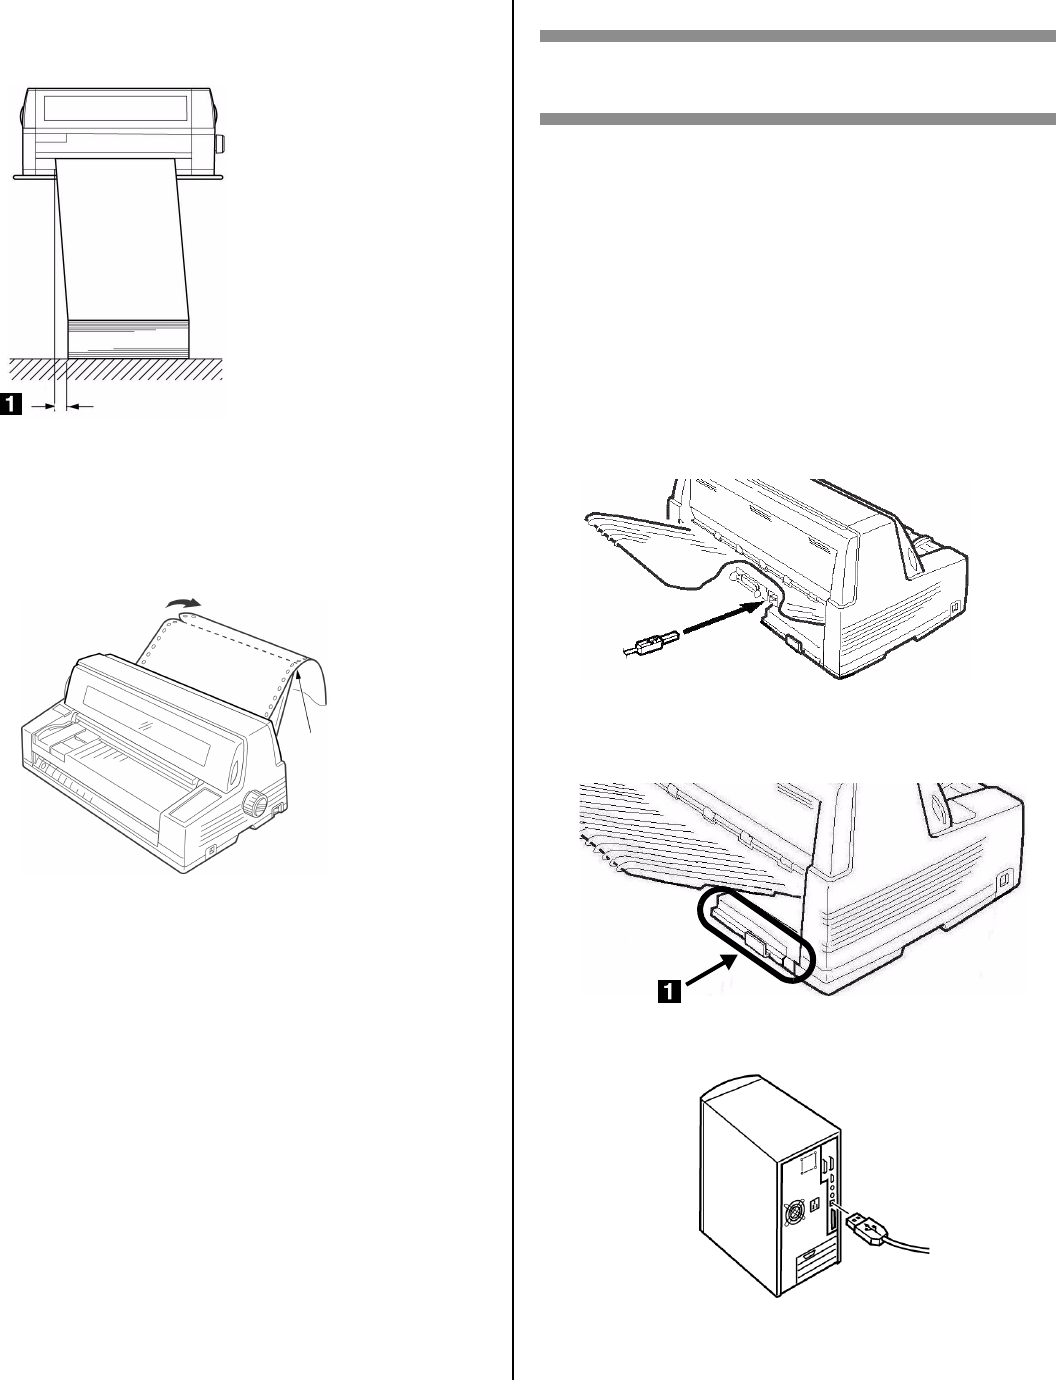
8. Position the continuous forms stack below the
printer with no more than about 1 inch (3 cm)
offset (
1
).
Tearing Off Printed Continuous Forms
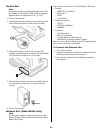
9. With the SEL light on, press SHIFT.
The continuous forms move forward onto the
stacker.
10. Tear off the printed form along the perforation.
11. Press SHIFT.
The forms move back into the printer, ready for
printing the next document.
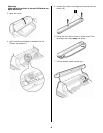
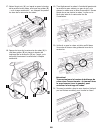
Removing Continuous Forms
1. Follow the steps above to remove the printed
portion.
2. Press SEL.
3. Press LOAD.
The forms move back to the tractors.
4. Lift the platform and remove the forms from the
tractors.
5. Lower the platform.
Step 5:
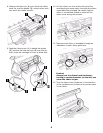
Connect to the Computer
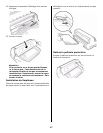
Caution!
Do not connect both the USB and parallel
ports at the same time.
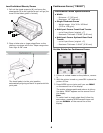
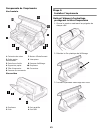
USB Port
Note
No USB interface cable is supplied with the
printer. Use a USB cable that is compatible with
USB specification 2.0.
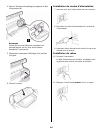
1. Turn off the printer.
2. Connect the USB cable to the USB port on the
printer.
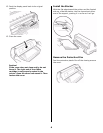
3. Secure the cable in one of the channels (
1
)
molded into the housing on either side at the back
of the printer to keep it out of the way.
4. Connect the USB cable to the USB port on the
computer.
5. Turn on the printer.
F5-08a.jpg
F5-09.jpg
F3_02_c
rop.jpg
F1_24c.jpg
usb_pc.jpg