


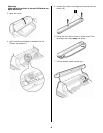
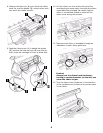
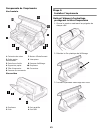
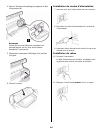
5
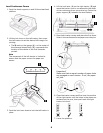
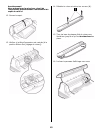
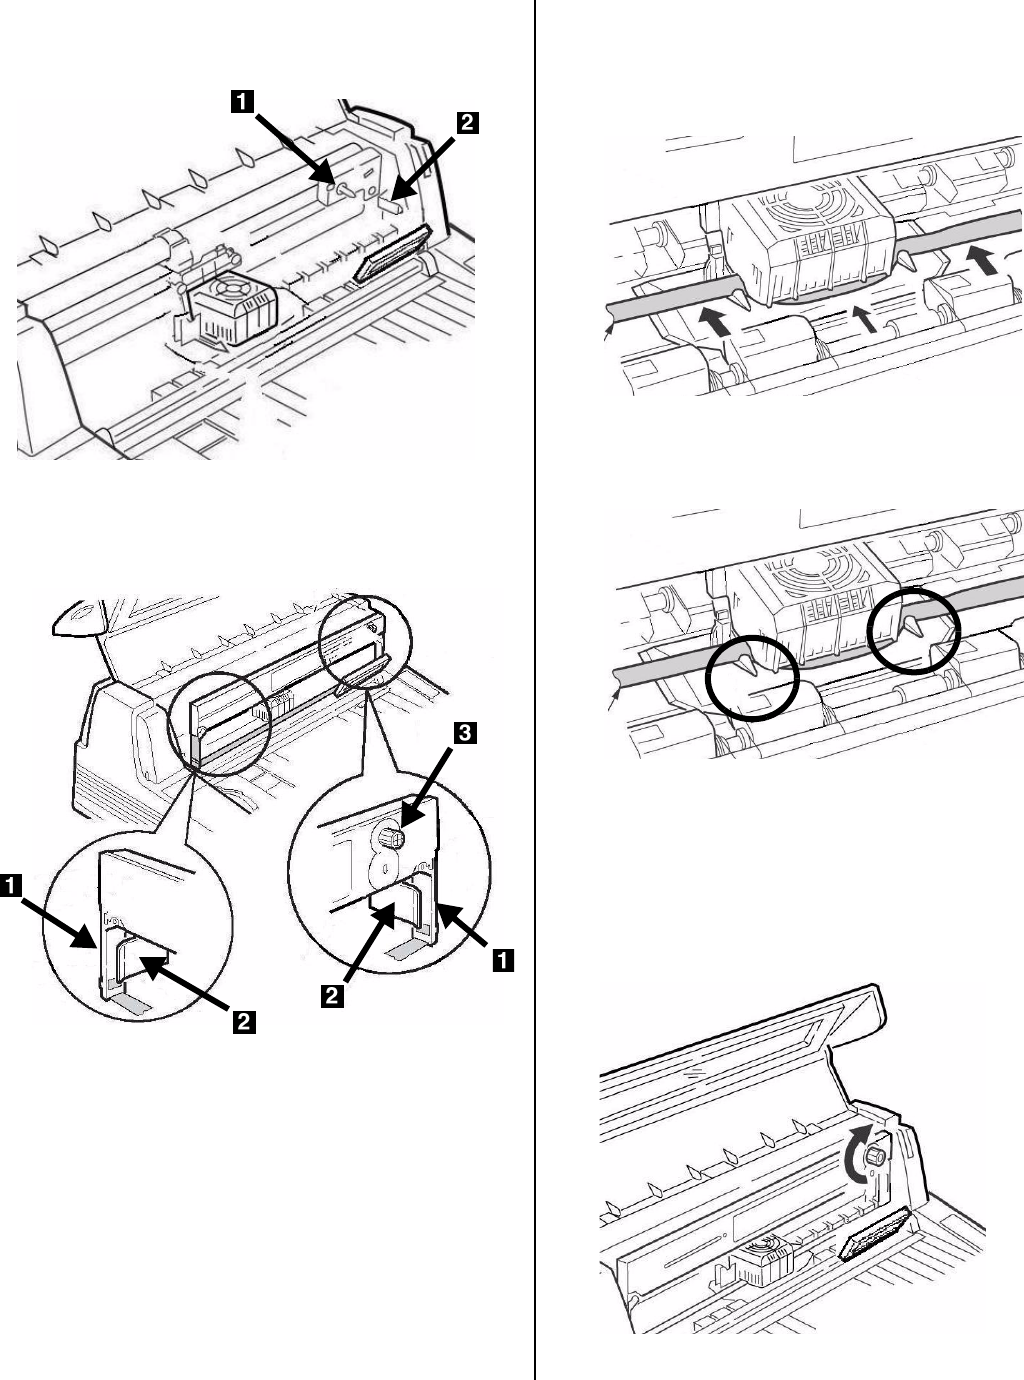
8. Observe the black pin (
1
) over which the ribbon
knob fits, and the guides (
2
)—one at either end—
into which the ribbon arms fit.
9. Feed the ribbon arms (
1
) in beside the guides
(
2
), position the take-up knob (
3
) over the pin,
then press the cartridge in firmly at either end.
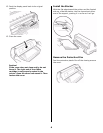
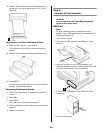
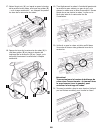
10. Pull the ribbon out a bit at the left end of the
cartridge to give some slack, then slide the ribbon
underneath the printhead. Be careful that the
ribbon is not twisted, folded or pulled off the
ribbon arms during this process.
11. Make sure the ribbon is threaded through the
indentation in each ribbon guide arm.
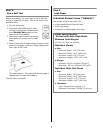
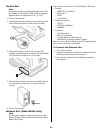
Caution!
Always turn the ribbon knob
clockwise
:
turning it
counter
clockwise (to the left) can
cause the ribbon to jam.
12. Turn the ribbon knob
clockwise
(in the direction
of the molded arrow) to take up any excess slack
in the ribbon.
F2_07b.jpg
F2_11a.jpg
F2_13a.jpg
F2_1
3b.jp
g
F2_15a.j
pg