32
2
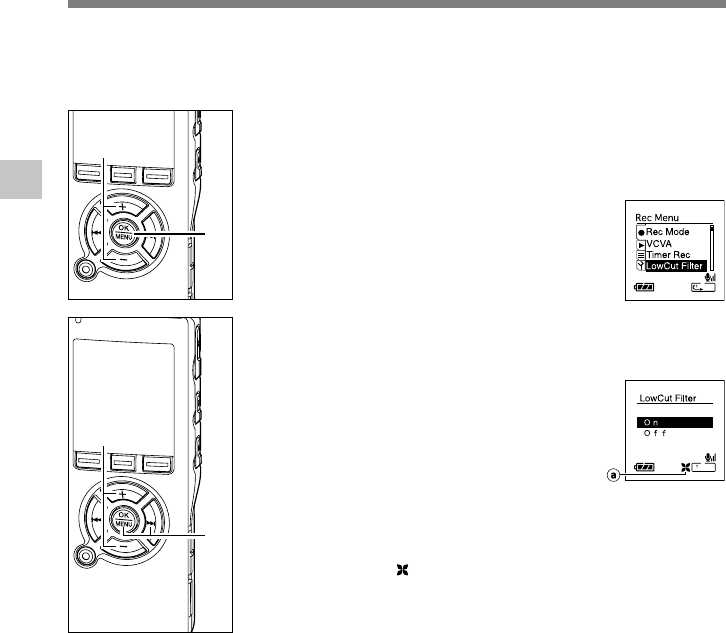
Set the Low Cut Filter (LowCut Filter)
Set the Low Cut Filter
The recorder has a Low Cut Filter function to minimize low-frequency sounds and record
voices more clearly. This function can reduce noise from air conditioners, projectors and
other similar noises.
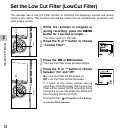
1
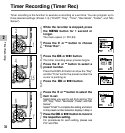
While the recorder is stopped or
during recording, press the MENU
button for 1 second or longer.
The menu opens (
☞
P91,93).
2
Press the + or – button to choose
“LowCut Filter”.
3
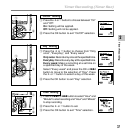
Press the OK or 9 button.
The Low Cut Filter setup process begins.
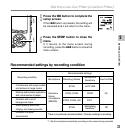
4
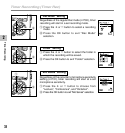
Press the + or – button to choose
between “On” and “Off”.
On: Low Cut Filter will be turned on.
Off: Low Cut Filter will be cancelled.
If it goes to the menu screen during
recording, move the cursor and the Low Cut
Filter will be turned On/Off according to the
movement so you can check the effect with
the recording monitor (☞P27).
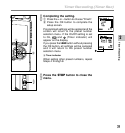
If it is set to “On”, will appear on the display.
a Low Cut Filter indicator
1
2
3
4


