PRINTER NOTE: Page size 9” x 9.25”. Align this page to top, right hand corner. Back box bleeds off
top and right edge. Left side of page extends to 9.25 inches.
Component Installation
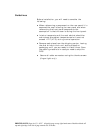
Caution:
Disk drives and printed circuit board
components are sensitive to electrostatic discharge. To
prevent operating failure or damage, observe the
following: Establish a ground for yourself by using the
wrist grounding strap, or by touching the metal chassis
prior to handling or installing the drives or printed
circuit board components.
1
Down your server or power off your computer system
in preparation for installing the controller.
2
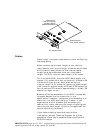
Install the RAID Controller into your host computer.
For specific instructions, refer to your host system’s
manual.
The controller must be installed in slot 1 of the host
system (master slot) when booting from this
controller.
Caution: Exercise care when handling any hard disk
drive. Do not drop, jar, or bump the disk drives.
3
Remove one of the disk drives from its anti-static
protective packaging.
4
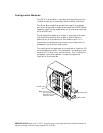
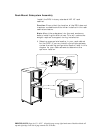
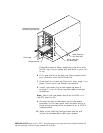
Holding the drive by its edges, locate the Drive
Latching Clips and pull out on the latches to unlock
them.
The Drive Latching Clips are placed in the locked
position for shipping purposes.
5
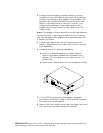
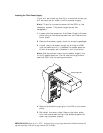
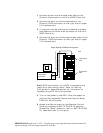
Insert the disk drive into the drive bay by aligning
its rails into the drive bay slots, component side
toward the right on rack-mount systems or
component side down on tower-based systems.
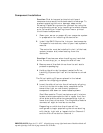
Dual-Bus module: The drive slots are split into two
buses: one bus connects the left or upper front four
drive slots and the other bus connects the right or
lower front four drive slots. The Single-Bus module
connects all eight drive slots to one bus.
Depending on which bus the drives will be
configured to, begin populating the drives starting
with the far right slot or lowest slot for Channel 0
and the fifth drive slot for Channel 1.


