


16
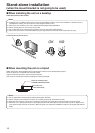
Stand-alone installation
(when the mount bracket is going to be used)
The same steps are followed as for the kind of installation where the unit is suspended from an overhead surface
(pages 8 to 11).
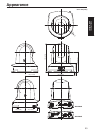
1 Check the mounting space.
p As with installing the unit suspended from an overhead surface, carefully check the space where the unit will be
mounted, and then decide if it is appropriate to install the unit in that space.
Note
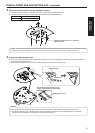
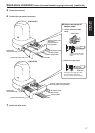
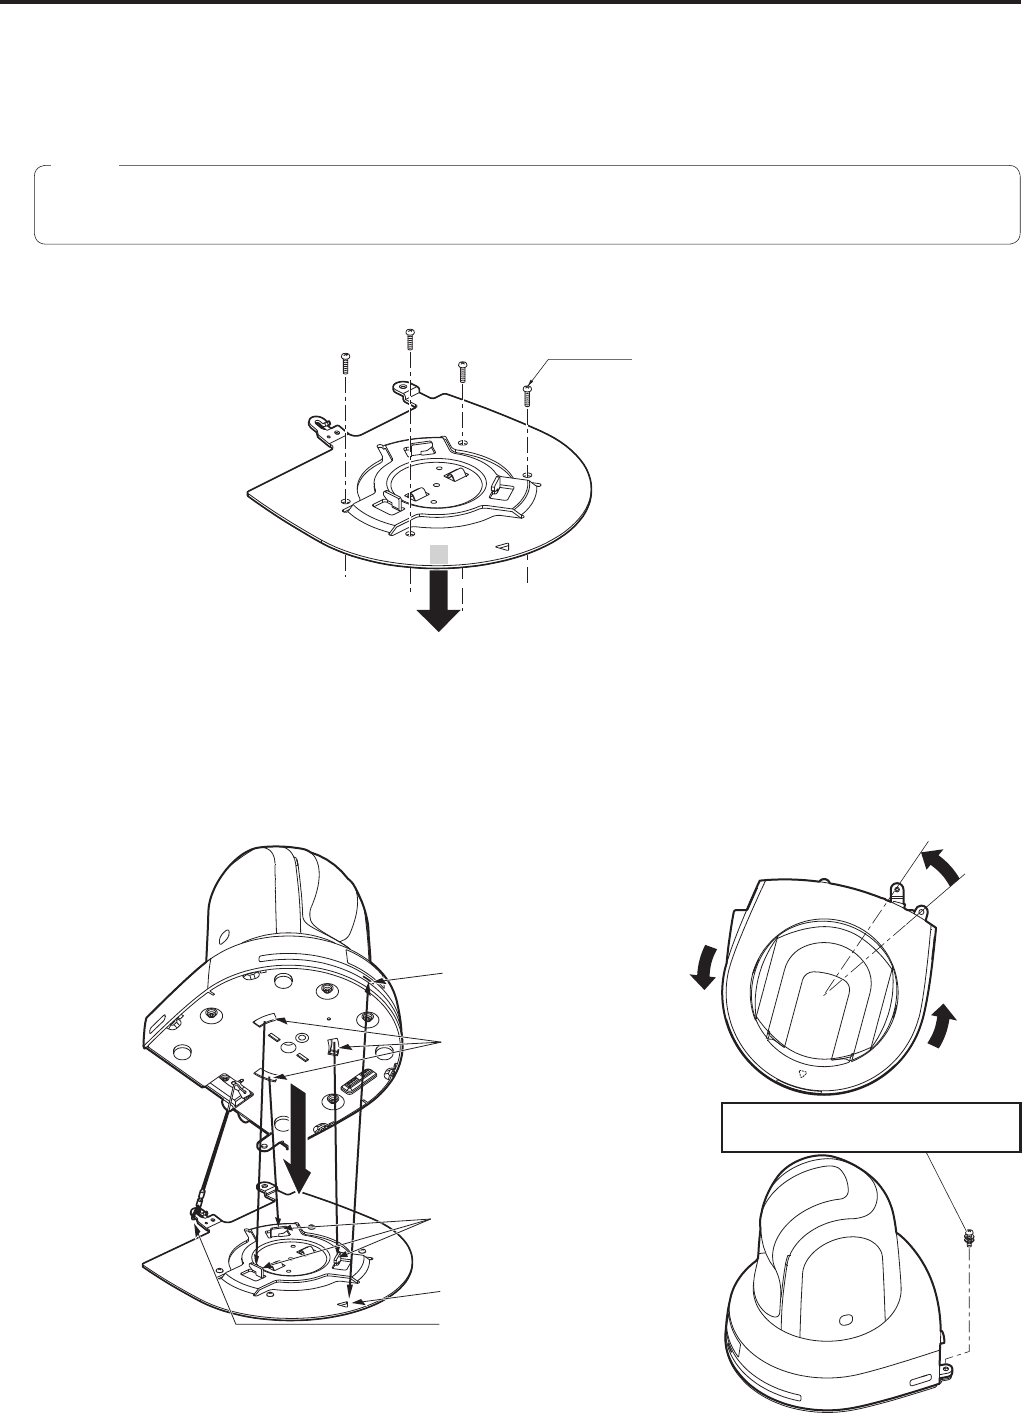
2 Mount the mount bracket onto the installation surface.
Bracket mounting screws 4 (supplied)
(M4, bind-head)
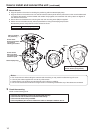
3 Attach the drop-prevention wire.
4 Mount the unit.
p Align the position of the hole for checking the positioning with the status display lamp.
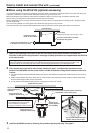
p Align the holes on the camera main unit used to insert the bottom panel with the protrusions on the mount bracket used
for inserting the camera, push the bracket and camera firmly together, and rotate the main unit by about 15 degrees in
the direction of the arrow.
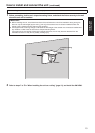
p Secure the mount bracket to the unit using the main unit mounting screw (M3) as supplied.
Main unit mounting screw (M3 screw)
(with flat washer, spring washer)
Status display lamp
On the camera main unit:
Holes (3) used to insert
the bottom panel
On the mount bracket:
Protrusions (3) used for
inserting the camera
Hole for checking the
positioning
Attach the drop-prevention
wire.
Approx.
15°