


37
Appendix
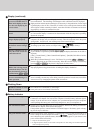
1 Turn off the computer and insert the CD/DVD drive into the multimedia pocket. (
“Multimedia Pocket”)
2 Turn on the computer, and press F2 while [Panasonic] boot screen is displayed.
The Setup Utility will start up.
If a password has been set, enter the Supervisor Password. You cannot register [Boot] menu
with a User Password.
3 Select [Boot] menu, then select [IDE MP: xxxxxxxxxx] and press F6 until [IDE MP:
xxxxxxxxxx] is at the top of the [Boot] menu.
4 Place the disk number one of the recovery CDs into the CD/DVD drive.
5 Press F10 .
At the confirmation message, select [Yes] and press Enter .
The computer will restart. If [Enter Password] is displayed during the following procedures,
input the Supervisor Password or the User Password.
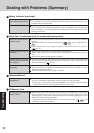
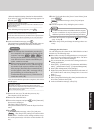
This screen should appear.
6 Press 3 to execute [3.Backup].
Regarding backup area
• Requires availability of at least half of the entire hard disk. Without sufficient space
available, the backup area cannot be created.
• When the backup area is created, the usable hard disk capacity will be reduced to less
than half.
• The backup area cannot be accessed from Windows. For this reason, backed up data
cannot be copied to CD-R or other removable disk media.
• When the hard disk backup function is executed, data in the backup area will be over-
written. If newly created or edited data is backed up later, data stored previously
in the backup area will be lost.
NOTE
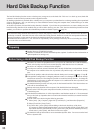
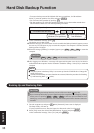
Create a Backup Area
When dividing the hard disk into partitions
Do not execute [1. Recovery] to divide the hard disk into partitions. The hard disk backup
function cannot be enabled after the hard disk has been partitioned. Use procedure 8 to
divide the hard disk.
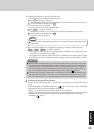
CAUTION
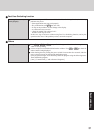
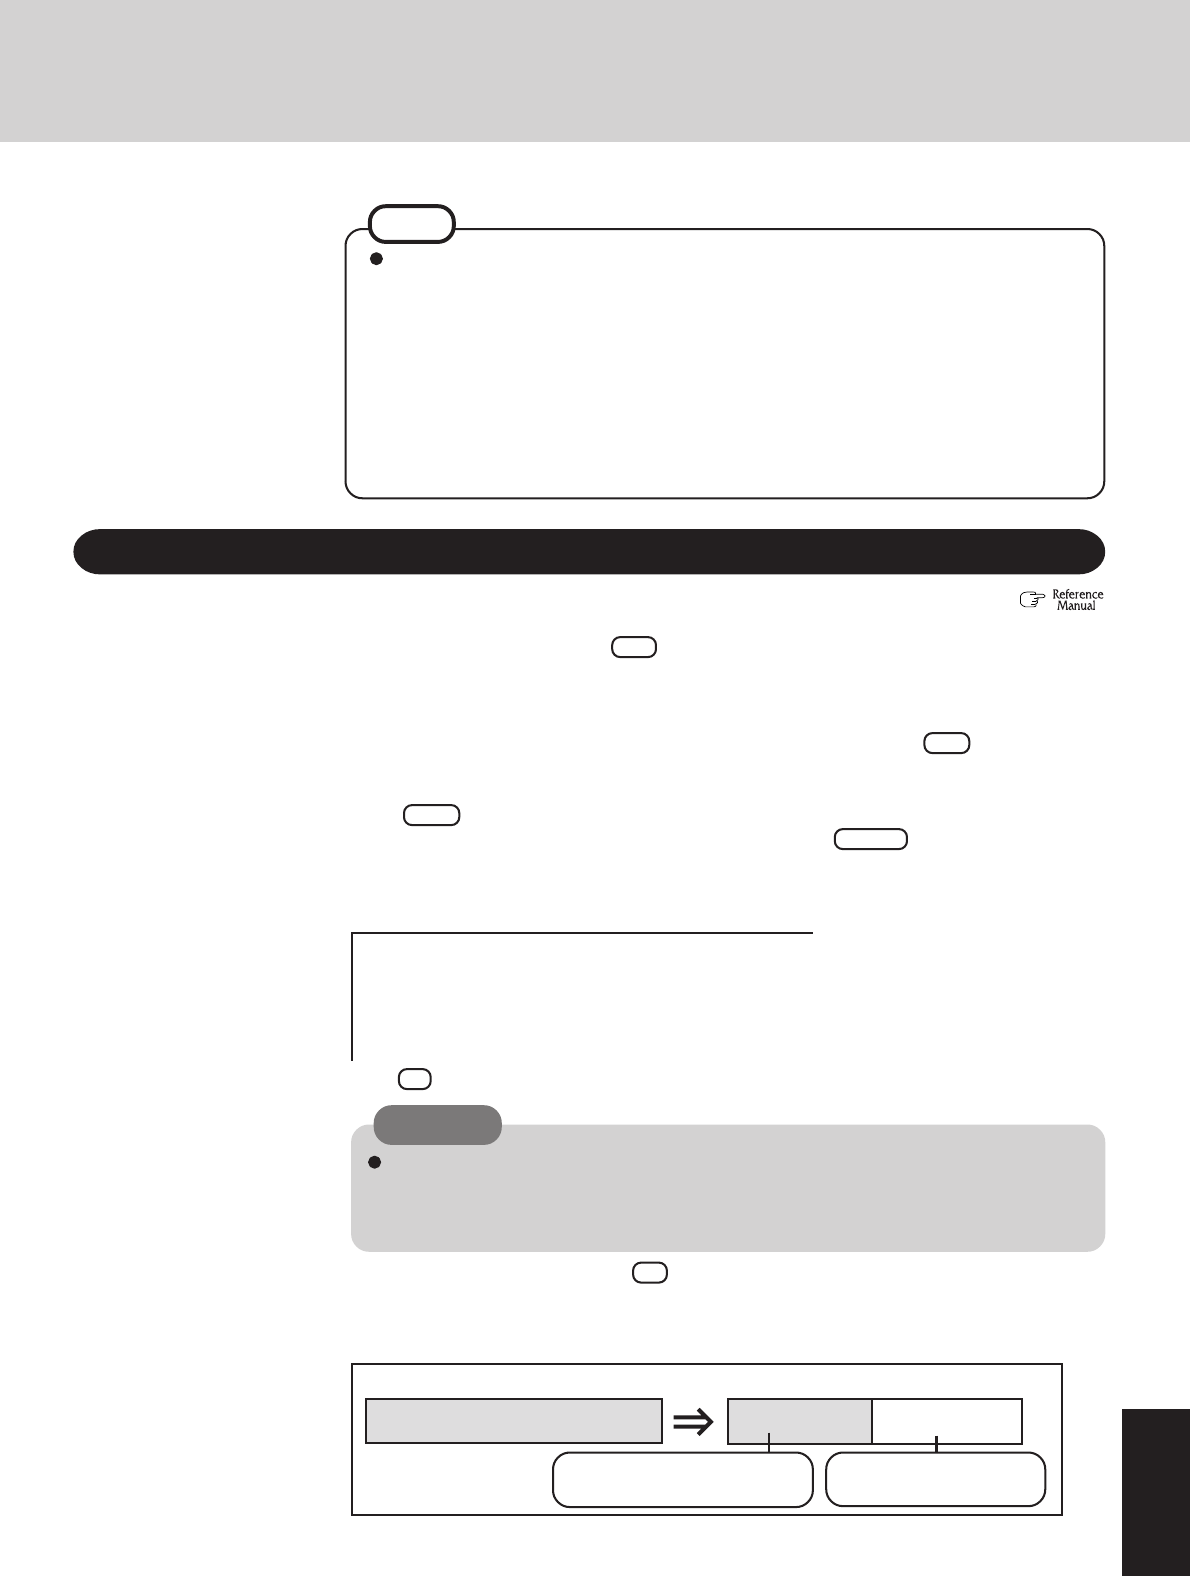
The usable hard disk area
[At the time of purchase] [After the backup area is created]
The backup area
Cannot be accessed
from Windows.
Can be accessed from
Windows (One partition).
7 At the confirmation message, press Y .
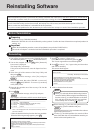
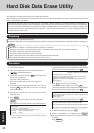
8 Select how to divide the hard disk from the menu.
<To create a backup area and enable the backup function without dividing the hard disk>
Select [1].
---------------------------------------------------------------------
Select a number
---------------------------------------------------------------------
1. [ Recovery ] Reinstall Windows.
2. [ Erase HDD ] Erase the whole data on HDD for security.
3. [ Backup ] Enable the Backup function.
0. [ Cancel ] Cancel.
---------------------------------------------------------------------