


27
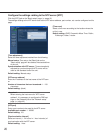
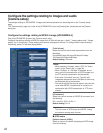
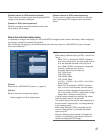
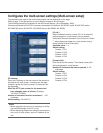
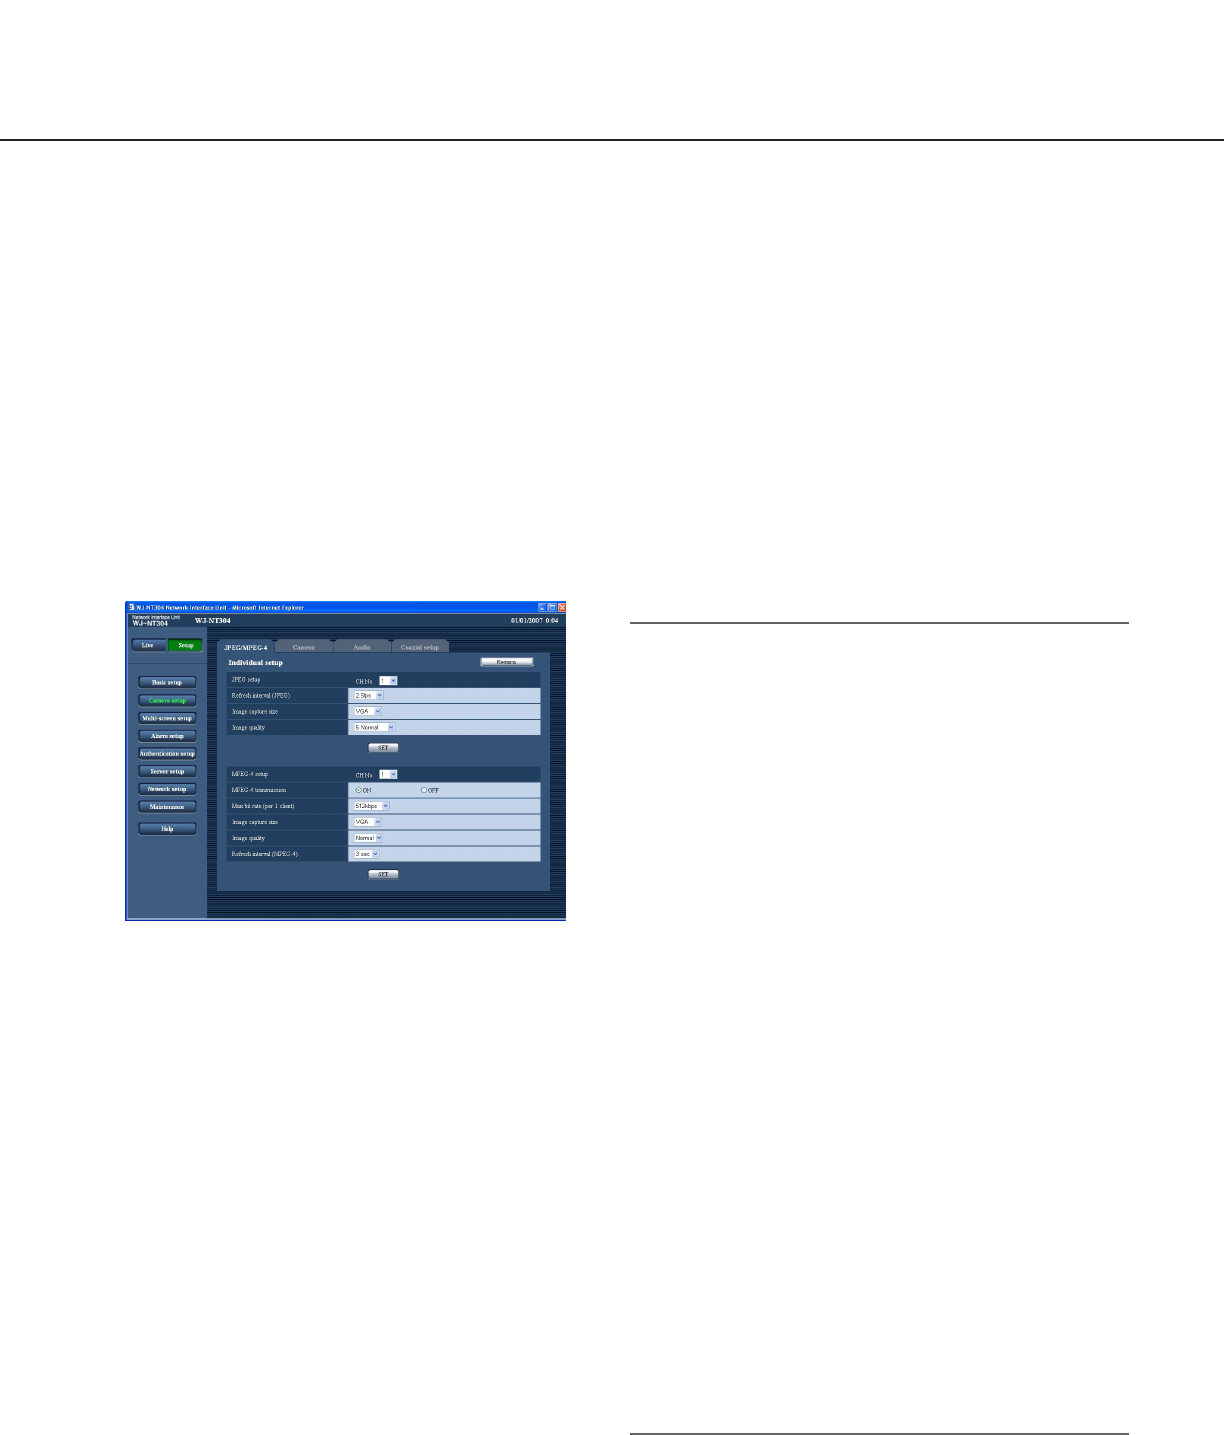
About the individual setup menu
It is possible to configure the settings for JPEG and MPEG-4 images of each channel individually. When configuring
the settings, consider the network load carefully.
After configuring the settings in the individual setup menu and returning to the [JPEG/MPEG-4] menu, changed
items are marked with "*".
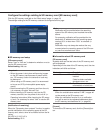
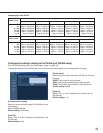
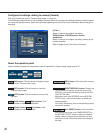
[Refresh interval of JPEG monitoring clients]
The set value for refresh interval when monitoring JPEG
images on the browser is displayed.
[Number of JPEG receiving devices]
Select the number of connected devices of each chan-
nel to receive JPEG images.
[Refresh interval of JPEG receiving devices]
The set value for refresh interval that can be secured
when transmitting JPEG images to each connected
device.
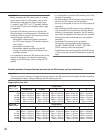
Note:
When setting "Refresh interval (JPEG)", note the fol-
lowing.
• When "OFF" is selected for "MPEG-4 transmis-
sion" on the setup menu, the total refresh interval
of all the selected channels shall be 30 fps or
less. (When "QVGA" is selected for "Image cap-
ture size", divide the value by four.)
(Example: When the set values are
CH1: VGA,10 fps,
CH2: VGA, 5 fps,
CH3: QVGA, 30fps,
CH4: QVGA, 30fps:
10 (CH1) + 5 (CH2) + 30/4 (CH3) + 30/4 (CH4) =
30 fps (Total))
• When "ON" is selected for "MPEG-4 transmis-
sion" in one or more channels, the total refresh
interval of all the selected channels shall be 15
fps or less. (When "QVGA" is selected for "Image
capture size", divide the value by four.)
If the set values exceed these settings, the refresh
interval of each channel may be lower.
The refresh interval may also be lower depending on
the set value of "Image quality", the image contents,
or the network status.
When using Windows
®
2000, the greater the set
value of "Image quality" is, the lower the refresh
interval may be.
When the setting of each channel is changed indi-
vidually, it is impossible to calculate an interval to
refresh the displayed JPEG image.
[Return]
Returns to the [JPEG/MPEG-4] menu, (☞ page 24)
[CH No.]
Select a channel to configure the setting.
* Refer to page 24 to 26 for setting items.