


36-ENGLISH ENGLISH-37
Basic Operation
Projecting sRGB-
compatible pictures
sRGB is an international color
reproduction standard (IEC61966-2-
1) established by the International
Electrotechnical Commission (IEC).
If you would like the colours in
sRGB-compatible pictures to be
reproduced more faithfully, make
the following settings.
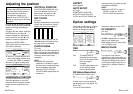
#Press the F or G button to
select “PICTURE MODE”, and
then use the I or H button to
select “NATURAL”.
$Press the NORMAL button on
the remote control unit.
%Select the LAMP POWER item
in the OPTION menu by
pressing the F or G buttons
and set to “HIGH” by pressing
the I or H buttons.
NOTE:
BsRGB is only enabled when RGB
signals are being input .
When adjusting the black or neutral
color area of the picture, adjust it
using BRIGHT R or BRIGHT B.
WHITE BALANCE R/G/B
(PC only)
This is used to adjust the white
areas of the picture if they appear
colourised.
Press the I button to make the
selected color lighter.
Press the H button to make the
selected color stronger.
SIGNAL MODE
(PC/DVI/YPBPR only)
This displays the type of signal
which is currently being projected.
Refer to the table on page 61 for
details on each type of signal.
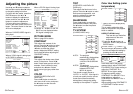
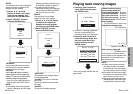
GAMMA ADJUST
(PT-AE300U only)
Press the ENTER button to display
the GAMMA ADJUST menu.
WHITE LEVELS
This is used for correcting the
gradation of a bright projected
image. To correct a white jump in
the picture, press the I buttons. To
raise the contrast ratio, press the H
buttons.
BLACK LEVELS
This is used for correcting gradation
of a dark projected image.
To correct black crushing, press the
H buttons. To raise the contrast
ratio, press the I buttons.
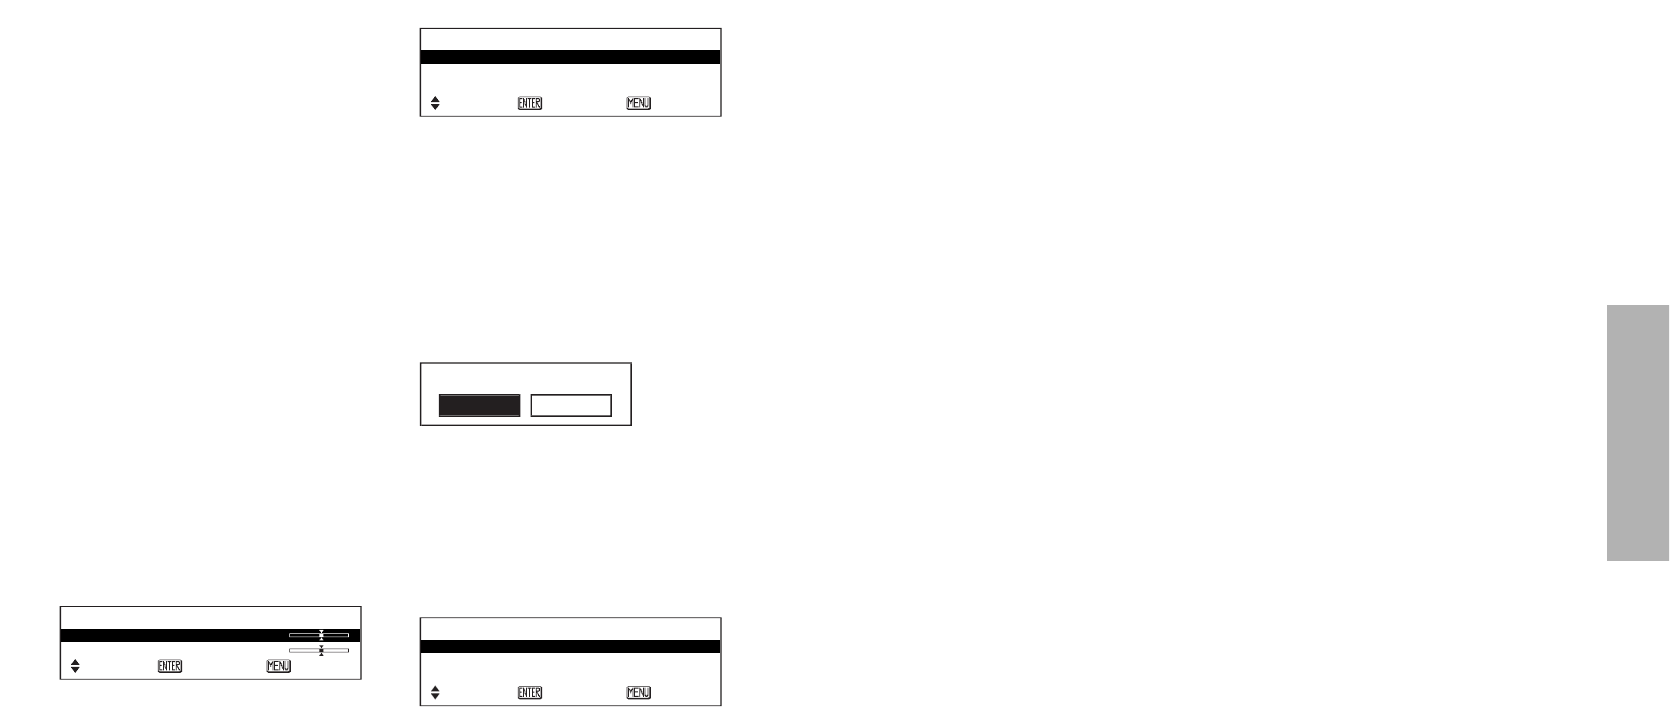
MEMORY SAVE
Press the ENTER button to display
the MEMORY SAVE menu.
Up to 3 settings can be saved in the
PICTURE menu.
Select the number in which you
wish to save the setting by pressing
the F or G buttons and then press
the ENTER button.
The confirmation screen will then be
displayed. Select “OK” by pressing
the I or H buttons and press the
ENTER button.
MEMORY LOAD
Press the ENTER button to display
the MEMORY LOAD menu.
(If any setting is not saved in the
MEMORY SAVE menu, the
MEMORY LOAD menu will not be
displayed.)
A setting saved in the MEMORY
SAVE menu can be retrieved using
MEMORY LOAD. Select the
number which you wish to retrieve
by pressing the F or G buttons and
then press the ENTER button.
NOTE:
BThe MEMORY LOAD menu can
also be displayed by pressing the
MEMORY USER button.
BThe number with which some
settings are saved using
MEMORY SAVE will only be
displayed in the MEMORY LOAD
menu.
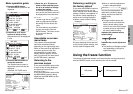
GAMMA ADJUST
WHITE LEVELS 0
BLACK LEVELS 0
SELECT
ENTER ESC
MEMORY SAVE
MEMORY 1
MEMORY 2
MEMORY 3
SELECT
ENTER ESC
MEMORY LOAD
MEMORY 1
MEMORY 2
MEMORY 3
SELECT
ENTER ESC
MEMORY SAVE
OK CANCEL