38-ENGLISH ENGLISH-39
Basic OperationAdvanced Operation
Option settings
Use the F and G buttons to select
an item, then press the I or H
buttons to change the setting.
OSD
ON The signal name is
displayed in the top-right
corner of the screen when
the input signal is
changed.
OFF Use this setting when you
do not want the signal
name to be displayed.
NR (Noise Reduction)
(S-VIDEO/VIDEO/YPBPR only)
If noise occurs from the projector
because of a poor input signal, set
NR to “ON”.
To turn off the NR (Noise
OPTION
OSD ON
NR ON
PC PRIORITY NORMAL
BACK COLOR BLACK
4:3 H-POS CENTER
FRONT/REAR FRONT
DESK/CEILING DESK
FAN CONTROL NORMAL
LAMP POWER HIGH
LAMP RUNTIME 5H
SELECT
ADJ ESC
Reduction) feature, set it to “OFF”.
PC PRIORITY
(PC only)
NORMAL displays the PC screen
data in a 4:3 aspect ratio.
WIDE displays the PC screen data
in a 16:9 aspect ratio.
BACK COLOR
This sets the color which is
projected onto the screen when no
signal is being input to the projector.
This sets the background color for
the left/right margins when the 4:3
aspect ratio is selected. (Refer to
page 31.)
Adjusting the position
Use the F and G buttons to select
an item, and then use the I and H
buttons to change the setting for
that item.
For items with bar scales, press the
ENTER button or the I or H
buttons to display the adjustment
screen, and then use the I or H
buttons to make the adjustment.
When an S-VIDEO/VIDEO/
YPBPR /DVI signal is being input or
SD CARD is selected.
B“ASPECT” can be adjusted only
when a DVI signal is being input
or when “SD CARD” is selected.
When an PC signal is being input
HORIZONTAL POSITION
(S-VIDEO/VIDEO/YPBPR/PC only)
Press the I button to move the
picture to the left, and press the H
button to move the picture to the
right.
POSITION
H-POSITION 0
V-POSITION 0
ASPECT 16:9
SELECT
ENTER ESC
VERTICAL POSITION
(S-VIDEO/VIDEO/YPBPR/PC only)
Press the I button to move the
picture down, and press the H
button to move the picture up.
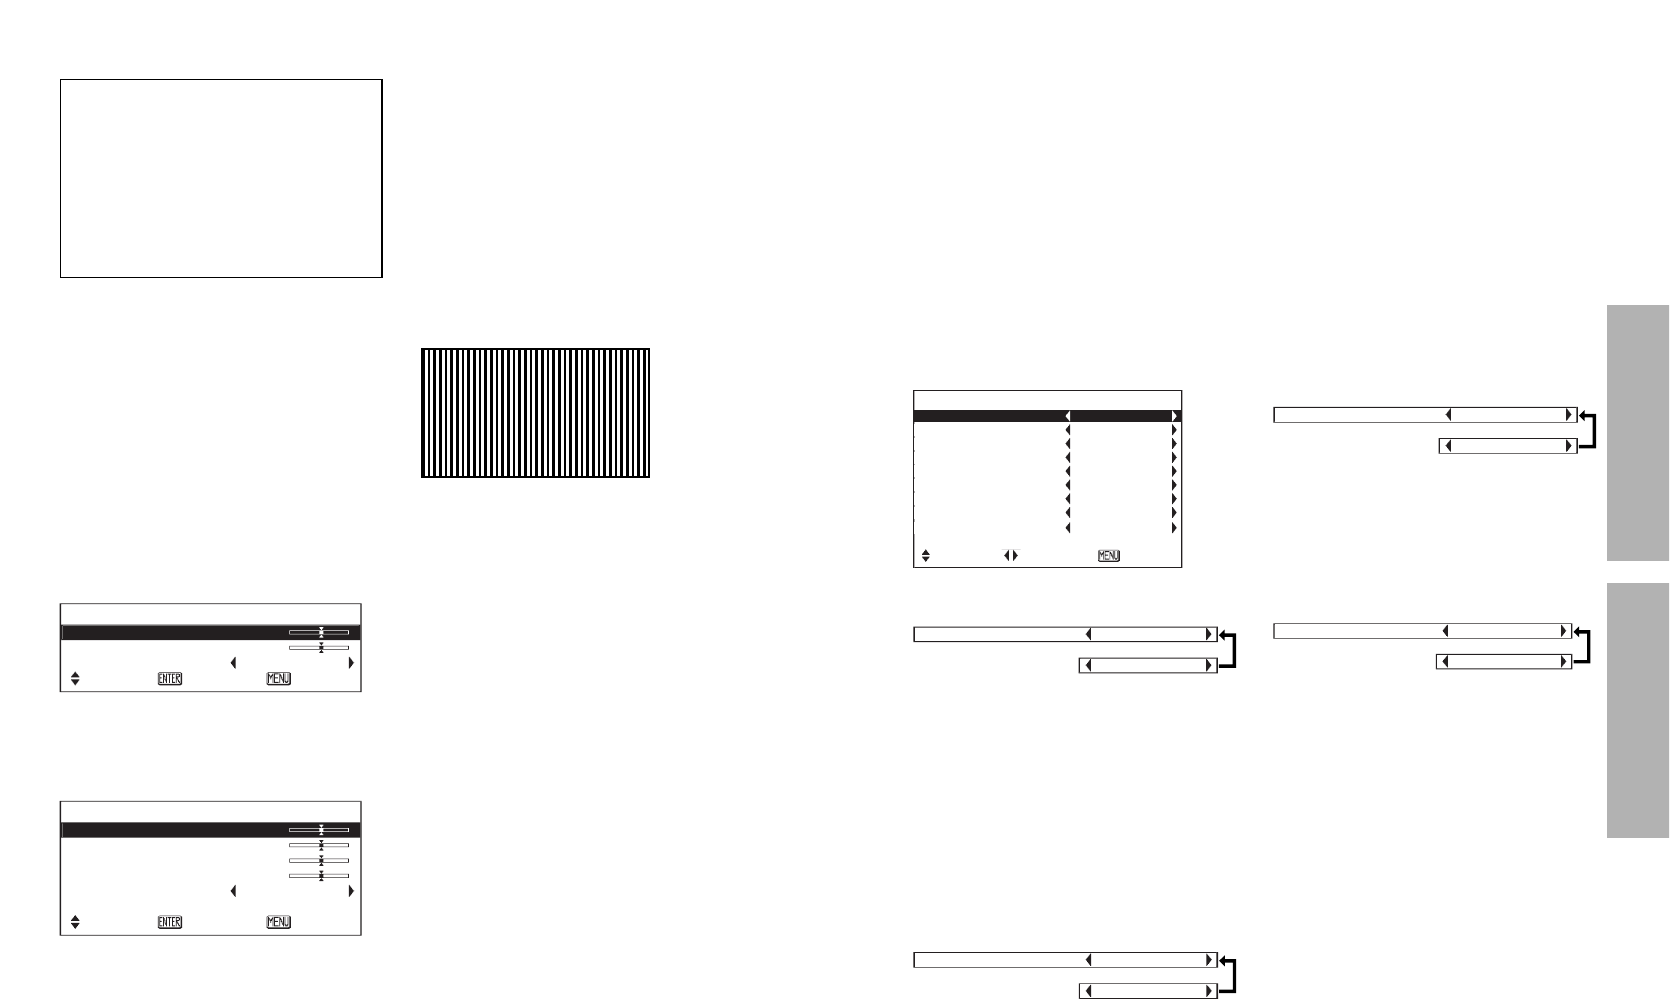
DOT CLOCK
(PC only)
Periodic striped pattern interference
(noise) may occur when a striped
pattern such as the one below is
projected. If this happens, use the
I and H buttons to adjust so that
any such noise is minimised.
CLOCK PHASE
(PC only)
Adjust the DOT CLOCK setting first
before carrying out this adjustment.
Use the I and H buttons to adjust
so that the noise level is least
noticeable.
NOTE:
BIf signals with a dot clock
frequency of 100 MHz or higher
are being input, interference may
not be completely eliminated
when the DOT CLOCK and
CLOCK PHASE adjustments are
carried out.
POSITION
H-POSITION 0
V-POSITION 0
DOT CLOCK 0
CLOCK PHASE 0
ASPECT 4:3
AUTO SETUP
SELECT
ENTER ESC
When the input signal is from a
PC, first select AUTO SETUP and
then press the ENTER button to
initiate automatic positioning.
If the optimum setting is not
obtained when AUTO SETUP is
carried out, adjust by the following
procedure.
OSD ON
[
OFF
NR ON
[
OFF
BACK COLOR BLACK
[
BLUE
ASPECT
Refer page 30.
AUTO SETUP
(PC only)
HORIZONTAL POSITION,
VERTICAL POSITION, DOT
CLOCK and CLOCK PHASE are
matched to the input signal and are
automatically adjusted.
NOTE:
BWhen the ASPECT is set to V-
SCROLL (page 30), AUTO
SETUP cannot be performed.
PC PRIORITY NORMAL
[
WIDE


