Scanning
19
Using
1
Set the power switch to on ( I ).
2
Open the SD memory card cover and insert the
SD memory card into the SD memory card slot
until it is locked. Then close the SD memory
card cover.
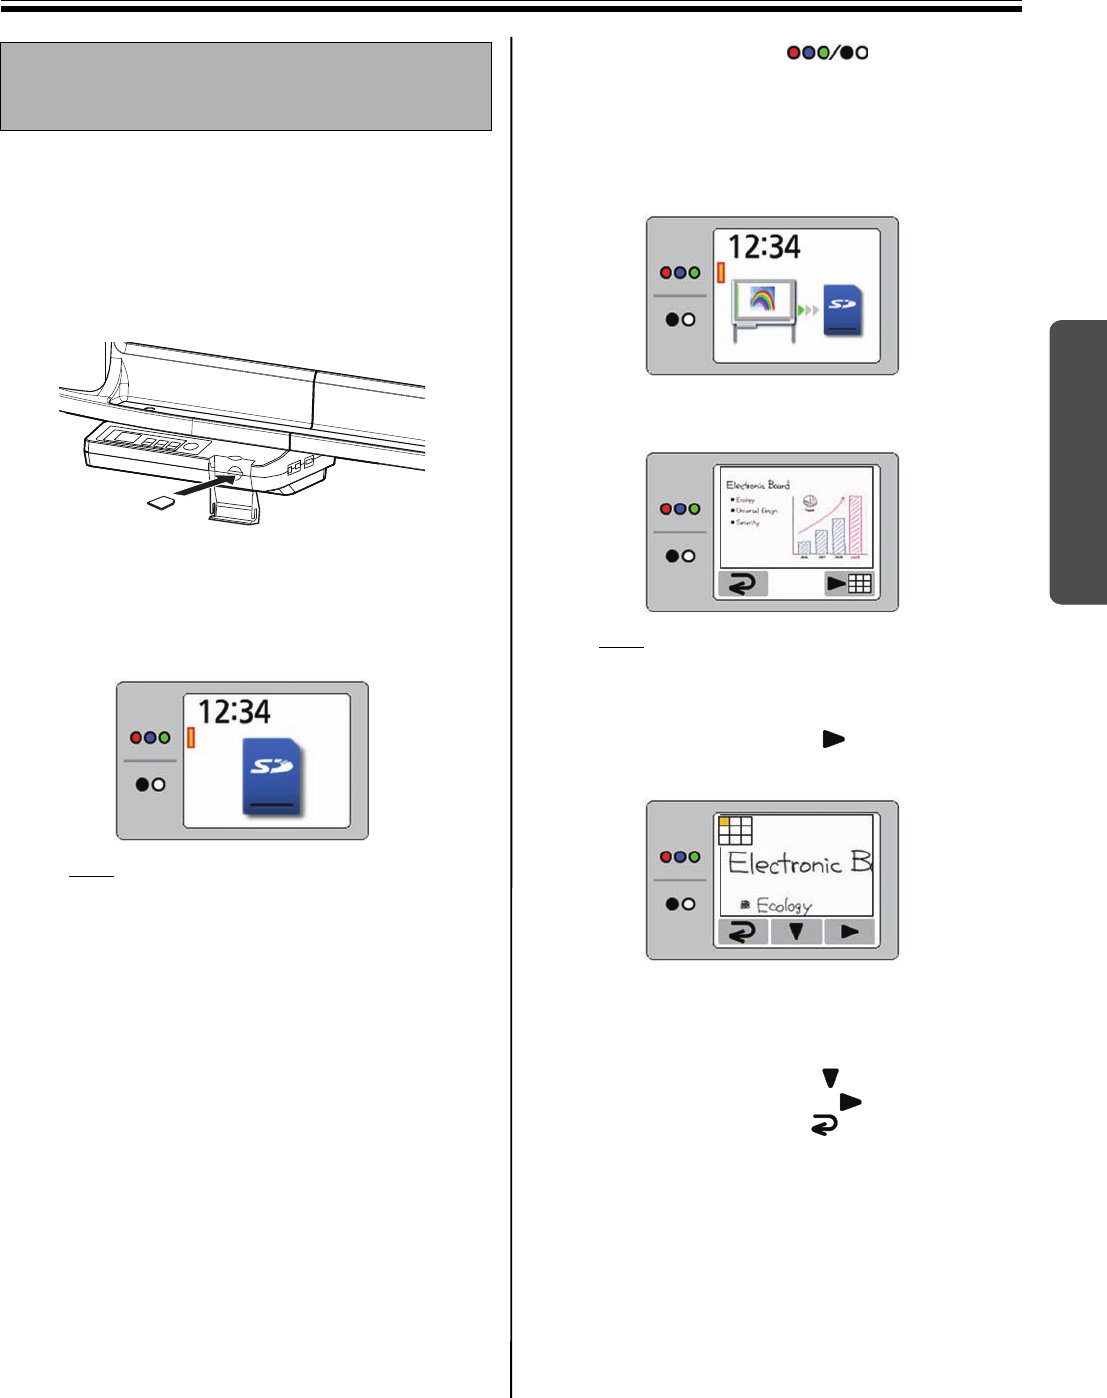
• The SD memory card icon is shown on the
display.
The display below is an example of the unit in
standby mode.
Note
• SDHC memory card is not supported.
• If an SD memory card has been formatted
(ex. by the general formatting software of a
computer), it oftentimes cannot be recognized
by this unit.
To use the SD memory card with this unit, it
must be reformatted to comply with SD
memory card specifications using the
appropriate formatting software.
You can also download the formatting
software for the SD memory card from the
following site:
http://panasonic.jp/support/global/cs/sd/
download/sd_formatter.html
3
Press the Mode Key to select the
scanning mode.
4
Press the Start/Stop Key.
• The unit starts scanning.
• The scanning status is shown on the display.
• When scanning has finished, a preview of the
scanned image is shown on the display.
Note
• Do not remove the SD memory card until the
preview is shown on the display.
5
Press the Advance Key ( ) to zoom in on the
image.
• It is possible to view specific areas of the
image.
• The current view area is shown on the top left
side of the display.
Press the Set-up Key ( ) to move down.
Press the Advance Key ( ) to move left.
• Press the Mode Key ( ) to return to the
preview.
Storing images on an SD
memory card
UB5838C-PJQXC0259ZA_mst.book 19 ページ 2009年5月26日 火曜日 午後2時59分
