


11
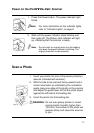
Power on the PhotoLink Scanner
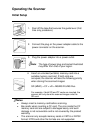
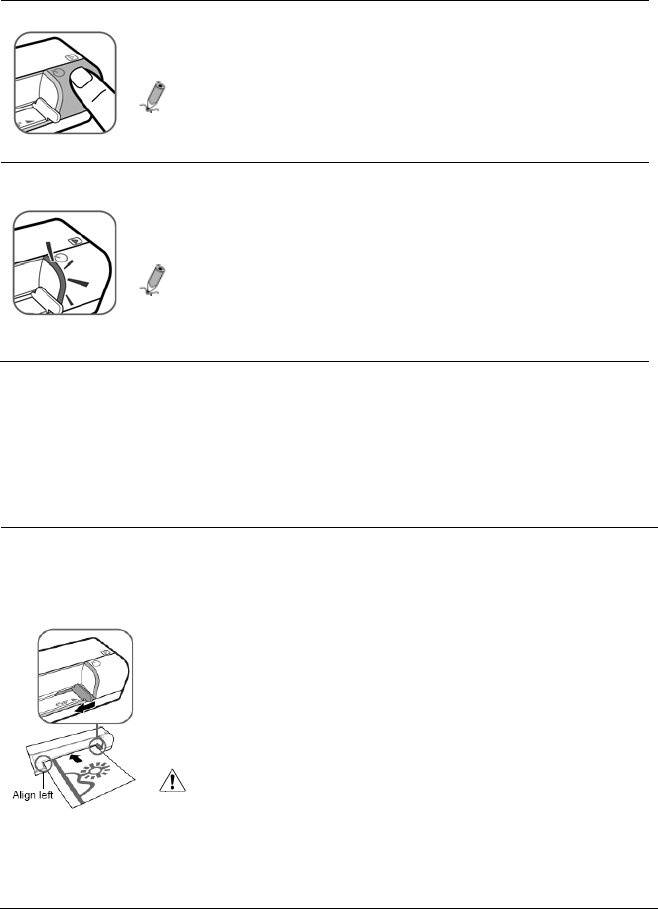
1. Press the Power button. The power indicator light
blinks.
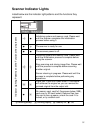
Note: For more information on the indicator lights,
refer to “Indicator Lights” on page 9.
2. Wait until the power indicator stops blinking and
then goes off. The Status/ card indicator will light
up, indicating that the scanner is ready.
Note: Do not insert an original photo into the feeding
slot when the power indicator is blinking. The
original photo will not be scanned.
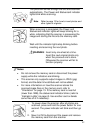
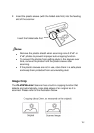
Scan a Photo
1. Insert your photo into one of the plastic protection
sleeves (included with scanner.)
2. With the side to be scanned facing upward and in
correct orientation as indicated by the orientation
guide, place one edge of the photo on the scanner
and adjust the guide lever so that the photo aligns
against the left side of the feeding slot.
3. Insert the photo into the feeding slot.
WARNING: Do not scan glossy photos in humid
environments (humidity higher than
70% RH); the surface of the photo will
become sticky and cause the scanner
to jam.