


21
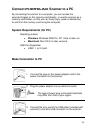
Scan2PC Manager (Scanner to PC Utility)
With the Scan2PC Manager, you can easily scan photos and save the
scanned images directly to the connected PC. You can also choose
the location where the scanned images will be saved.
Installing the Scan2PC Manager
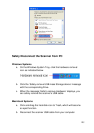
System Requirements
Before installing the Scan2PC Manager, make sure that your PC is
compatible with the following system requirements:
• Operating system: Windows 200, XP, Vista 32-Bit
(The Scan2PC Manager is not supported on the Macintosh
operating systems.)
• Free hard disk space: 6MB
• A Pandigital PhotoLink Scanner that is correctly
connected to the PC and is working properly
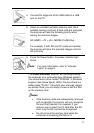
1. Insert the SD card (included with scanner) into the SD
memory card slot on the Scanner.
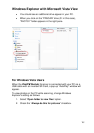
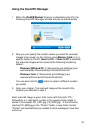
2. Open ‘My Computer’ on your desktop, locate and double-click
the SD card folder named Pandigital, and then double-click
the Utility folder.
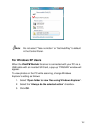
3. Double-click the “Scan2PC Manager.exe” file.
4. Follow the on-screen instructions to complete the installation.
Notes:
• Once installed, the Scan2PC Manager runs automatically
upon PC startup, and the
icon stays on the system tray.
• If you want to close the Scan2PC Manager temporarily, right-
click on the icon and select Exit.