CHAPTER 2: INSTALLATION 1
Chapter 2: Installation
Getting Started
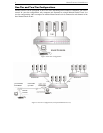
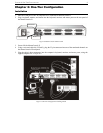
MasterConsole II is designed for quick, easy installation and operation. Follow the steps for either one-tier
or two-tier configuration to be up and running within minutes:
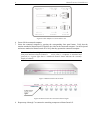
1. Install MasterConsole II (connect computers).
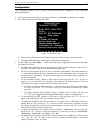
2. Configure MasterConsole II.
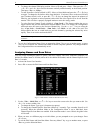
3. Assign computer names and set channel-specific scan rates for attached computers.
4. Turn ON security and change passwords to restrict access to computers connected to MasterConsole II.
5. Operate using On-Screen User Interface or front panel buttons.
6. Install optional Cat5 Reach for remote console or satellite unit.
Quick-Start Operation:
After you connect computers to your MasterConsole II you may wish to explore MasterConsole II
operation with the default names and parameters.
You may operate using the front panel buttons and/or the On-Screen User Interface. To activate On-Screen
User Interface, press the <Scroll Lock> key twice rapidly. The Selection Menu will appear. To select a
computer, use the <> (up arrow) /<> (down arrow) keys to highlight the desired channel (computer)
and press <Enter>or press the desired computer's Key number (located in the left-hand column). To select
another computer, use front panel buttons or re-activate the On-Screen User Interface.


