12
(3)
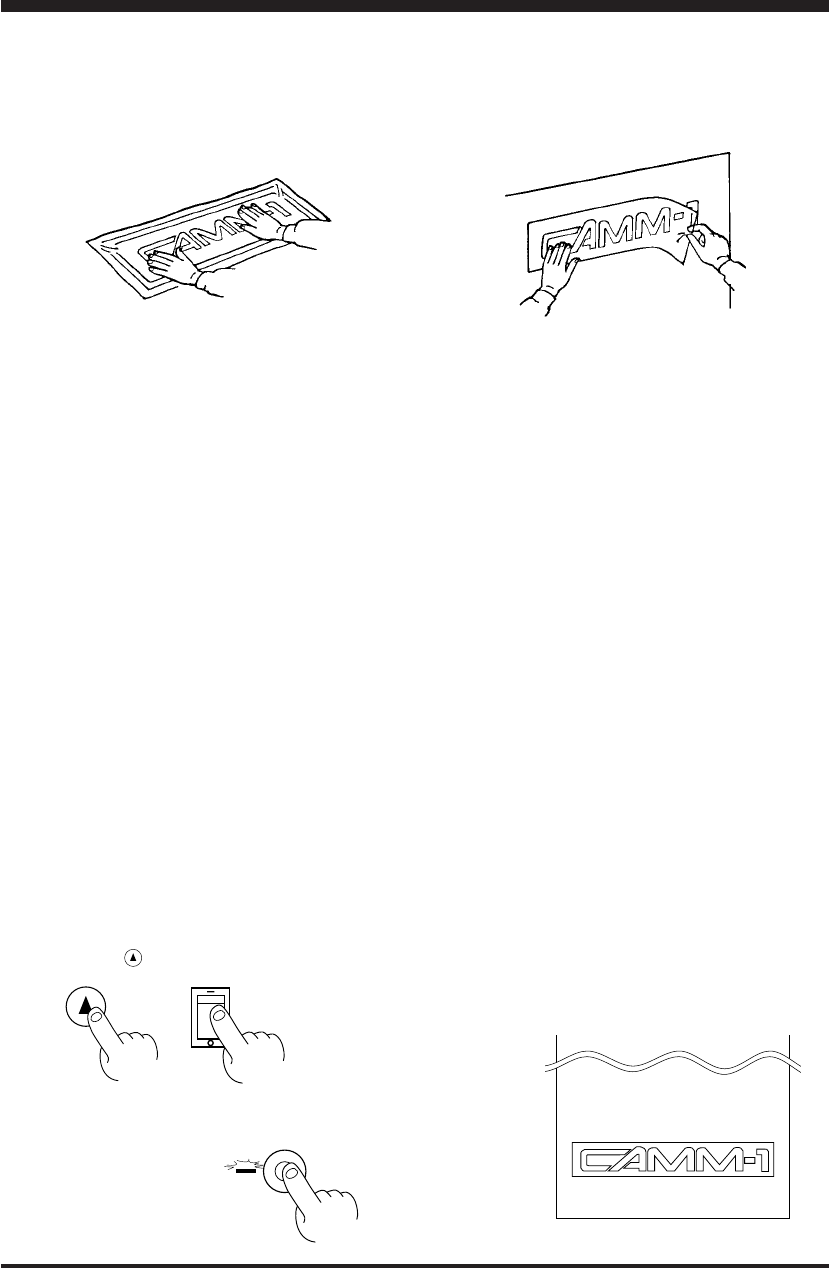
Stick application tape over the completed work.
Press down firmly on the application sheet to remove air
bubbles. If you do not press firmly enough the cut area will
not stick to the surface.
(4)
Carefully apply the work at the desired location, while
keeping it as straight as possible. Rub over the application
tape to make sure the work is firmly stuck in place. Then peel
off the application tape.
4-9 When Cutting Is Completed
(1) When cutting is finished, press down the sheet loading levers and remove the sheet. (See "Removing the Sheet" on page 7.)
(2) If a blade was used, wipe the blade with a soft cloth to remove any pieces of the sheet that may be adhering to it.
If a pen was used, remove the pen from the tool carriage and cap it securely.
(3) Turn off the power.
If you do not intend to use the unit for an extended period of time, you should pull the plug for the power cord out of the
outlet.
* For routine cleaning, use a soft piece of cloth.
Performing a Demo Cutting
The PNC-900 is equipped with a "self-test" function to conveniently allow you to check whether or not it is capable of operating
normally. Should you ever suspect that the PNC-900 is not performing satisfactorily, you should follow the steps below to
perform the self-test.
* A computer is not required in order to carry out the self-test.
(1) Refer to "4-3 Installing the Blade" and install a blade holder (or pen) in the PNC-900's tool carriage.
(2) Set the pen force to the smallest possible value (the pen force slider should be at the furthest point to the left). If after the first
test you feel that the sheet was not cutout clean enough, you can try gradually increasing the pen force until you have the
optimum level.
(3) Hold down the key on the panel while you turn the power on.
(4) Load the sheet (or some paper), following the procedure described
in "4-4 Loading the Sheet."
(5) Press the SETUP key.
Demo cutting starts.
ON
OFF
SETUP
POWER ON


