


Controls and Functions
Runco CL-810 Series Owner’s Operating Manual 7
PRE
L
IMINAR
Y
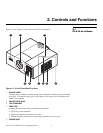
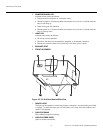
4. LAMP MODULE COVER
Remove this cover to access the lamp compartment.
5. FRONT/REAR ADJUSTERS
Use these to adjust the projector height or projection angle.
6. CEILING MOUNT HOLES
Use these to attach the ceiling bracket to the projector.
2.2
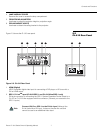
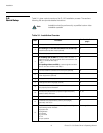
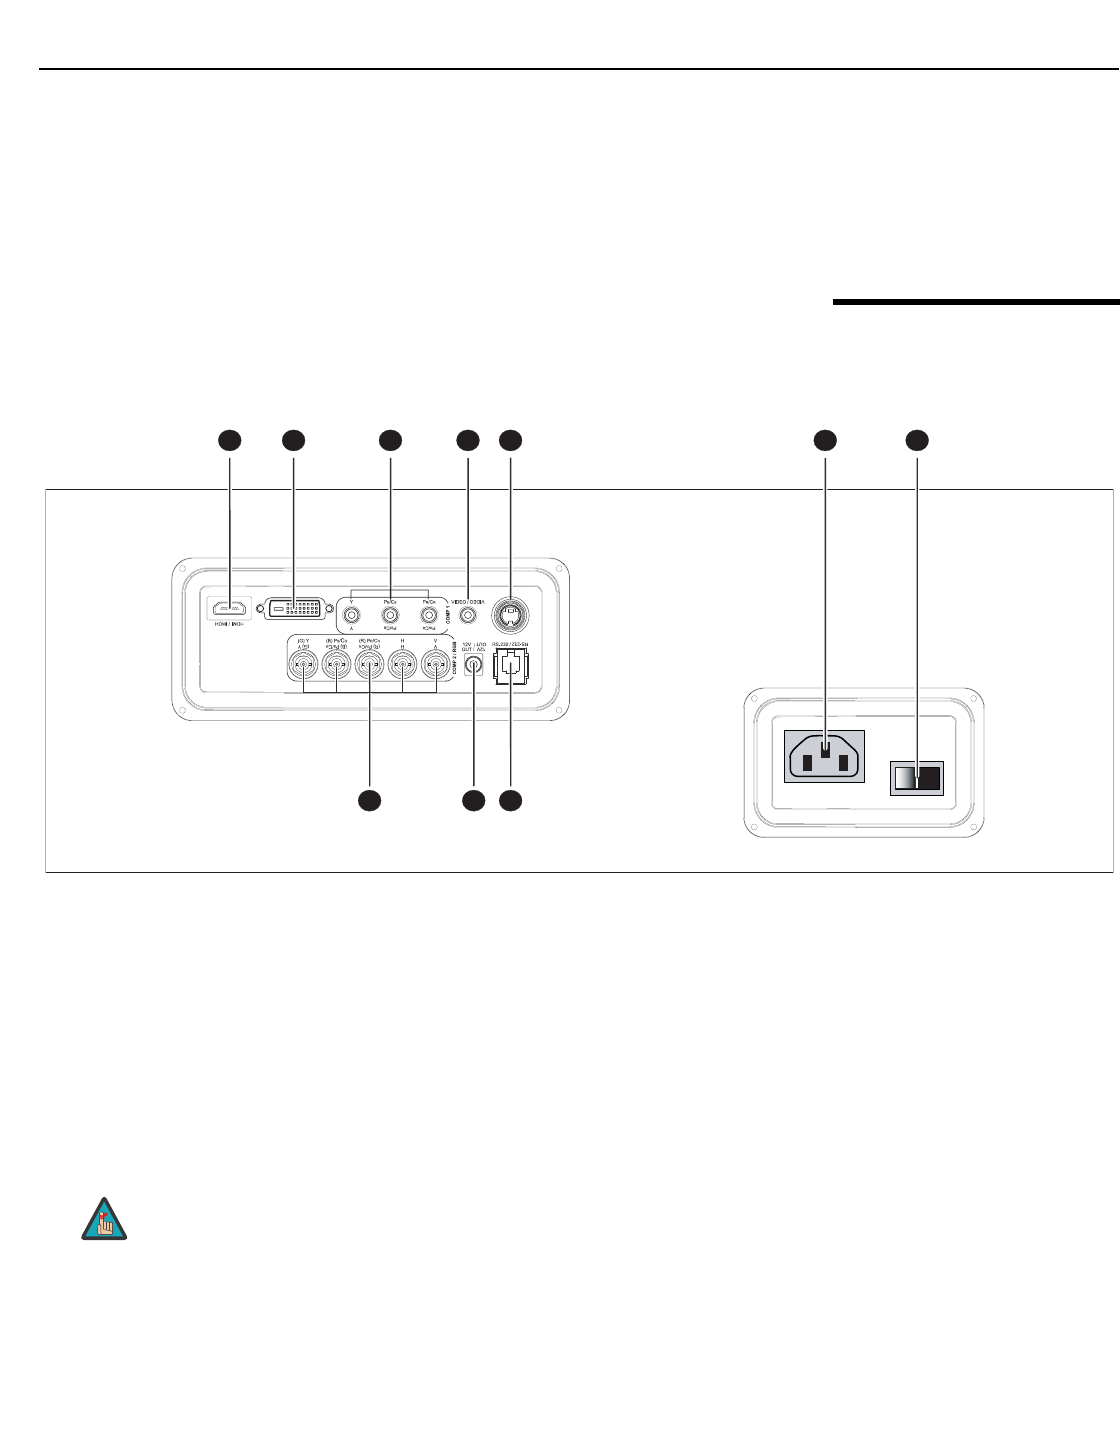
CL-810 Rear Panel
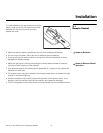
Figure 2-3 shows the CL-810 rear panel.
Figure 2-3. CL-810 Rear Panel
1. HDMI (Digital)
HDCP-compliant digital video input for connecting a DVD player or HD tuner with a
DVI or HDMI output.
2. SDC-1 R-Link
TM
Input (CL-810/SDC-1 and CL-810 Ultra/SDC-1 only)
DVI-style connector for connecting the SDC-1 System Expansion Device output to a
CL-810 or CL-810 Ultra equipped with this connector. (Connect your sources to the
SDC-1 inputs.)
S-VID /
S-VID
1 2 3 4 5 6 7
8910
Connect ONLY an SDC-1 to the R-Link input! Although the
R-Link looks like a DVI input, it does not function like one and
cannot be used as an additional video input.
Note