


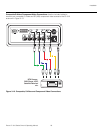
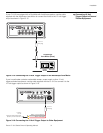


Installation
Runco CL-810 Series Owner’s Operating Manual 33
PRE
L
IMINAR
Y
3.8
Changing the OSD
Language
The CL-810 OSD language is initially set to English, but can also display the menus in
French, Spanish, Italian or German. To change the OSD language:
1. Press MENU.
2. Select Installation from the Main Menu and press ENTER.
3. Select Language from the Installation Menu and press ENTER.
4. Press or to highlight the desired language. (The change takes effect
immediately.)
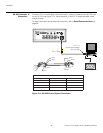
3.9
Adjusting the Picture
Orientation
By default, the CL-810 is configured for a “floor/front” installation, in which the projector is
installed upright and in front of the screen. If it is installed behind the screen and/or
mounted on a ceiling, you must change the picture orientation. To do this:
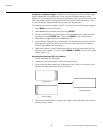
1. Press MENU on the remote control.
2. Select Installation from the Main Menu and press ENTER.
3. Select Picture Orientation from the Installation Menu and press ENTER.
4. Choose Floor Rear, Ceiling Front or Ceiling Rear to match the installation method.
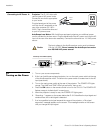
3.10
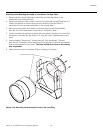
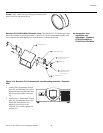
Primary Lens
Adjustments
The CL-810 gives you a great deal of control over the picture
size, position and focus. To access the motorized lens
controls, use the FOCUS, ZOOM and LENS buttons on the
remote control.
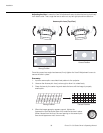
FocusTo focus the projected image, press the FOCUS button, then use the left- and right-arrow
buttons to adjust the focus.
ZoomTo make the picture smaller (zoom out), press the ZOOM button, then use the left-arrow
(
) button.
To enlarge the picture (zoom in), press the ZOOM button, then use the right-arrow ( )
button.
Vertical and Horizontal
Lens Shift
Vertical Lens Shift: To shift the projected image vertically, press the LENS button, then
use the up and/or down-arrow (
, ) buttons.
Horizontal Lens Shift (CL-810 Ultra Only): To shift the projected image horizontally,
press the LENS button, then use the right and/or left-arrow buttons.
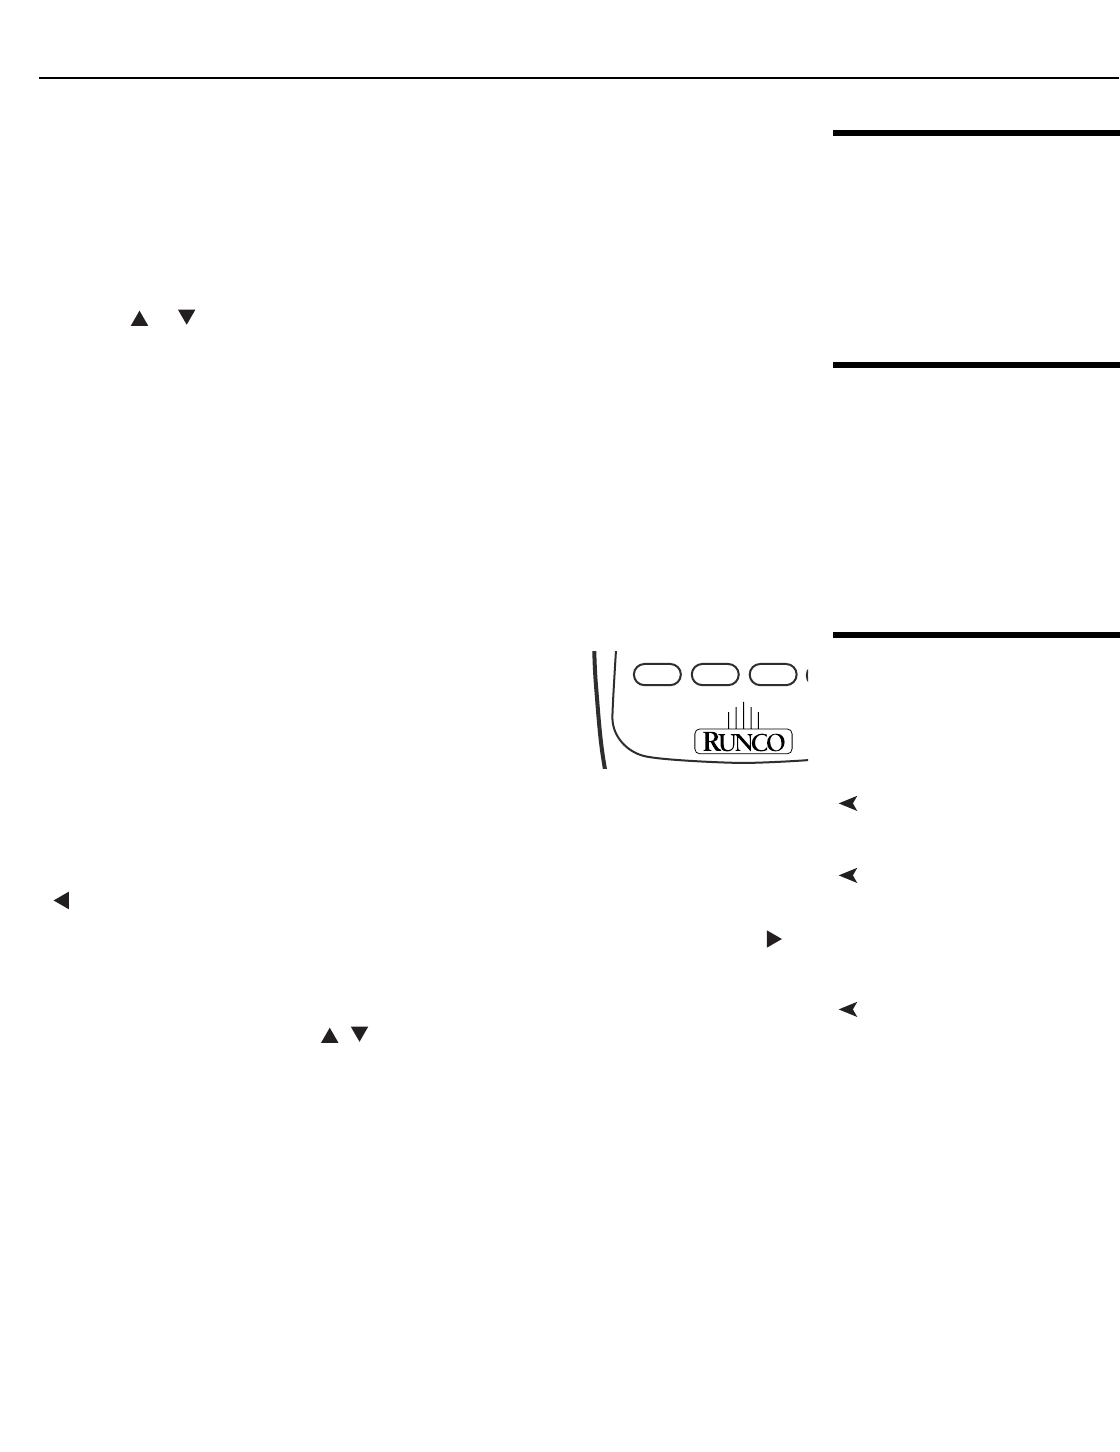
FOCUS LENSZOOM
FOCUS
ZOOM
LENS