


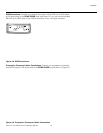

Runco CL-810 Series Owner’s Operating Manual 29
PRE
L
IMINAR
Y
4.1
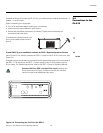
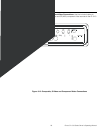
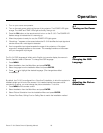
Turning on the Power
1. Turn on your source components.
2. Turn on the main power switch at the rear of the projector. The POWER LED lights
orange. The LAMP and TEMP LEDs light red briefly, then go out.
3. Press the ON button on the remote control to turn on the CL-810. The POWER LED
flashes orange to indicate that it is warming up.
4. When the projector is ready for use, the POWER LED lights green.
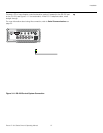
5. “Searching...” appears on the screen before the CL-810 identifies the input signal and
remains there until a valid signal is detected.
6. If an incompatible input signal exceeds the range of the projector, a “No signal
supported" message appears on the screen. This message remains on the screen
until you change the input signal.
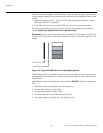
4.2
Changing the OSD
Language
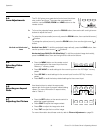
The CL-810 OSD language is initially set to English, but can also display the menus in
French, Spanish, Italian or German. To change the OSD language:
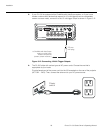
1. Press MENU.
2. Select Installation from the Main Menu and press ENTER.
3. Select Language from the Installation Menu and press ENTER.
4. Press or to highlight the desired language. (The change takes effect
immediately.)
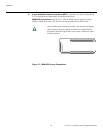
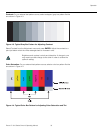
4.3
Adjusting the Picture
Orientation
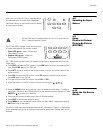
By default, the CL-810 is configured for a “floor/front” installation, in which the projector is
installed upright and in front of the screen. If it is installed behind the screen and/or
mounted on a ceiling, you must change the picture orientation. To do this:
1. Press MENU on the remote control.
2. Select Installation from the Main Menu and press ENTER.
3. Select Picture Orientation from the Installation Menu and press ENTER.
4. Choose Floor Rear, Ceiling Front or Ceiling Rear to match the installation method.
4Operation