


Operation
30 Runco CL-810 Series Owner’s Operating Manual
PRE
L
IMINAR
Y
4.4
Lens Adjustments
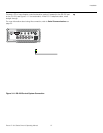
The CL-810 gives you a great deal of control over the picture
size, position and focus. To access the motorized lens
controls, use the FOCUS, ZOOM and LENS buttons on the
remote control.
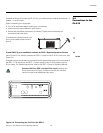
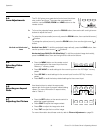
Focus To focus the projected image, press the FOCUS button, then use the left- and right-arrow
buttons to adjust the focus.
Zoom To make the picture smaller (zoom out), press the ZOOM button, then use the left-arrow (
) button.
To enlarge the picture (zoom in), press the ZOOM button, then use the right-arrow ( )
button.
Vertical and Horizontal
Lens Shift
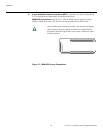
Vertical Lens Shift: To shift the projected image vertically, press the LENS button, then
use the up and/or down-arrow (
, ) buttons.
Horizontal Lens Shift (CL-810 Ultra Only): To shift the projected image horizontally,
press the LENS button, then use the right and/or left-arrow buttons.
4.5
Selecting Video
Memory
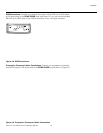
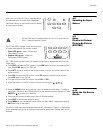
• Press the MEM1 button on the remote control
to recall settings for the current input from the
“Memory 1” memory preset.
• Press ISF NIGHT to recall settings for the current input from the “ISF Night” memory
preset.
• Press ISF DAY to recall settings for the current input from the “ISF Day” memory
preset.
• Press FACT to recall the factory-default settings for the current input.
4.6
Selecting an Aspect
Ratio
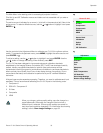
Use these buttons to select the appropriate
aspect ratio for the type of program material being
viewed. For more information on aspect ratios,
refer to
Table 4-1.
4.7
Adjusting the Picture
• Press the BRT button on the remote control to
adjust the image brightness.
• Press CONT to adjust the image contrast.
• Press COL to adjust the image color level.
• Press TNT to adjust the hue of the image.
For more information about these controls, refer to Picture Adjustment on page 33.
FOCUS LENSZOOM
FOCUS
ZOOM
LENS
➤
➤
➤
MEM1 FACT
ISF
DAY
ISF
NIGHT
ANA
16X9
VWIDELBOX
4X3
CINEMA
VCINE
2
1
BRT
CONT COL TNT