


Installation
Runco VX-22d Installation/Operation Manual 29
PRE
L
IMINAR
Y
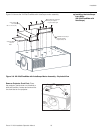
The projector can also be inverted and placed in an enclosure above and behind the
viewing area. Install four feet on the inside bottom surface of the enclosure on which the
projector can rest. A variety of materials can be used for this purpose (for example, rubber
crutch tips or turntable feet).
Adjusting the Projection
Angle
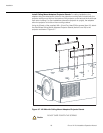
If the VX-22d is ceiling-mounted and the screen is significantly lower than the projector,
you can tilt the projector at a slight angle by adjusting the ceiling mount.
If you do this, you may need to shift the image using the on-screen display (OSD) controls,
to compensate. For detailed instructions, refer to
Using the On-Screen Menus on
page 47.
3.7
Connections to the
VX-22d and DHD
Controller
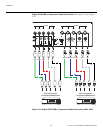
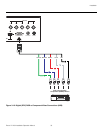
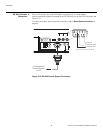
Proceed as follows to connect the DHD Controller to the VX-22d, your video sources,
external controller(s) – if present – and AC power.
When connecting your equipment:
• Turn off all equipment before making any connections.
• Use the correct signal cables for each source.
• Ensure that the cables are securely connected. Tighten the thumbscrews on
connectors that have them.
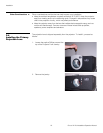
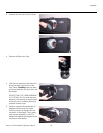
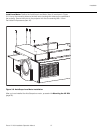
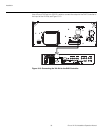
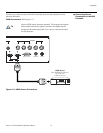
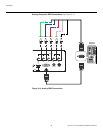
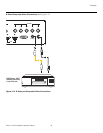
Connector Panel AccessTo access the connector panel, pull firmly on the cable access cover to open it.
Connecting the DHD
Controller to the VX-22d
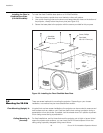
The VX-22d is designed to receive only digital input signals directly from the companion
DHD Controller/Processor. All signal sources should be connected to the appropriate
inputs on the rear panel of the controller. The signal from the controller is then output to
the VX-22d projector through a DVI-DL (dual-link) cable.
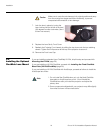
Use only the Runco-approved ceiling mount kit designed for your
projector. Install the mount kit according to the instructions
provided with it.
Note
You CANNOT connect a signal source with DVI output directly to
the VX-22d. It MUST be routed through the DHD Controller for
proper operation.
Note