


28 Runco VX-33i Installation/Operation Manual
PRE
L
IMINAR
Y
3.7
Connections to the
VX-33i
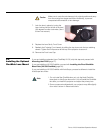
Proceed as follows to connect the VX-33i to your video sources, external controller(s) – if
present – and AC power.
When connecting your equipment:
• Turn off all equipment before making any connections.
• Use the correct signal cables for each source.
• Ensure that the cables are securely connected. Tighten the thumbscrews on
connectors that have them.
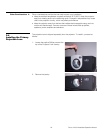
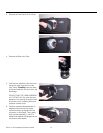
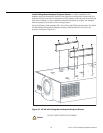
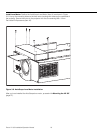
Connector Panel Access To access the connector panel, pull firmly on the cable access cover to open it.
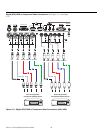
Connecting Source
Components to the VX-33i
Connect your video sources to the VX-33i as shown and described in the sections that
follow.
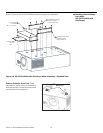
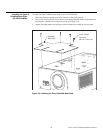
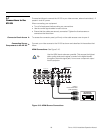
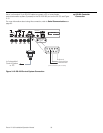
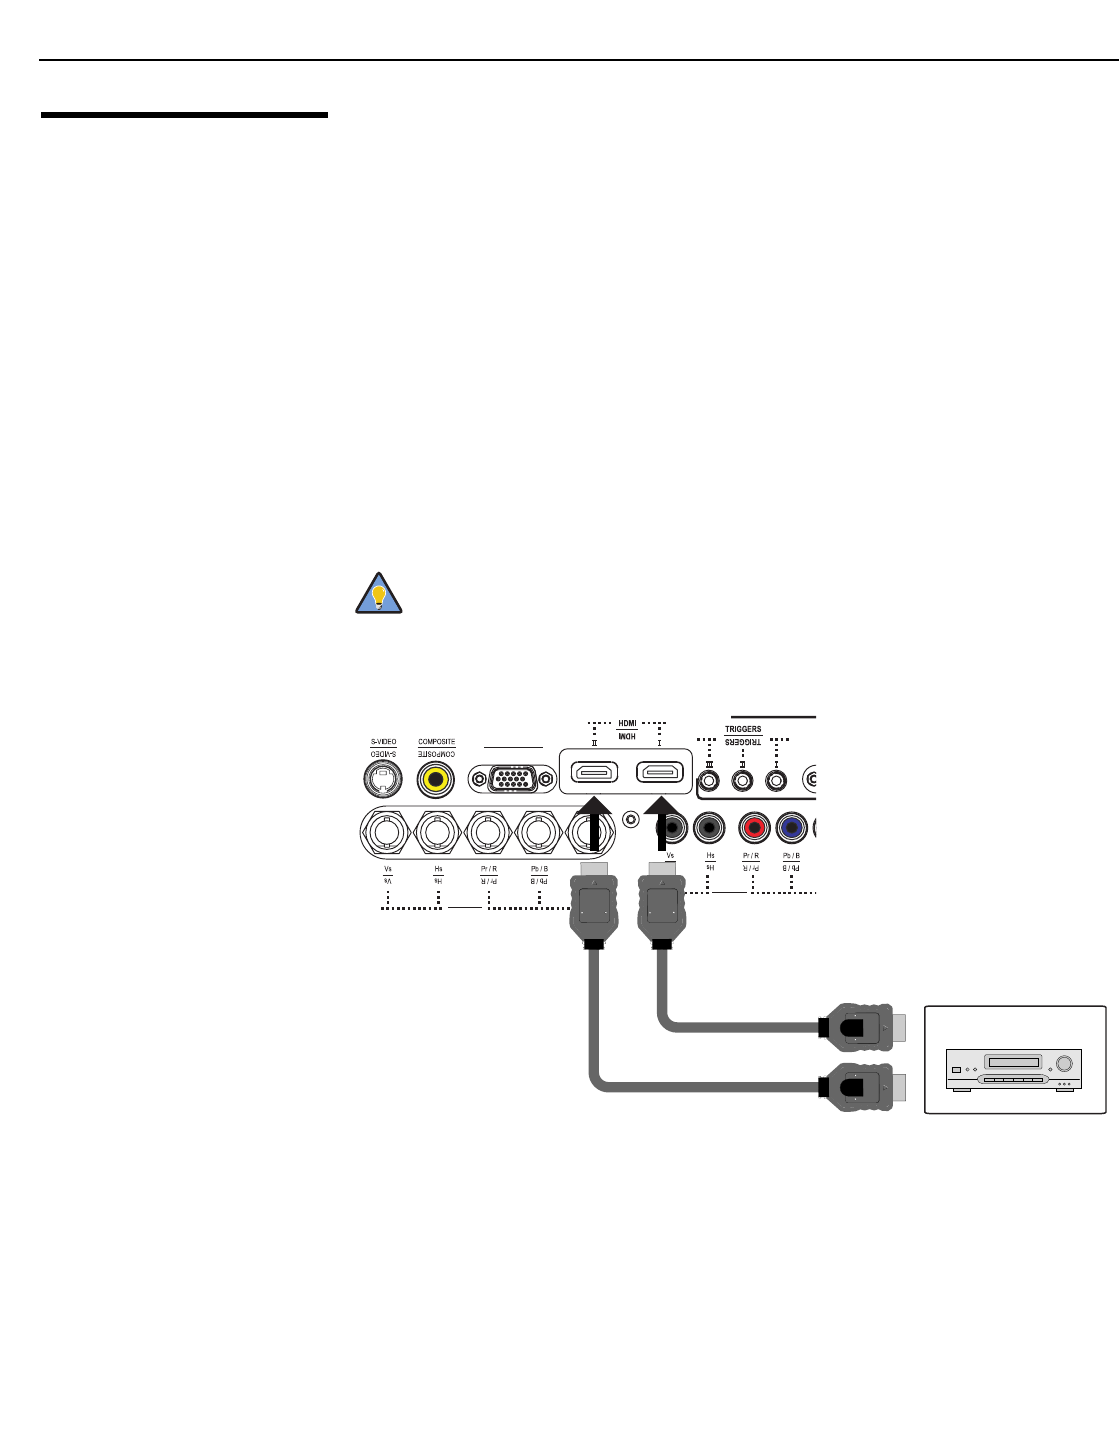
HDMI Connections: See Figure 3-10.
Figure 3-10. HDMI Source Connections
➤
➤
Use the HDMI inputs whenever possible. This ensures the highest
video quality because the signal is carried in the digital domain
throughout the entire signal path, from source component output
into the projector.
Tip
HD2 (BNC)
HD1 (RCA)
HD1 (RCA)
HD2 (BNC)
HD3 (VGA / Y-Pb-Pr)
HD3 (VGA / Y-Pb-Pr)
HDMI or
DVI-to-HDMI Cable
(sold separately)
BD/HD-DVD/
DVD/DTV STB