56
Setting
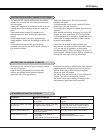
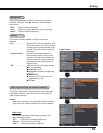
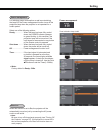
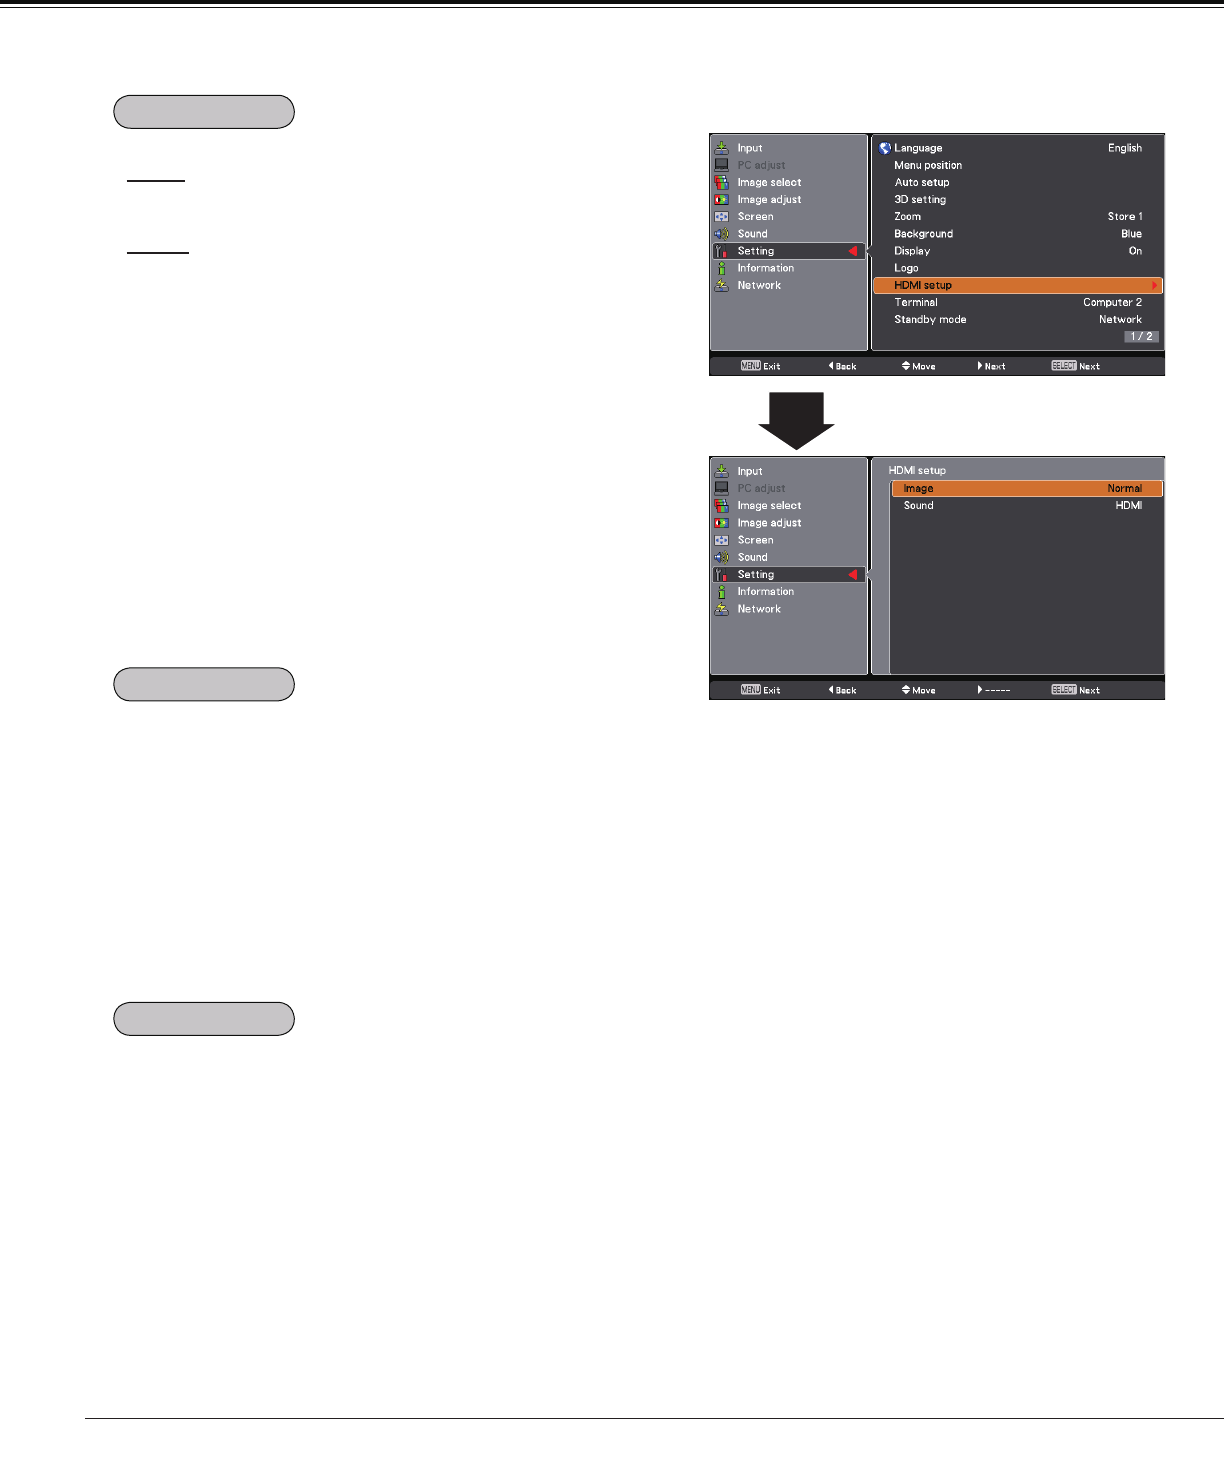
This function is only used for HDMI input source.
Image
Select Normal or Enhanced to match the video range
setting of your HDMI Digital RGB equipment.
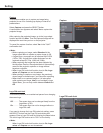
Sound
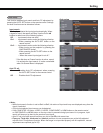
HDMI ............. When using the HDMI cable, select HDMI.
Both video and audio* are transferred and
you need not to connect any additional
cables for audio.
* This HDMI terminal supports Linear PCM (32kHz/44.1kHz/48kHz).
Computer 1 .. When using the DVI-HDMI cable, select
Computer and connect the audio cable
to COMPUTER/COMPONENT AUDIO IN
terminal.
The names for the output setting of Digital RGB vary from
equipment to equipment. For details, refer to the owner’s
manual of your Digital RGB equipment.
When the black parts of the image are destroyed or stand out,
please switch to Normal or Enhanced, and then switch the
output type of the HDMI Digital RGB output equipment.
HDMI setup
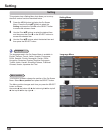
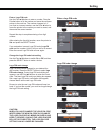
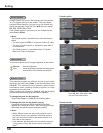
The COMPUTER IN 2/MONITOR OUT terminal on the back
of the projector is switchable for computer input or monitor
output (p.11).
Computer 2……Computer input
Monitor out……Monitor output
Terminal function is not available when Computer 2 to the
input source is selected. Change the input source to the
others (Computer 1, Video, S-video or HDMI) so that the
Terminal function is available (pp.30-31, 41-42).
This function is available when operating the projector via
network.
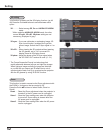
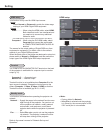
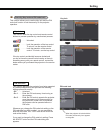
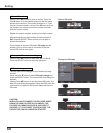
Network .... Supply the power to the network function even
after turning off the projector. You can turn on/
off the projector via network, modify network
environment, and receive an e-mail about
projector status while the projector is powered
off.
Eco ............ Select Eco when you do not use the projector
via network. The projector’s network function
will stop when turning off the projector.
Refer to the owner’s manual of “Network Set-up and
Operation”.
4Note:
• Factory default is
Network.
•
When Eco is selected and the projector
is in Stand-by, the communication of RS-
232C serial port is not available.
Standby mode
Terminal
HDMI setup


