50
USER SETTINGS
Auditing mode
(program No.10)
1 Press the [1] key to enable "Auditing
mode" or the [0] key to disable it, and then
press the [START] key ( ).
2 Press the [CLEAR] key ( ).
Account number entry
(program No.11)
If 20 accounts have already been established, the
error code "11E" will appear in the display.
1 Use the numeric keys to enter a 3-digit
number (any number except "000") and
then press the [START] key ( ).
2 Press the [CLEAR] key ( ).
Account number change
(program No.12)
Use this procedure to change an account number. If
no account numbers have been established, the error
code "12E" will appear in the display.
1 Press the [Copy ratio display] key ( ) to
select the account number that you wish to
change, and then press the [START] key
().
The display will show 3 blinking hyphens "- - -".
2 Press the numeric keys to enter a new
account number (any 3-digit number
except "000"), and then press the [START]
key ( ).
3 When finished, press the [CLEAR] key
().
Account number deletion
(program No.13)
Use this procedure to delete account numbers. A
single account number can be deleted, or all account
numbers at once.
If no account numbers have been established, the
error code "13E" will appear in the display.
[Deleting all accounts at once]
Press the [1] key and then press the [START]
key ( ).
All account numbers will be deleted.
[Deleting a single account]
1 Press the [0] key.
2 Select the account number to be deleted
with the [Copy ratio display] key ( ) and
then press the [START] key ( ).
Number of copies per account
(program No.14)
Use this procedure to display the copy count of each
account. If no account numbers have been
established, the error code "14E" will appear in the
display.
1 Select the account number with the [Copy
ratio display] key ( ).
2 Hold down the [0] key.
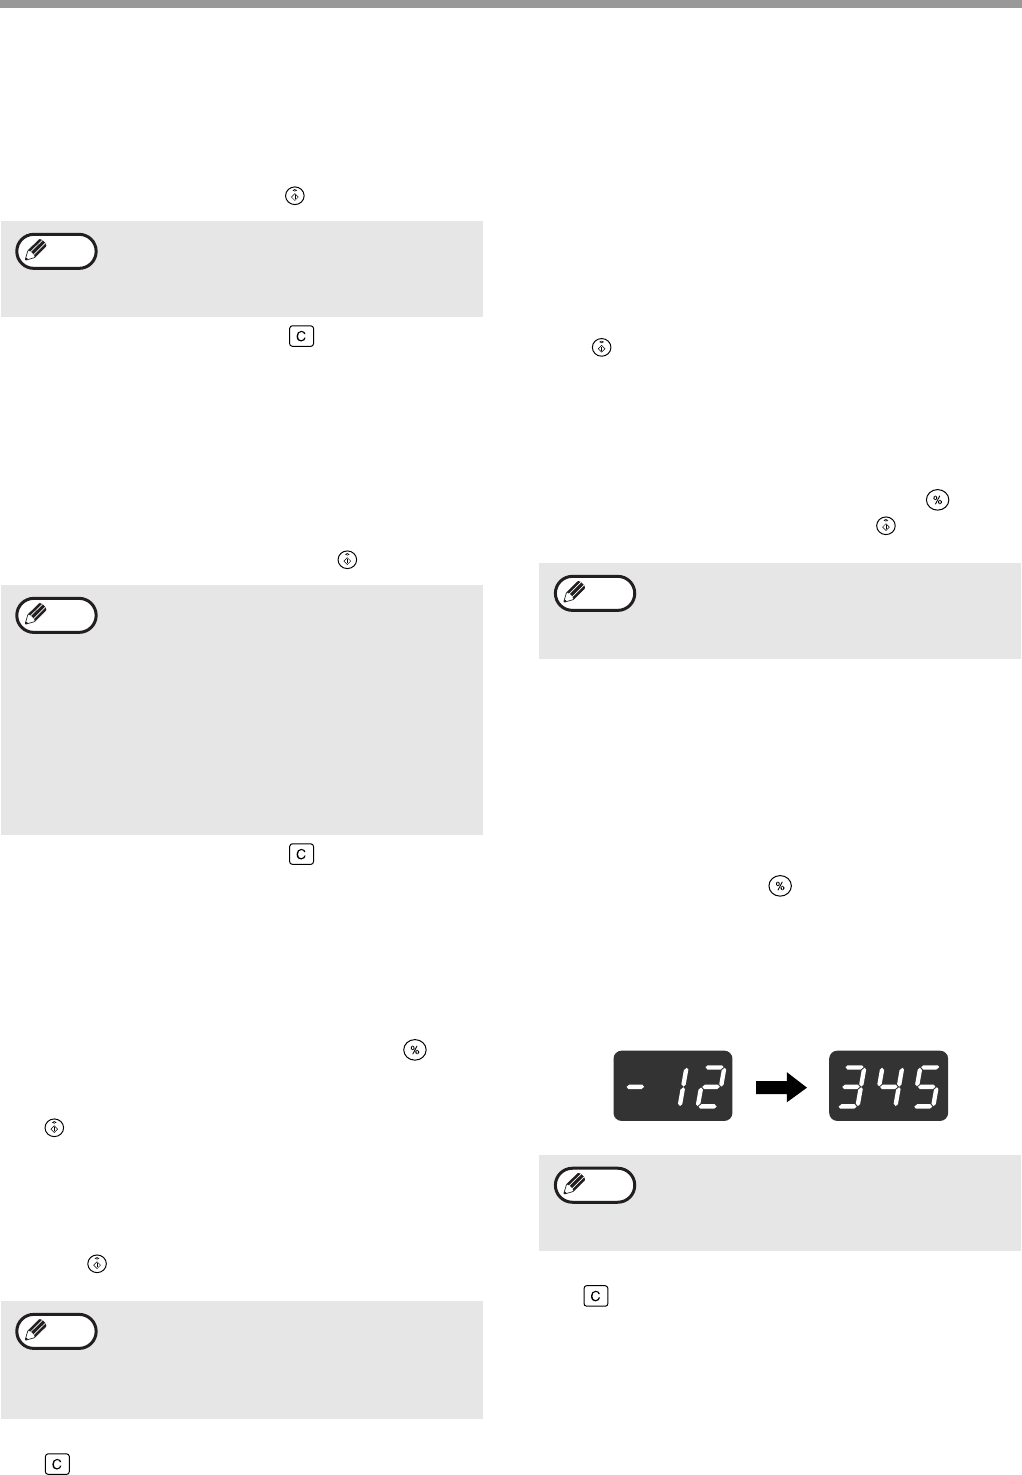
The copy count of the selected account will appear in
the display while you hold down the [0] key. The count
is displayed sequentially as shown below.
Example: 12,345 copies
3 When finished, press the [CLEAR] key
().
After enabling "Auditing mode", use "Account
number entry" to establish account numbers
for each account (up 20 accounts can be
established).
• If you enter "000" or a number that has
already been stored, the number will blink
in the display. Enter a different number.
(Up to 20 accounts can be established.)
• Repeat the same procedure to enter any
other account numbers that you wish to
establish.
• Keep a record of what group is using each
account number (account names cannot be
stored, so keep a record to prevent
confusion when totaling account counts).
• If you enter "000" or a number that has
already been stored, the number will blink
in the display. Enter a different number.
• To change another account number, repeat
steps 1 and 2.
Note
Note
Note
To delete another account number, enter the
program number (13) for account number
deletion and then repeat step 2 of "Deleting a
single account".
• Each 11" x 17" size page is counted as two
pages.
• To view the copy count of another account,
repeat steps 1 and 2.
Note
Note


