


2-31
COPIER
Contents
2
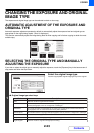
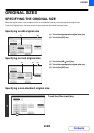
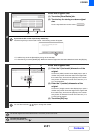
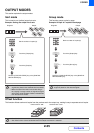
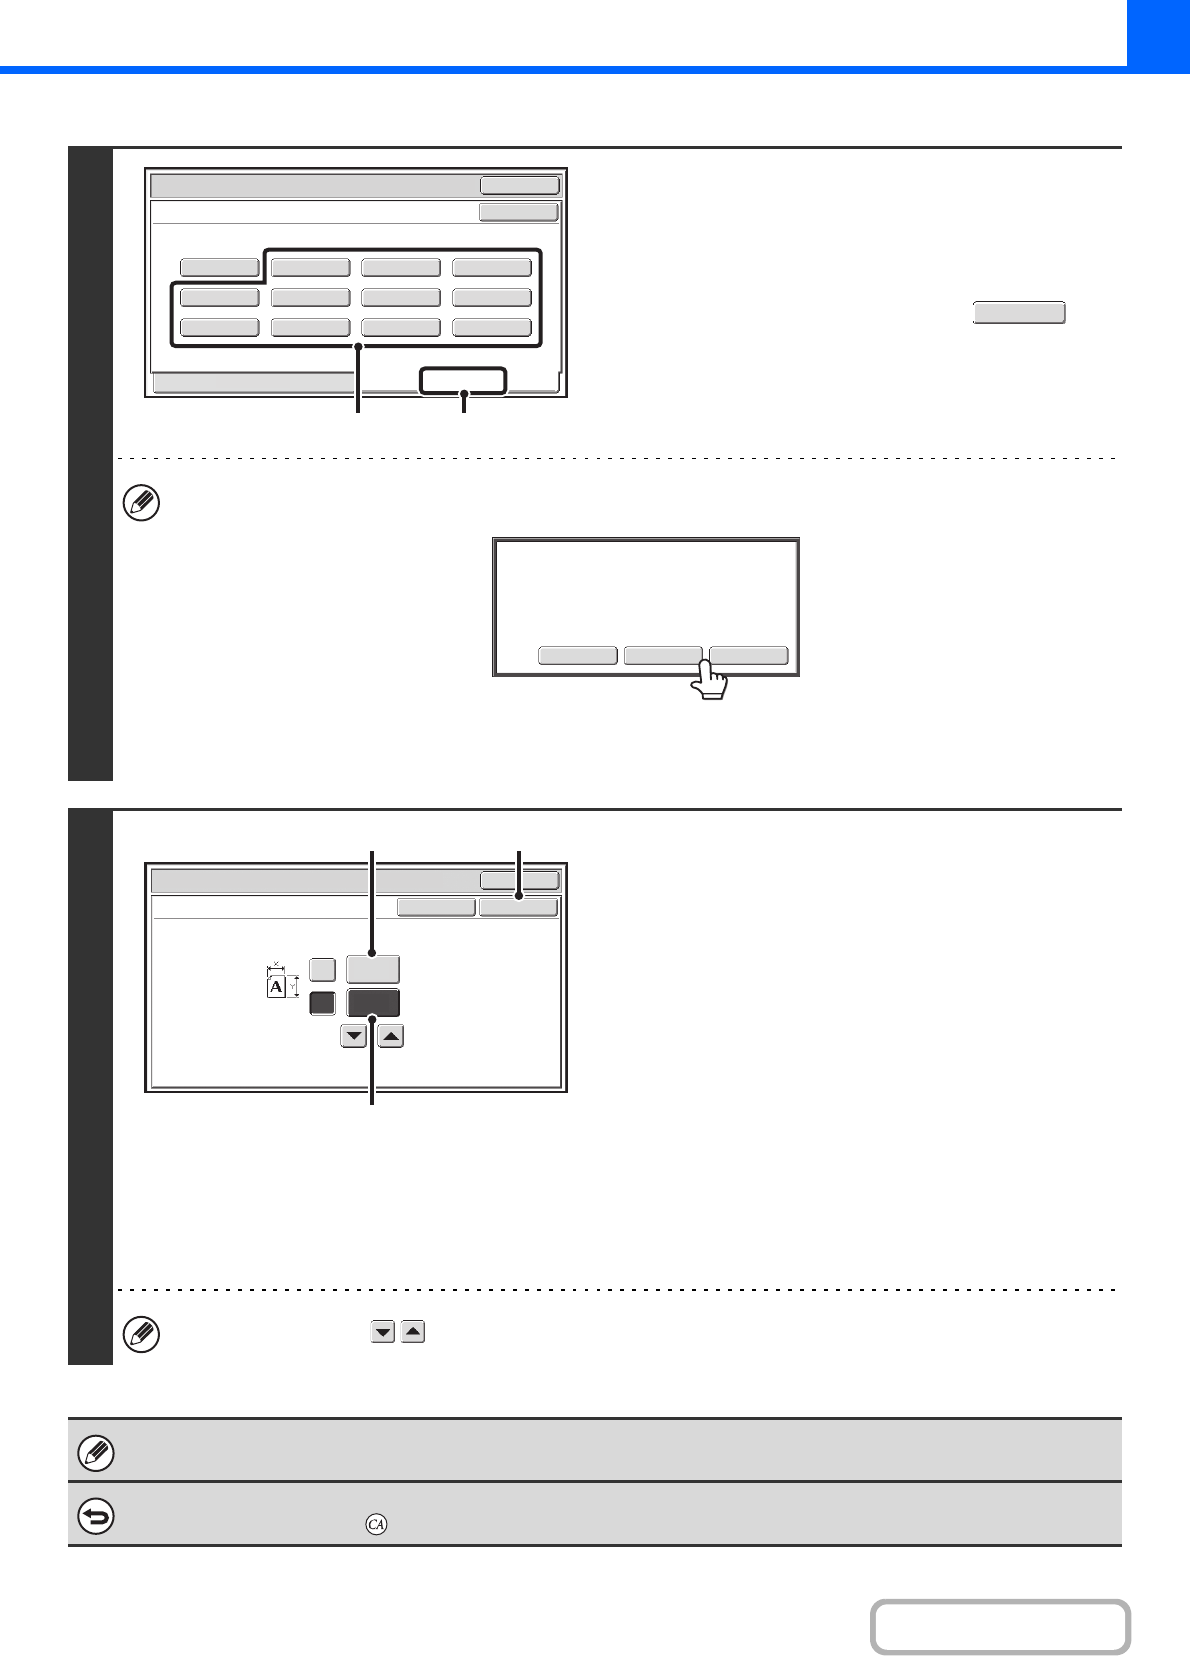
Store the original size.
(1) Touch the [Store/Delete] tab.
(2) Touch a key for storing a custom original
size.
Touch a key that does not show a size ( ).
If you wish to edit or clear a previously stored key...
Touch the key that you want to edit or clear. The following screen will appear.
• To edit the key, touch the [Amend] key and go to the next step.
• To clear the key, touch the [Delete] key. Make sure that the original size has been cleared and touch the [OK] key.
3
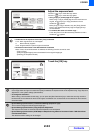
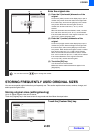
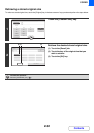
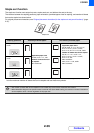
Enter the original size.
(1) Enter the X (horizontal) dimension of the
original.
Touch the X (width) numeric value display key to open a
number entry screen. Enter the width of the original with
the numeric keys, and touch the [OK] key in the number
entry screen. A dimension from 25 mm to 432 mm (1" to
17") can be entered.
(2) Enter the Y (vertical) dimension of the
original.
Touch the Y (height) numeric value display key to open a
number entry screen. Enter the height of the original with
the numeric keys, and touch the [OK] key in the number
entry screen. A dimension from 25 mm to 297 mm (1" to
11-5/8") can be entered.
(3) Touch the [OK] key.
You can also touch the keys to change the number.
The stored original size will be retained even if the main power is turned off.
To cancel the operation...
Press the [CLEAR ALL] key ( ).
Original
OK
OK
X254 Y210
Recall
Store/Delete
Custom Size
(1)(2)
Amend
Delete
Cancel
A custom size has already been stored
in this location.
OK
OK
Size Input
Cancel
Original
(25~432)
mm
(25~297)
mm
420
X
Y
297
(3)(1)
(2)