


75
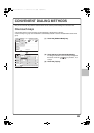
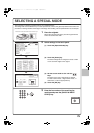
SELECTING A SPECIAL MODE
The procedure for selecting a special mode for fax is explained below.
The settings that must be selected vary for each special mode, however, the general procedure is the same. The
procedure for erasing shadows at the edges of the image when sending a fax is explained below as an example.
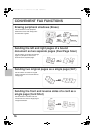
1 Place the originals.
When using the document glass, place the original with the
side to be scanned face down.
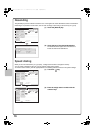
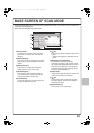
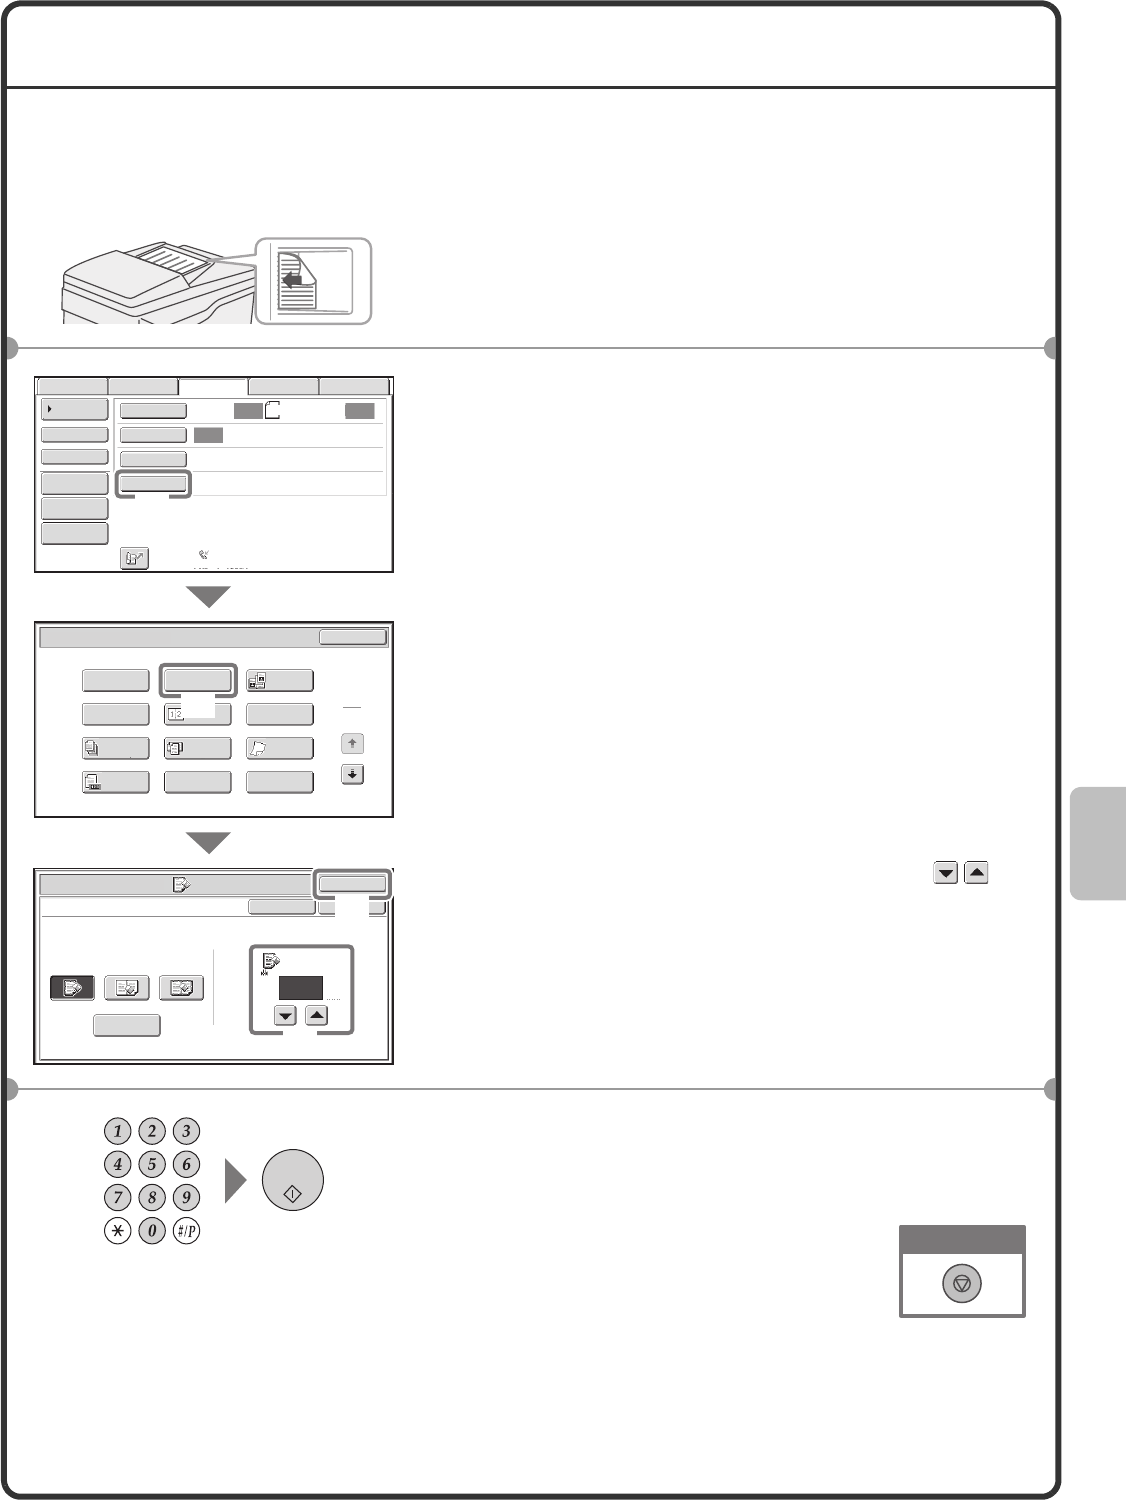
2 Select settings in the touch panel.
(1) Touch the [Special Modes] key.
(2) Touch the [Erase] key.
The erase settings will be configured to erase a width
of 3/4" around the edges of the original.
(3) Set the erasure width to 3/4" with the
keys.
The erase area is set to "Edge Erase" by default.
To select "Center Erase", "Edge+Center Erase", or
"Side Erase", touch the appropriate key.
(4) Touch the [OK] key.
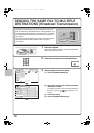
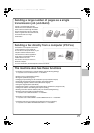
3 Enter the fax number of the receiving fax
machine and press the [BLACK & WHITE
START] key.
The side to be scanned must be face up!
Auto
Auto
Auto
USB Mem. Scan
FaxScan
Standard
Auto Reception
Fax Memory:100%
Internet Fax PC Scan
Scan: Send:
8½x11
File
Quick File
Address Review
Direct TX
Sub Address
Address Book
Special Modes
Resolution
Exposure
Original
1
2
Fax/Special Modes
Card Shot
Slow Scan
Mode
OK
Dual Page
Scan
Quick File
Mixed Size
Original
Erase
File
Job
Build
Original
Count
2in1
Program
Timer
Fax/Special Modes
Erase
Center
Erase
Edge
Erase
Edge+Center
Erase
Edge
Cancel
OK
OK
3/4
(0~1)
inch
Side Erase
(1)
(2)
(4)
(3)
Cancel scanning
04-1_Quick(Fax).fm 75 ページ 2008年4月18日 金曜日 午前9時28分