


28
INSTALLING THE PS DISPLAY
FONTS
Fonts that can be used by the PS printer driver are contained on the "PRINTER UTILITIES" CD-ROM
that accompanies the PS3 expansion kit. Install these fonts as needed for the PS printer driver.
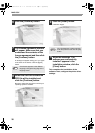
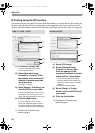
1
Insert the "PRINTER UTILITIES"
CD-ROM that accompanies the
PS3 expansion kit into your
computer's CD-ROM drive.
2
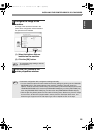
Click the [Start] button ( ), click
[Computer], and then
double-click the [CD-ROM] icon
().
• In Windows XP/Server 2003, click the
[start] button, click [My Computer], and
then double-click the [CD-ROM] icon.
• In Windows 2000, double-click [My
Computer], and then double-click the
[CD-ROM] icon.
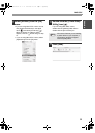
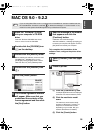
3
Double-click the [Setup] icon
().
4
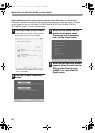
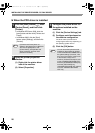
The "SOFTWARE LICENSE"
window will appear. Make sure
that you understand the
contents of the license
agreement and then click the
[Yes] button.
5
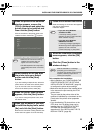
Read the message in the
"Welcome" window and then
click the [Next] button.
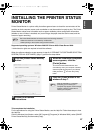
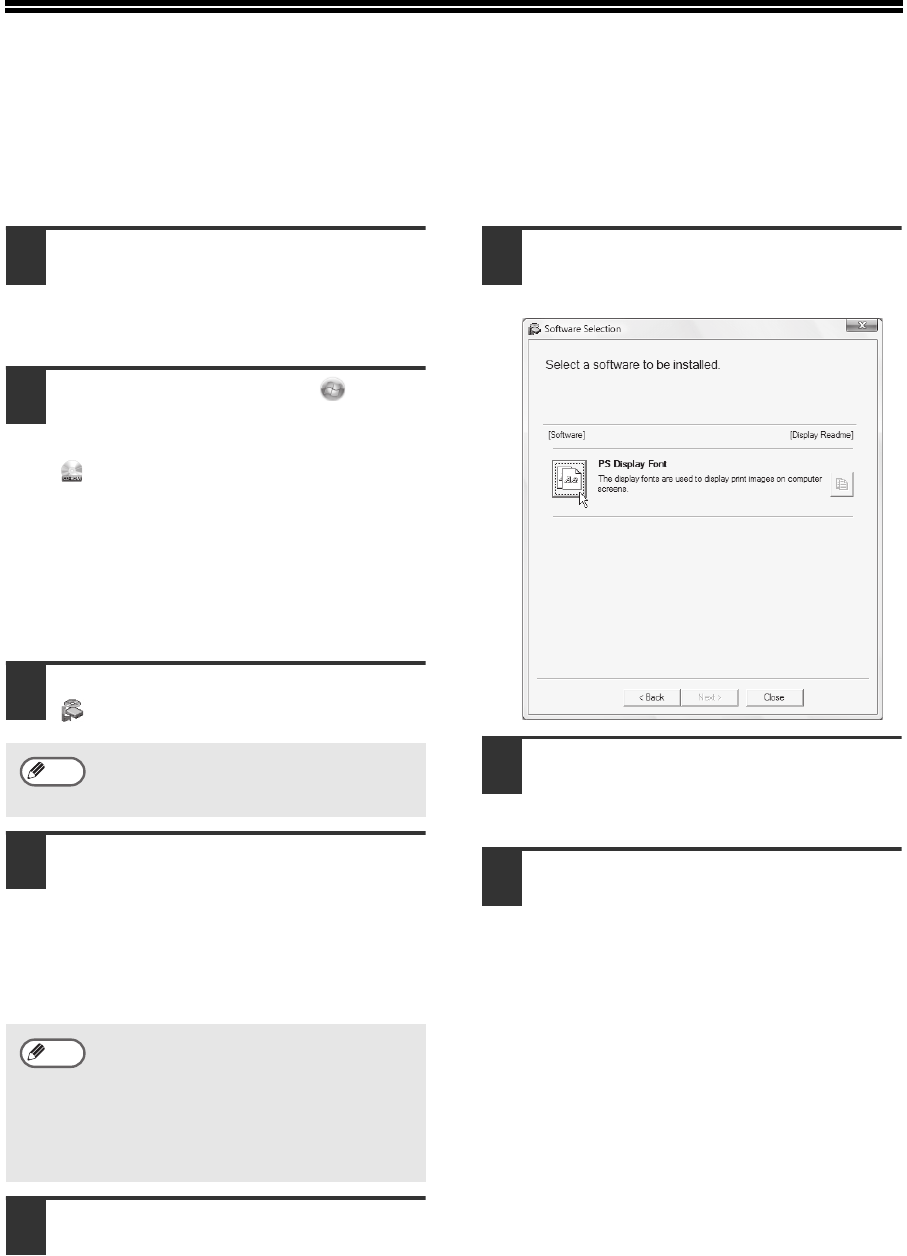
6
Click the [PS Display Font]
button.
7
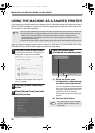
Follow the on-screen
instructions.
8
Click the [Close] button in the
screen of step 6.
9
In Windows Vista/Server 2008, if a
message screen appears asking you
for confirmation, click [Allow].
You can show the "SOFTWARE
LICENSE" in a different language by
selecting the desired language from
the language menu. To install the
software in the selected language,
continue the installation with that
language selected.
Note
Note
Setup_multi.book 28 ページ 2009年7月7日 火曜日 午後2時8分