


Sharp AR-C200P: Accessories • 172
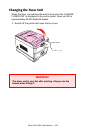
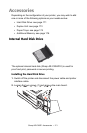
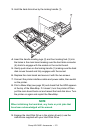
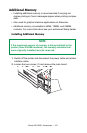
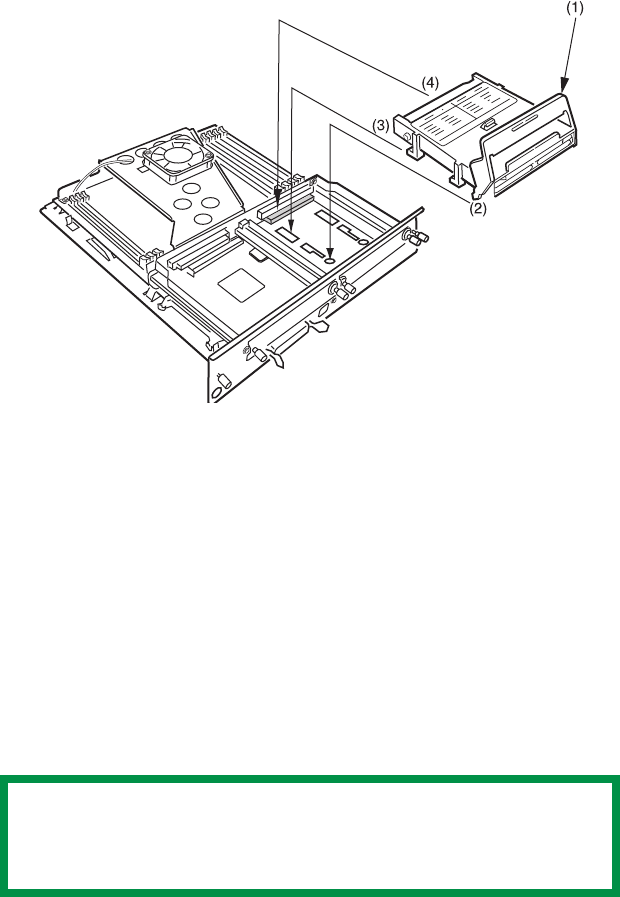
3. Hold the hard disk drive by the locking handle (1).
4. Insert the handle locating lugs (2) and four locating feet (3) into
the holes in the main board making sure the hard disk connector
(4) starts to engage with the socket on the control board.
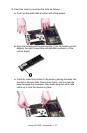
5. Gently push down on the locking handle (1) making sure the hard
disk moves forward and fully engages with the socket.
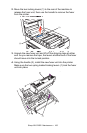
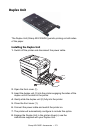
6. Replace the main board and secure it with the two screws.
7. Connect the printer interface cable and power cable, then switch
on the printer.
8. Print a Menu Map (see page 32) and check that the HDD appears
at the top of the MenuMap. If it doesn’t, turn the printer off then
pull the main board back out and reseat the hard disk drive. Turn
the printer on again and reprint the MenuMap.
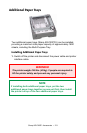
9. Engage the Hard Disk Drive in the printer driver(s): see the
instructions supplied with your Hard Disk Drive.
NOTE
When initializing the hard disk, any fonts or print jobs that
have been acknowledged will be erased.